Last Updated on June 5, 2023
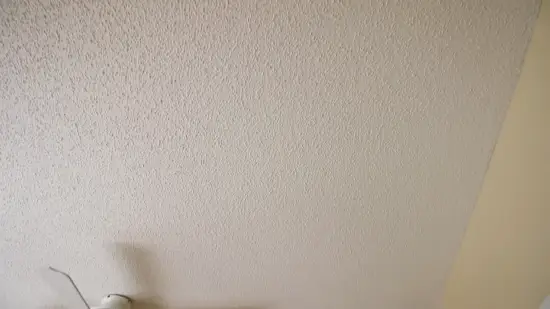
The ceiling is a great place to start upgrading your home decor. Popcorn ceilings, once a popular trend, are now seen as outdated and impractical due to their tendency to collect dust and cobwebs. As well as being unsightly, this can also pose a health risk to people with allergies or respiratory problems.
So you might wonder if it is possible to sheetrock over the popcorn ceiling.
Sheetrock, also known as drywall, goes directly over the existing popcorn texture, transforming the ceiling into a smooth surface. This method saves you from the arduous task of scraping off the popcorn and offers functional and aesthetic benefits.
With proper preparation and execution, sheetrocking over popcorn ceilings can effectively update your home’s interior design. And now, we will discuss the step-by-step process for sheetrocking over popcorn ceilings.
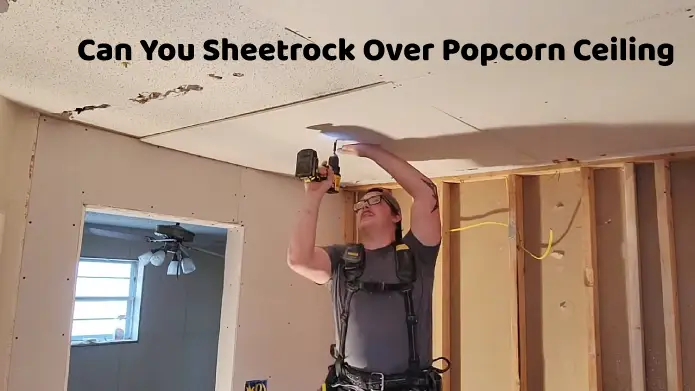
How Can You Sheetrock Over Popcorn Ceiling with Minimal Mess?
When it comes to renovating a popcorn ceiling, the idea of covering it with drywall or sheetrock can be a complicated task. Not only do you have to deal with the messy removal process of the popcorn texture, but installing new sheetrock on top of it can create even more chaos.
Here are the general steps involved in this process:
- Step 01: Assess the condition of the existing ceiling
- Step 02: Determine the ceiling height
- Step 03: Prepare the room
- Step 04: Inspect the popcorn ceiling
- Step 05: Clean the ceiling
- Step 06: Install furring strips or a grid system
- Step 07: Measure and cut the sheetrock
- Step 08: Attach the sheetrock
- Step 09: Tape and mud the seams
- Step 10: Finish and paint
Step 01: Assess the Condition of the Existing Ceiling
Before embarking on sheetrock installation, it is vital to assess the condition of your popcorn ceiling. Sometimes, popcorn ceilings can mask underlying problems like water damage or structural issues, resulting in significant issues later on.
To avoid any complications, take a moment to thoroughly scrutinize your ceiling for any telltale signs of damage, such as discoloration or sagging. Also, inspect the ceiling for cracks or dents that could compromise the new sheetrock’s integrity.
Step 02: Determine the Ceiling Height
Before adding a new layer to your ceiling, consider that the overall height of your room may decrease. This reduction is due to the extra thickness added by the sheetrock over the popcorn ceiling.
Measure the current height and determine whether you’re willing to accept this loss in height for a polished and updated look. Remember that after installation, you may need to adjust lighting fixtures or door heights accordingly.
Step 03: Prepare the Room
To begin the sheetrocking process over a popcorn ceiling, you must take appropriate steps to prepare the area. This entails moving furniture, covering floors and walls with protective materials, and constructing a containment area with plastic sheeting if necessary.
This preliminary phase is critical to ensuring the safety and cleanliness of the space throughout the transformation. Before proceeding, thoroughly inspect the existing popcorn ceiling to confirm its structural integrity.
Step 04: Inspect the Popcorn Ceiling
Start by visually scrutinizing the popcorn ceiling for any indications of structural faults. Check for any fissures, discoloration, or irregularities that could signal internal damage.
By pressing gently on different spots, you can determine whether there are any areas where the popcorn texture is weak that may crumble. Test the popcorn texture’s strength once you’ve identified potential problem areas.
Once you’re satisfied that everything is structurally sound, you can start cleaning the ceiling before applying new materials over it.
Step 05: Clean the Ceiling
Removing any debris or cobwebs from your popcorn ceiling is crucial to ensure a smooth and safe renovation process.
Begin by using a broom or vacuum cleaner with a brush attachment to eliminate any loose dirt or cobwebs on the surface. This step helps new sheetrock adhere properly, preventing problems down the line.
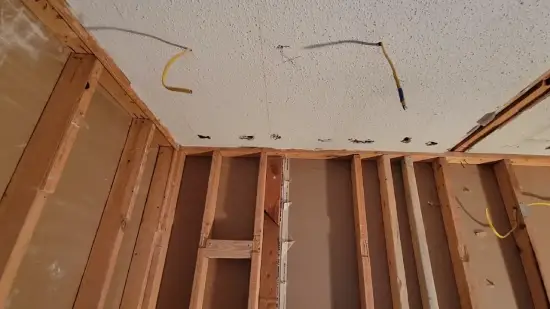
Step 06: Install Furring Strips or a Grid System
Furring strips are thin wood boards attached to the joists with screws or glue, while grid systems consist of tracks and channels. Regardless of your method, the furring strips or tracks must be aligned with the joists and evenly spaced.
This is achieved through careful measurement and marking. With a stable foundation, you can cut and fit your sheetrock sheets. Remember that having a sturdy base will prevent your sheetrock from sagging or falling away over time.
Step 07: Measure and Cut the Sheetrock
Now, take accurate measurements of the ceiling so that you can cut the sheetrock panels accordingly. Use a utility knife to score the front paper layer of each panel, and then snap them along the score line for a clean break. Wear gloves and safety goggles during this process, as it can be messy.
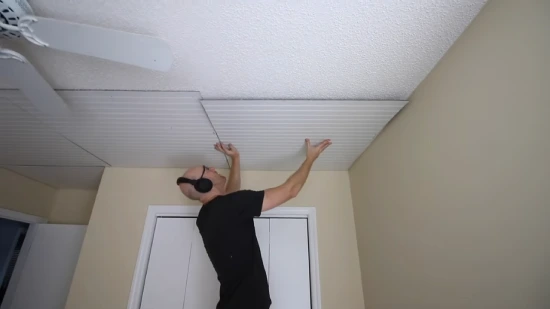
Step 08: Attach the Sheetrock
Ensure the furring strips or grid system are prepared to attach the sheetrock properly. Next, utilize drywall screws to secure each panel onto the structure without drilling too deep. Prioritize using a level to guarantee each panel is straight and stagger the seams to avoid any structural vulnerabilities.
Step 09: Tape and Mud the Seams
It’s time to apply joint tape and compound on the seams between your sheetrock panels. Start by laying the tape over the joints, ensuring that it’s centered properly. Spread a layer of joint compound over the tape using a taping knife, ensuring it’s smooth and even.
Wait for it to dry and sand it down before applying another layer. Repeat this process until you’ve achieved a smooth surface.
Step 10: Finish and Paint
After thoroughly smoothing out your sheetrock, it’s time to add the finishing touches with primer and paint. Applying a high-quality primer is essential to ensure the surface is even and ready for painting. Opting for a primer that adheres well to the joint compound will prolong the life of your paint.
When the primer has fully dried, it’s time to apply your chosen paint color. Use a roller or brush to apply thin coats of paint and allow each coat to dry completely before applying another. Investing the necessary time and effort into achieving a professional-looking finish is important.
Is it better to remove the popcorn ceiling or cover it with sheetrock?
While covering a popcorn ceiling with sheetrock is a viable option, doing so will reduce the overall ceiling height. Proper preparation and installation techniques ensure the sheetrock adheres to the existing popcorn texture.
On the other hand, if you remove the popcorn texture, there is potential for asbestos hazards associated with its removal.
These factors can ultimately help you decide whether to cover or remove your popcorn ceiling.
Upgrade Your Popcorn Ceilings with Sheetrock
Opting for sheetrock over a popcorn ceiling is an excellent alternative for individuals looking to upgrade the look of their outdated ceilings. Scraping off the texture proves messy and hazardous, so covering it with sheetrock offers various advantages.
Following a few essential steps, from inspecting the ceiling’s condition to skillfully finishing the surface, can transform the ceiling into a sleek and visually appealing one.
Planning is crucial, and seeking the assistance of a professional contractor is advisable for a flawless outcome. Thus, removing popcorn texture isn’t always necessary, and sheetrock is a cost-effective and efficient way to update your space.