Last Updated on September 16, 2023
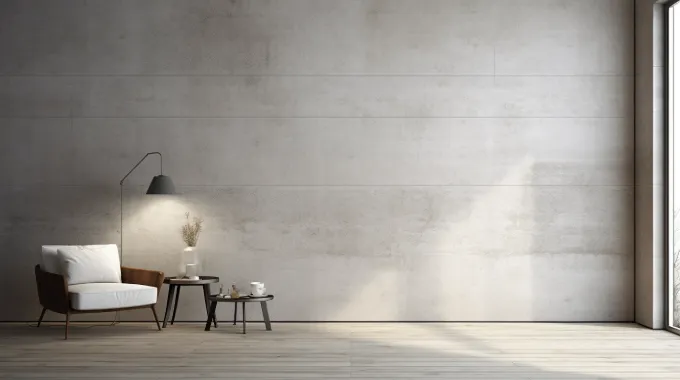
Individually, crown molding and wood shiplap are timeless elements of interior design, both capable of enhancing a room’s style and elegance. To create a stunning interior, how about combining crown molding with shiplap?
Combining crown molding and wood shiplap has become popular in interior design, offering a seamless blend of elegance and rustic charm. Shiplap can enhance the aesthetics of crown molding, traditionally reserved for more formal spaces, with its textured and visually pleasing backdrop.
This article will explore the possibilities and benefits of using crown molding with wood shiplap. You might be surprised to discover how these elements can complement each other, adding elegance and charm to your space.
How Do You Use Crown Molding With Wood Shiplap?
If you plan on using crown molding with wood shiplap, there are several key steps you need to follow. Here are some of the most important:
- Step 01. Preparation for wood shiplap installation
- Step 02. Measuring the room
- Step 03. Selecting the right crown molding
- Step 04. Precise measurement and cutting
- Step 05. Attaching the crown molding
- Step 06. Addressing corners and edges
- Step 07. Applying adhesive caulk
- Step 08. Finishing and touch-up
- Step 09. Consider decorative enhancements (Optional)
Let’s look at each of these steps in a bit more detail so that you can get the most out of your project.
Step 01. Preparation for Wood Shiplap Installation
Before installing the wood shiplap, ensure you have all the necessary tools and materials ready. You will need a tape measure, level, stud finder, nail gun or hammer, nails or screws, and a saw for cutting the shiplap to size.
Also, ensure you have safety equipment such as goggles and gloves to protect yourself while working with power tools.
Step 02. Measuring the Room
To measure the perimeter, use a tape measure and start at one corner of the room. Carefully extend the tape along each wall, ensuring it’s flush against the edge. Take note of each measurement as you go along, and once you have measured all walls, add them together to calculate the total perimeter.
Step 03. Selecting the Right Crown Molding
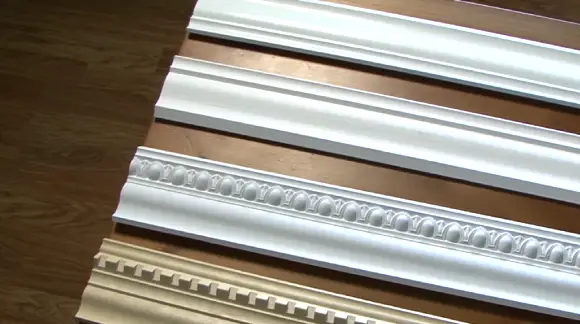
To achieve a cohesive design, you should consider the size and style of the shiplap boards when choosing crown molding. Simple and traditional crown molding profiles tend to work well for wooden shiplap.
The key is to find a balance between the two elements to complement each other rather than compete for attention. One option is a smaller crown molding that doesn’t overpower the shiplap but still adds an elegant touch.
Another approach is to choose crown molding with clean lines and minimal ornamentation, allowing the focus to remain on the beauty of the shiplap itself.
Step 04. Precise Measurement and Cutting
Making precise cuts at the correct angles for both inside and outside crown molding corners is crucial. This is where a miter saw comes in handy, making you effortlessly achieve clean and accurate cuts. A coping saw may be required for complex molding profiles, such as those with intricate curves or designs.
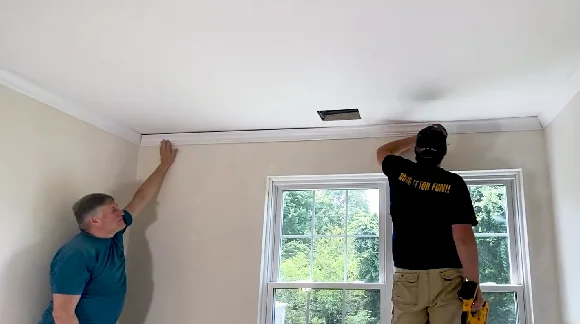
Step 05. Attaching the Crown Molding
Attach the first piece of crown molding to the wall just above the shiplap, ensuring it aligns perfectly with the top. It will achieve a polished and professional look for your wood shiplap installation.
To secure the crown molding, you can use nails or screws. Ensure these fasteners are driven into the wall studs to provide a stronghold. By attaching the crown molding in this manner, you will ensure its stability and longevity.
Step 06. Addressing Corners and Edges
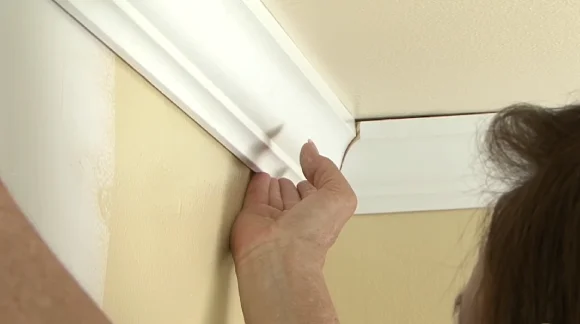
Corners and edges are key areas that require special care when working with crown molding. Ensure that each piece of molding is properly aligned with the adjacent wall or ceiling edge for a clean appearance.
Step 07. Applying Adhesive Caulk
By applying adhesive caulk along the top edge of the crown molding, you will add additional stability and conceal any gaps. It will ensure that your crown molding installation looks professional and seamless.
To apply the adhesive caulk, ensure the surface is clean and free from dust or debris. Then, carefully run a bead of molding caulk along the top edge using a caulk gun. Apply enough pressure to create an even line without gaps or lumps.
Once you have applied the adhesive caulk, use a damp cloth or sponge to smooth out any excess and create a clean finish. Allow the caulk to dry completely before painting or finishing your crown molding.
Step 08. Finishing and Touch-up
Once the adhesive caulk has dried completely, sand any rough spots using fine-grit sandpaper to achieve a smooth finish.
Gently run the sandpaper over the surface of the molding, focusing on areas where imperfections are noticeable. Ensure that you’re using fine-grit sandpaper to avoid causing any damage to the wood or paint/stain. By sanding away any roughness, you’ll create an even and consistent surface for painting or staining.
After sanding, it’s time to address any imperfections that may be present. Inspect the crown molding closely and identify areas that need touching up. This could include small dents, scratches, or missed spots during painting or staining. Use a brush or sponge applicator to apply touch-up paint or stain as needed.
Step 09. Consider Decorative Enhancements (Optional)
You can enhance the aesthetics of your crown molding and wooden shiplap combination by adding decorative elements like corner blocks or rosettes. These elements can provide a stylish finish at the corners of your room, elevating the overall look of your interior design.
Corner blocks and rosettes offer a distinct touch, creating visual interest and adding character to your space. If you choose decorative enhancements for your home, ensure they align with your overall design theme and are securely installed.
Should I remove the crown molding for shiplap?
You don’t have to remove the crown molding when installing wood shiplap on walls. This is great news for those who have invested time and effort into installing crown molding in their space.
The beauty of shiplap lies in its ability to effortlessly blend with existing architectural elements, such as crown molding. Leaving the crown molding intact allows you to transition between the two design elements seamlessly.
What kind of molding do you use with shiplap?
Opt for MDF baseboard molding when installing shiplap on your walls to achieve a cohesive look. This type of molding is ideal because it complements the shiplap’s texture and provides a clean and finished appearance to your space.
MDF (medium-density fiberboard) baseboard molding is a cost-effective alternative to wood, making it a popular choice among homeowners. It is also highly versatile and easily painted or stained to match your desired aesthetic.
Create a Seamless Look with Shiplap and Crown Molding
Using crown molding with wood shiplap can add a touch of elegance and sophistication to any space. You can achieve a seamless and polished appearance with the steps outlined in our discussion, from selecting the right molding style to precise measurements.
While some may prefer to remove the existing crown molding before installing a shiplap, it is not always necessary.
The type of molding you use with shiplap will depend on the overall style and aesthetic you are trying to achieve. Whether it’s a simple and clean trim or a more ornate design, various options are available to complement your shiplap installation perfectly.