Last Updated on September 16, 2023
Cement board, a widely favored substrate for tile installation, offers an excellent foundation to bring your tiling visions to life.
As you embark on your tile project, you might wonder about the most suitable adhesive to secure those beautiful tiles on your sturdy cement board surface.
One common question arises is, ‘Can you use mastic on cement board?’ Certainly, you can use mastic on cement board for tile installation.
Mastic, a ceramic, glass, and porcelain tile adhesive, exhibits strong bonding properties that make it an ideal choice for vertical tiling on cement boards.
But, there are essential considerations to keep in mind to ensure a successful and long-lasting tile installation.
We’ll talk about how to use mastic on cement boards so you can install tiles over cement boards effectively.
How to Use Mastic on Cement Board: Step-By-Step Guide
To use mastic on cement board, you’ll need to follow a few key steps. The following are among them:
- Step 1: Preparation
- Step 2: Choose the right mastic
- Step 3: Apply the mastic on the cement board
- Step 4: Tile installation
- Step 5: Grouting
- Step 6: Sealing
Let’s go over each step in detail so you can use mastic effectively.
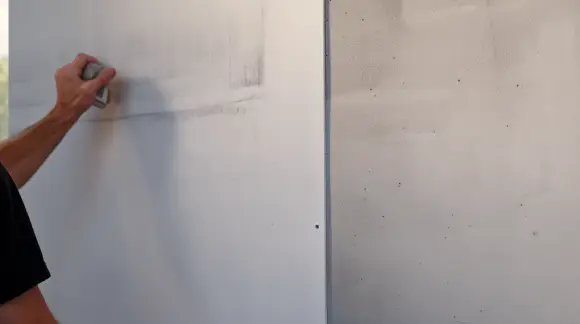
Step 1: Preparation
Before applying mastic, you need to ensure the cement board surface is clean, dry, and free from debris or contaminants. This will ensure proper adhesion and prevent the tile from slipping. Here are some steps to follow for preparation:
- Start by thoroughly cleaning the cement board surface using a broom or vacuum cleaner to remove any loose dirt or dust.
- Next, wipe down the surface with a damp cloth to remove any remaining residue.
- Allow the surface to dry completely before proceeding with mastic application.
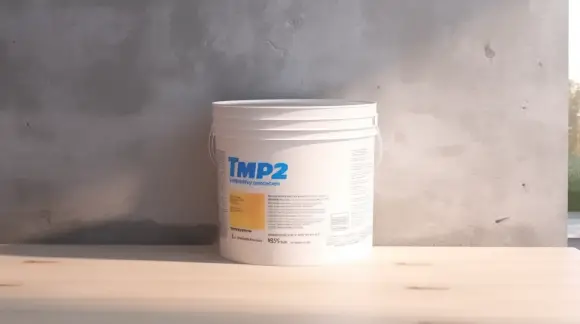
Step 2: Choose the Right Mastic
Once the cement board surface is properly prepared, you must select the appropriate mastic type for the project. In regards to cement boards, there are generally two types of mastic, type 1 and type 2.
Type 1 mastic is highly recommended for use on cement boards, especially in dry or moist areas. Its superior water resistance makes it an ideal choice when dealing with potential moisture exposure.
This type of mastic forms a strong bond with the cement board, ensuring long-lasting adhesion and durability.
Mastic type 2 is not more water resistant than mastic type 1. So it is better to use type 1 instead of type 2 for your cement board.
Step 3: Apply the Mastic on the Cement Board
Now, using a notched trowel, spread a thin, even layer of mastic on the cement board. The size of the notches on the trowel will depend on the size of the tiles being installed. Spread the mastic in small sections so it stays workable during tile installation.
As you spread the mastic, maintain an even thickness across the surface to ensure a consistent bond between the cement board and the tiles.
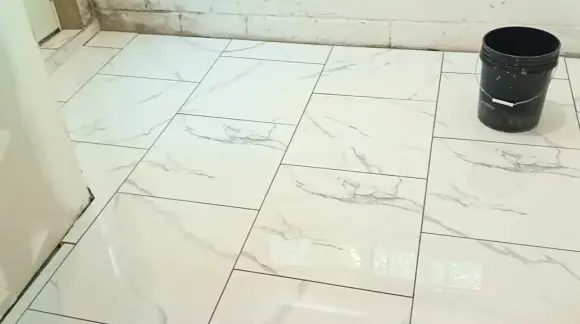
Step 4: Tile Installation
The mastic has been applied to the cement board, and now it is time to perform the next essential step: laying the tiles.
Starting with small sections, grab your tiles and carefully place them onto the mastic-covered cement board. Ensure each tile is aligned perfectly, creating a seamless and professional finish.
Be mindful not to let the mastic dry out before installing the tiles, as this can affect their adhesion. Working systematically across the entire area, continue placing each tile until you’ve covered the desired space.
Remember, attention to detail is key here. So, take your time and make sure each tile is level and properly spaced.
Step 5: Grouting
Begin by selecting the appropriate grout color that complements your tiles and enhances the overall aesthetics of the project.
Mix the grout according to the manufacturer’s instructions, achieving a smooth and lump-free consistency.
A rubber float is ideal for applying the grout, allowing you to spread it evenly and efficiently into the gaps between the tiles.
Holding the float at a 45-degree angle, work the grout into the spaces between the tiles, making sure to fill each joint completely.
Use a sweeping motion to ensure the grout is evenly distributed and that there are no air pockets or voids.
After completing the grouting, allow the grout to set for the recommended time specified by the manufacturer.
Once the grout has sufficiently dried, use a dry cloth or sponge to buff away any remaining grout haze from the tile surfaces, revealing their full beauty.
Step 6: Sealing
Sealing is necessary to protect the tiles and grout from water and stains once the grout has cured. It helps prolong your tile installation’s life by providing a protective barrier. To properly seal your tiles and grout, you need to use a high-quality sealer that is specifically designed for this purpose.
Before applying the sealer, you need to clean the surface of any dirt or debris thoroughly. This will ensure that the sealer adheres properly and provides maximum protection.
Once the surface is clean, apply the sealer using a brush or roller, covering all areas evenly.
After applying the sealer, allow it to dry completely before using your tiled area. This drying process typically takes around 24 to 48 hours but can vary depending on the type of sealer used.
Can you use mastic on cement boards in wet areas?
Using mastic on wet cement boards is not recommended due to its vulnerability to water damage over time. Although some manufacturers may suggest it, mastic is unsuitable for wet environments like showers or bathtub surrounds.
Water can weaken this adhesive, especially in areas such as bathrooms and kitchens where moisture levels are high.
Using a waterproof adhesive like thin-set mortar is crucial to ensure the long-term durability and performance of your tile installation.
While mastic or premixed thin-set may save time during installation, compromising on their use in wet areas can result in a shorter lifespan for the tiles.
How long does mastic last on cement boards?
On cement boards, mastic can last for more than a decade if it is applied correctly and sealed. But, its exposure to water or moisture influences its longevity.
Mastic provides a strong and durable bond in dry areas and when used on vertical surfaces. But the mastic can deteriorate over time in wet environments or areas with constant moisture exposure.
The durability of mastic on cement boards largely depends on its ability to resist water penetration and maintain adhesion. If properly installed and maintained, it can withstand the test of time.
But, if water or excessive moisture seeps through the cement board, it can compromise the integrity of the bond and reduce its lifespan.
Achieving Excellence With Mastic on Cement Boards
Clearly, using mastic on cement board is indeed possible and can provide a strong bond for vertical tiling. Proper preparation including cleaning and drying the surface, is crucial for successful adhesion.
Choosing the right mastic type is essential, with Type 1 mastic being highly recommended for cement boards.
During application, ensure even thickness for consistent bonding. After tiling, grouting and sealing are vital steps to protect your project.
While mastic is suitable for dry areas, it’s not recommended for wet environments due to water vulnerability.
With careful application and consideration of the project’s needs, you can achieve a long-lasting and beautiful tile installation on the cement board.