Last Updated on March 20, 2023
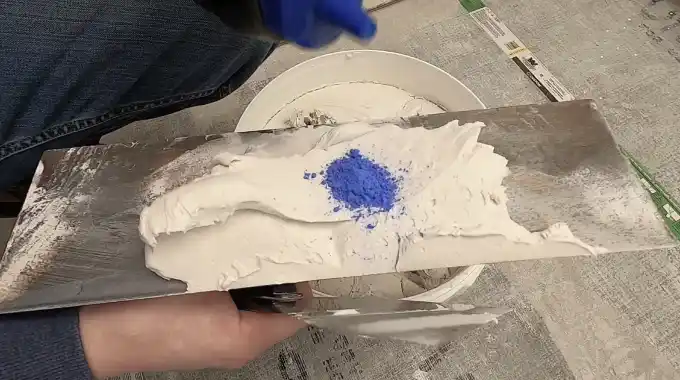
You’ve probably seen drywall mud on walls and ceilings during construction, but have you ever wondered if drywall mud is waterproof? This essential product has been a staple of any project requiring drywall installation that gives builders smooth, seamless surfaces to work with.
While it is not waterproof, a few extra steps can transform drywall mud into an effective moisture barrier. Adding water-resistant sealers and primers or liquid acrylic waterproofers to the mix and finishing off with a protective membrane layer can make your walls impervious to damaging wetness.
These modifications make drywall mud water-resistant and almost waterproof. Let’s explore how we can achieve this transformation.
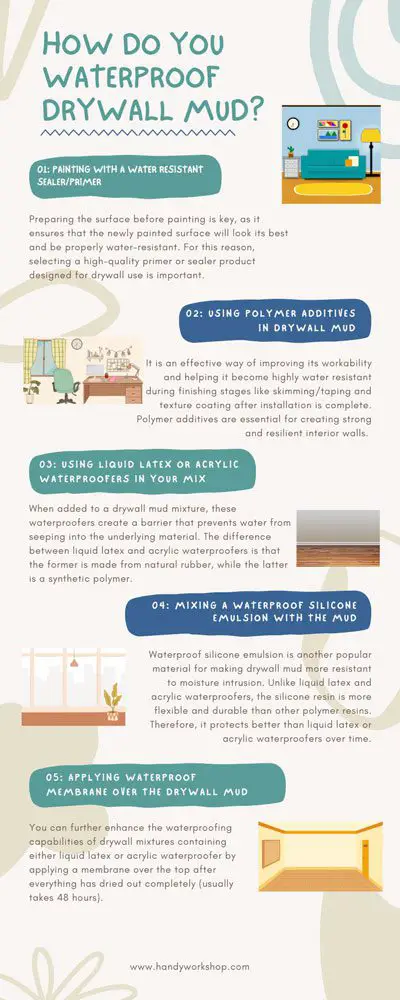
How Do You Waterproof Drywall Mud?
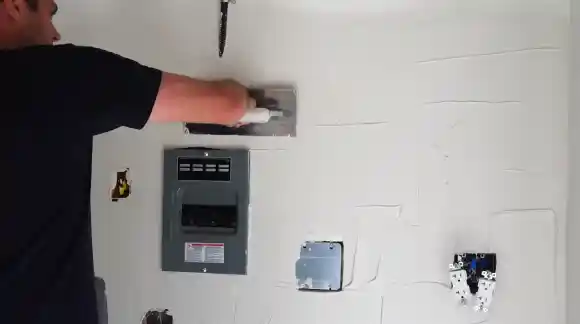
Waterproofing drywall mud, also known as joint compound, is essential for areas where moisture is a concern. Whether the wall is in a bathroom, kitchen, or even outdoors, it’s essential to ensure the drywall mud is applied correctly and waterproofed to withstand humidity.
There are several ways to waterproof drywall mud, including preparing the surface and applying specific materials.
01: Painting with a Water Resistant Sealer/Primer
Preparing the surface before painting is key, as it ensures that the newly painted surface will look its best and be properly water-resistant. For this reason, selecting a high-quality primer or sealer product designed for drywall use is important.
When selecting the right primer or sealer for the job, it’s essential to consider what type of environment the wall or surface will be exposed to.
It’s better to choose a paint specifically designed for drywall surfaces with waterproofing properties if there’s any chance of exposure to water. This can also be beneficial if the home has high-humidity areas, such as bathrooms and kitchens.
Once you have selected your preferred sealer or primer, proper application techniques are essential for achieving optimal results. It’s important to prepare the wall before painting by removing dust, dirt, grease, or other contaminants from the surface with a damp cloth.
Then check for any areas of unevenness in the wall and use spackle or caulk as needed to repair them. Once done, you can apply your chosen primer using a brush, roller, or spray gun.
Make sure to apply an even layer across the painted area and allow plenty of drying time between coats according to product instructions. After completing two coats of primer, you can begin painting with your chosen paint color, followed by an additional coat of sealant if desired.
This can help provide extra protection against moisture while creating a more attractive finish look on your walls.
02: Using Polymer Additives in Drywall Mud
It is an effective way of improving its workability and helping it become highly water resistant during finishing stages like skimming/taping and texture coating after installation is complete.
Polymer additives are essential for creating strong and resilient interior walls. By combining liquid acrylic polymers with mud mixes, projects like partition walls and ceilings gain enhanced protection against cracking due to temperature fluctuations. It ensures that joint tapes and metal corner beads remain fully bonded even during extreme temperature swings.
The market offers a range of adhesive options, from basic formulas for common home repairs to specialized formulations for large-scale commercial applications. For example, special adhesives are designed specifically for securing foam panels in outdoor stucco finishes that provide superior adherence even when exposed to varying temperatures and weather conditions.
To achieve the perfect mix, slowly pour a quart of polymer additive into the five-gallon bucket while stirring continuously. Too much can cause issues when applying mud to joints and slow down the setting time, so keep an eye on how much is added for the best results.
After mixing, applying polymer-enhanced drywall mud is not much different from a regular mix but requires extra time since it may take longer to reach full saturation.
Before applying multiple layers at least 1/4″ thick, each with appropriate drying time in between, scrape away any loose pieces and tape off joints if needed. Next, seal edges with fiberglass mesh tape and sand lump down so the result is smooth and won’t leak.
03: Using Liquid Latex or Acrylic Waterproofers in Your Mix
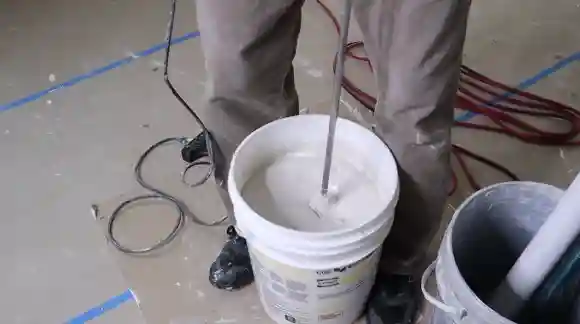
When added to a drywall mud mixture, these waterproofers create a barrier that prevents water from seeping into the underlying material. The difference between liquid latex and acrylic waterproofers is that the former is made from natural rubber, while the latter is a synthetic polymer.
In terms of how to use them in your mixture, it’s essential to mix them into the drywall mud at a ratio of one part liquid latex or acrylic waterproofer for every three parts of mud. This can be done by slowly pouring the waterproofing agent into the mud while stirring it with a large mixing blade.
Alternatively, you can use a drill mixer attachment to blend the ingredients until they form an even consistency quickly. It’s also advisable to test out small amounts of your mixture on scrap pieces before applying it on walls, as this will allow you to get an idea of how well it adheres and protects against moisture intrusion.
After mixing your drywall mud with either liquid latex or acrylic waterproofer, you should apply multiple layers over any areas where moisture could enter, such as corners, cracks, and crevices, to create an effective barrier against water damage.
Make sure each layer is dried completely before applying another, as this will ensure that everything sticks appropriately and doesn’t flake off when wet. It’s also important to note that both types of waterproofer can be tinted with paint color to blend in better with surrounding surface colors if necessary.
04: Mixing a Waterproof Silicone Emulsion With the Mud
Waterproof silicone emulsion is another popular material for making drywall mud more resistant to moisture intrusion. Unlike liquid latex and acrylic waterproofers, the silicone resin is more flexible and durable than other polymer resins. Therefore, it protects better than liquid latex or acrylic waterproofers over time.
Mixing silicone emulsion with drywall mud is an art that takes some practice. You must gently incorporate air bubbles into the concoction and stir continuously, adding small amounts until you reach desired consistency.
And make sure to be mindful of windy conditions. Otherwise, those pesky gusts could disrupt crucial bubble formation, thwarting this product’s protective effect. To determine its performance before taking on larger-scale projects, later on, test samples on scrap pieces first.
05: Applying Waterproof Membrane Over the Drywall Mud
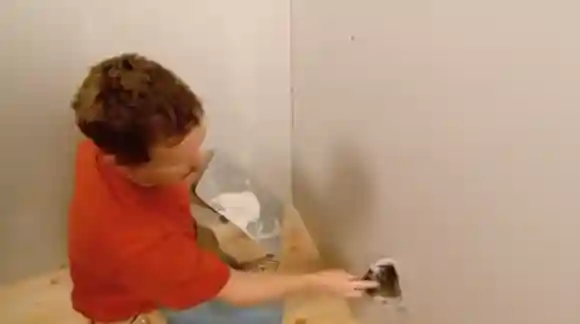
You can further enhance the waterproofing capabilities of drywall mixtures containing either liquid latex or acrylic waterproofer by applying a membrane over the top after everything has dried out completely (usually takes 48 hours).
With so many different membrane options on the market, choosing one that fits your needs can be difficult. Fortunately, rubberized asphalt roll-on membranes provide an optimal combination of protection and lightweight construction for excellent water infiltration resistance without extra bulkiness weighing down walls.
Before starting any project, preparation is essential for successful completion. Ensure all surfaces are dust-free and smooth out those pesky bumps with a light sanding if necessary before applying the adhesive. Either manually by brush or roller or through a machine depending on scale.
Let the membrane dry thoroughly before coating it off with sealant to guarantee immaculate results every single time. Roll the membrane over the entire surface, cutting around corners and tight spots as needed.
How Much Water Can Drywall Joint Compound Withstand?
A drywall joint compound, also known as mud, is a thick paste used to seal seams between drywall sheets and to cover nails or screws. It is typically made from gypsum dust, talc, and additives that help it bind together and resist water.
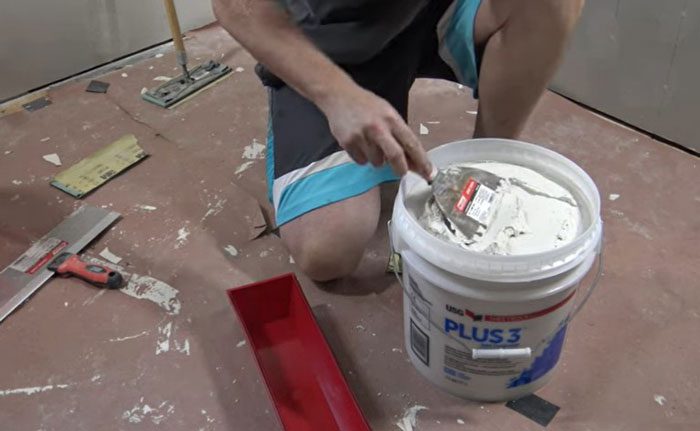
Generally speaking, drywall mud is highly resistant to water due to its composition. The amount of water it can withstand depends on how well it was installed. If the mud is not smoothed correctly or there are gaps in the joints where water could enter, it will be less likely to stand up against extended moisture exposure.
The type of mud you use can also affect how much water it can withstand. Some brands are advertised as more waterproof than others and may provide better results when exposed to a large amount of moisture over time.
What Happens If Moisture Resistant Drywall Mud Gets Wet?
When moisture-resistant drywall mud gets wet, it can become weakened by the absorbed moisture. This weakening effect is especially noticeable if excessive amounts of water can penetrate beyond the surface layer of the material.
The extent of damage caused by this process largely depends on how much water seeped into the joint compound and how long it was exposed before drying out again. In extreme cases, too much exposure to moisture may cause complete failure of certain areas due to disintegration or delamination of the material itself.
Investing in moisture-resistant drywall joint compounds can be a great way to safeguard walls from liquids and protect them for long-term use. With the right installation and maintenance practices, damage or weakening of surfaces due to prolonged liquid exposure is unlikely.
What Is Water-Resistant Drywall Called?
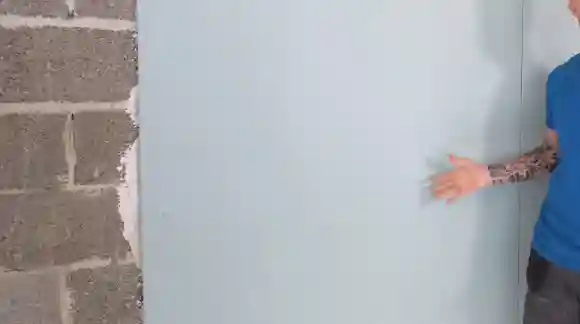
Water-resistant drywall is commonly referred to as green board due to its green paper facing, which helps increase its resistance level against liquid absorption compared to regular drywall products.
It is designed for applications with an increased risk for moist environments, such as bathrooms or kitchens since its composition protects against warping caused by excessive humidity levels indoors over time.
Manufacturers are providing an improved drywall joint compound/mud version to battle water damage. These enhanced products offer added features like mold resistance and fire ratings higher than regular drywall, with tests showing they can last through damp conditions without sacrificing their quality over time.
It’s Time To Waterproof Your Drywall Mud
Overall, drywall mud is not inherently waterproof, but there are several methods that you can use to make it more resistant to water damage.
Painting with a waterproof sealer/primer, adding polymer additives to the mix, waterproofing with acrylic or latex, mixing a silicone emulsion with the mud, and applying a waterproof membrane over the drywall mud are all effective ways of providing additional water protection for your drywall project.
But it’s essential to remember that even when these methods are employed correctly, they may not wholly stop moisture from entering your structure depending on external factors such as humidity levels and exposure to outside elements like rain or snow.
As such, it’s essential to be aware of these variables when choosing which approach best suits your needs.
