Last Updated on January 26, 2023
In the world of home improvement, there are few things more important than getting a good skim coat. After all, a skim coat is what will give your walls a smooth, polished finish. But what’s the best way to achieve that perfect finish? Should you use joint compound or spackle?
When you’re repairing a wall or ceiling, you want to make sure the surface is as smooth as possible before painting or papering. A skim coat is a very thin layer of joint compound or spackle that can be applied to fill in small imperfections and make the surface smooth. But which should you use?
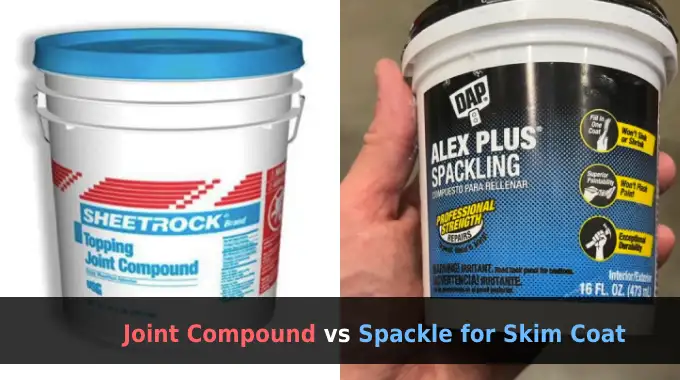
This blog post will cover both sides of the debate, joint compound vs spackle for skim coat. We will also share some relative answers to the question in regard to the topic at hand so that you can make an educated choice for your upcoming project.
Joint Compound vs Spackle for Skim Coat: Key Differences
Let’s take a look at some of the factors you should consider when deciding between joint compound and spackle for your skim coat.
1. The Type of Surface You’re Working With:
Are you working with a new drywall installation or an existing wall? If you’re working with new drywall, you can use either joint compound or spackle.
But, if you’re working with an existing wall, you’ll need to use a joint compound. Spackle is not suitable for skim coating over an existing wall because it’s not as strong and durable as a joint compound.
2. The Size of the Area You’re Covering:
Another thing to take into account is the coverage area. If you’re only covering a small area, such as patching a few holes, spackle is a better option because it dries faster than a joint compound.
But, if you’re covering a large area, such as an entire wall, a joint compound is the better choice because it will give you a more even finish.
3. The Level of Detail You Need:
When it comes to detail work, such as creating smooth transitions between different colors or finishes, a joint compound is the preferred option because it can be sanded down to create a perfectly smooth surface. Spackles can also be sanded down, but it’s more difficult to get the same level of detail with spackles as you can with joint compound.
4. Ease of Use:
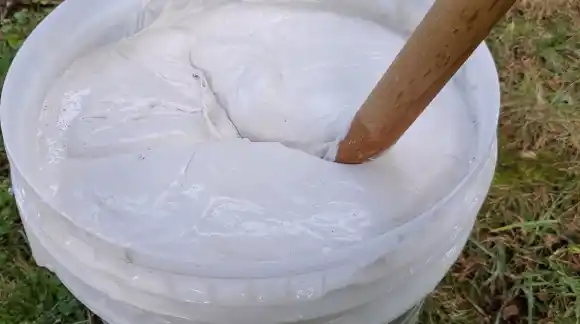
Another factor to keep in mind is the ease of use. A joint compound is generally considered to be more difficult to use than spackle because it requires mixing and can be difficult to apply evenly.
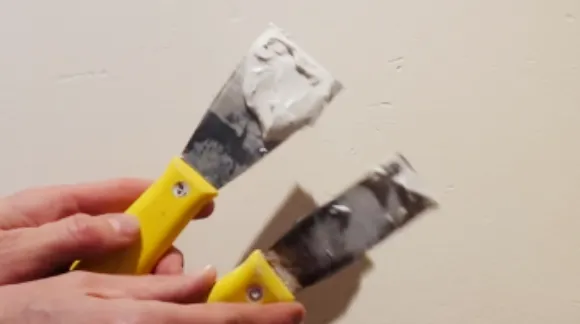
Spackle, meanwhile, is more convenient to use because it comes in a pre-mixed form and can be easily applied with a putty knife. So, if you’re looking for something that’s quick and easy to use, spackle may be the better option.
5. Drying Time:
One of the main factors to consider when choosing between joint compound and spackle is drying time. The joint compound usually takes anywhere from 2-24 hours to dry, depending on the humidity and temperature of the room.
Spackle, in contrast, dries much faster. Usually within 30 minutes to an hour. If you’re in a hurry, spackle is definitely the way to go. But, if you have the time to wait, joint compound will give you a smoother finish.
6. Sanding Time:
Another factor to consider is sanding time. Once the joint compound dries, it needs to be sanded before it can be painted or papered. This can be a time-consuming process, especially if you’re dealing with a large surface area.
Spackle, meanwhile, doesn’t need to be sanded. You can just go ahead and paint or paper over it once it’s dry.
7. Cost:
Cost is always a factor when deciding between two similar products. Spackles are typically more expensive than joint compounds, and these compounds also provide better coverage.
So, if you’re working on a large project or you need high-quality results, spackle is the way to go. But, if you’re undertaking a smaller project or you’re on a tight budget, the joint compound may be a better option.
8. Shelf Life:
The joint compound has a longer shelf life than spackle, up to 18 months if stored properly. Spackle, on the other hand, only has a shelf life of 6-9 months. Therefore, if you are planning on keeping a leftover joint compound for future use, you need to be aware that it may not hold up as long as you hoped.
Conversely, if you have leftover spackle, you can be confident that it will still be usable for some time.
Joint Compound: The Pros
- A joint compound is a thick paste that can be easily spread over large areas. It also can be sanded smooth once it dries.
- It is a versatile product that can be used for a variety of applications, including patching holes, filling cracks, and finishing edges.
- It dries relatively quickly, so you won’t have to wait long before you can start painting or texturing.
- It’s also relatively inexpensive, so it’s a great option if you’re on a budget. It is also available at most hardware stores.
Joint Compound: The Cons
- A joint compound can be difficult to work with if you’re not used to using it.
- It can also be unsightly, so you’ll need to take precautions to avoid making a mess.
- If not applied correctly, the joint compound will have flaws.
- It also shrinks as it dries, so you’ll need to apply multiple coats in order to ensure smoothness.
Spackle: The Pros
- Spackle is much easier to use than joint compound since it’s already mixed and ready to go.
- It’s also less messy, so there’s less of a chance of making a mess.
- Spackle dries completely clear, so any imperfections will be invisible once dry.
- It’s also quite strong so that it won’t shrink or crumble over time.
- Spackles can be sanded down for an even smoother finish if necessary.
- Spackle is great for small projects since you won’t need to use it much.
- Spackle doesn’t require any special tools or equipment, so it’s easy to use.
- You can find both water-based and oil-based options depending on your preference. You can also find pre-mixed options along with powder options that you’ll need to mix yourself.
Spackle: The Cons
- If not used correctly, spackle can leave behind visible imperfections.
- Spackle doesn’t always adhere well to surfaces, so you may need to use a primer first.
- It isn’t always as durable as a joint compound, so it may not last as long.
- Spackling takes practice, so don’t expect perfect results the first time around.
Can You Skim Coat Interior Walls with Joint Compounds?
A joint compound, also known as mud, is a common material used for both new construction and repair work on walls and ceilings. While it is most commonly used to fill in the gaps between sheets of drywall, it can also be used as a skim coat over an existing wall surface.
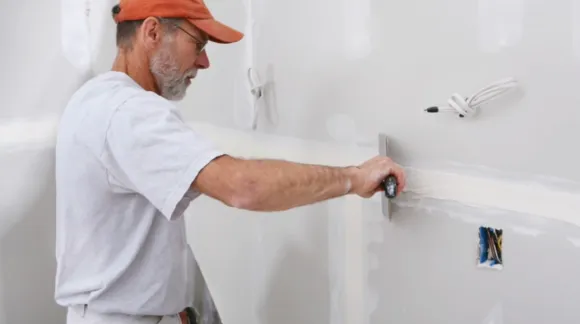
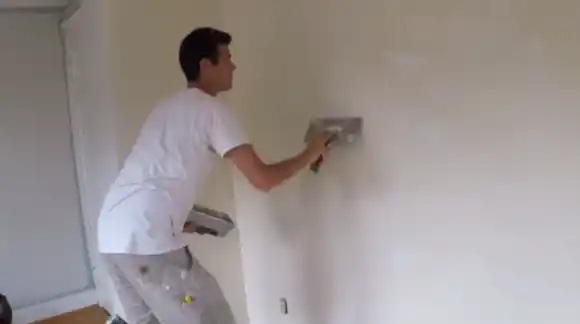
Skim coating is a process whereby a thin coating of joint compound is applied over the entire wall or ceiling. This can be done by hand with a trowel or putty knife or with a special roller designed for this purpose.
The advantage of using a joint compound as a skim coat is that it provides a smooth, even surface that can then be painted or otherwise finished as desired.
How Thin Should the Joint Compound be for a Skim Coat?
A skim coat consists of a smooth layer that is applied over the surface of a wall or ceiling in order to create an even, smooth surface. Skim coats are typically used prior to painting or installing wallpaper.
When applying a skim coat, it is important to use a thin, consistent layer of joint compound in order to avoid creating bumps and unevenness. The ideal thickness for a skim coat is about 1/16 inch.
If the joint compound is too thick, it will be difficult to achieve a smooth finish. On the other hand, if the joint compound appears too thin, it will not adequately cover the surface and may result in an uneven finish. For best results, aim for a consistent thickness of one-sixteenth of an inch.
Can I Just Use a Spackle Instead of a Joint Compound on Wood?
When it comes to repairing holes in wood, many people think that spackle and joint compound are interchangeable. Despite this, while joint compound can be used as a substitute for spackle in some cases, spackle should never be used in place of joint compound.
When it comes to repairing work, spackle is best suited for small jobs, while joint compound is better suited for larger ones. Spackle dries harder than joint compound, so it is unlikely to crack when sanded. But, a joint compound has better adhesion than a spackle, so it tends not to fall out of cracks or holes.
Also, the joint compound shrinks less than the spackle as it dries, so it is less likely to cause dimpling or indentations in the repaired surface. So, next time you’re faced with a hole in your drywall or woodwork, reach for the spackle instead of the joint compound.
Do You Have to Seal the Joint Compound After the Skim Coat?

Applying a skim coat of joint compound to your walls is a great way to create a smooth, even surface for painting or wallpapering. Once the compound has dried, you may be wondering if you need to seal it before proceeding.
The short answer is that it depends on the type of joint compound you use. If you apply an oil-based compound, it will need to be sealed with an oil-based primer before painting.
But, if you use a water-based compound, it can be painted without sealing first. If you’re not sure, which brand of joint compound to use, check the labels on the cans or ask someone at your local hardware store.
Conclusion
So, which should you choose? If you’re looking for an easy-to-use product that dries quickly and is forgiving of mistakes, then the joint compound is the route to go. If you’re looking for a product that dries completely clear and doesn’t shrink or crack over time, then spackling is the better option.
In most cases, joint compound is cheaper and will result in a smoother finish. Whereas spackle doesn’t require sanding and dries much faster. Ultimately, the best decision is the one that meets your specific needs and budget constraints. Whichever route you choose, just make sure that you take your time and practice patience. A smooth finish takes time and effort.
Relevant Article To Read: