Last Updated on September 16, 2023
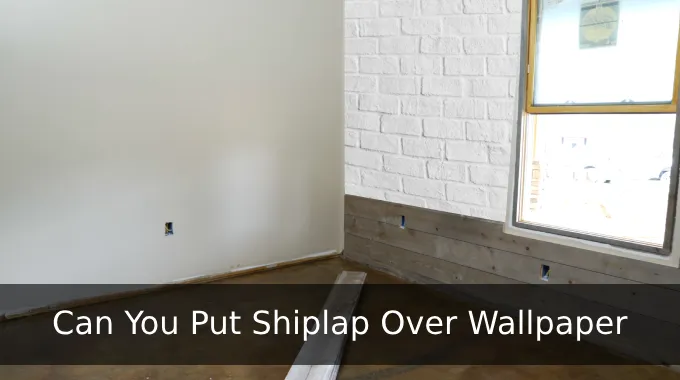
Shiplap offers a stylish & rustic touch and covers any imperfections on home walls. But can you put a shiplap directly over the old wallpaper to transform your home interior space? You can definitely put shiplap over your existing wallpaper to give your walls a fresh and modern look.
Installing shiplap siding over old and outdated wallpaper is a creative and budget-friendly DIY project that will add depth and character to your walls. But before beginning, ensure the wallpaper is in good condition with no loose edges or peeling sections.
Today, we will provide a comprehensive guide with DIY steps to install shiplap wall siding over old wallpaper successfully. So keep reading to transform your space.
How to Put Shiplap Siding Over Old Wallpaper: DIY Steps to Follow
Before you begin installing shiplap siding over old wallpaper, you need to follow a few simple steps, such as:
- Step 1: Gather Your Materials and Tools
- Step 2: Prepare Your Workspace
- Step 3: Inspect the Old Wallpaper
- Step 4: Measure and Cut the Shiplap
- Step 5: Begin & Continue the Installation
- Step 6: Cut Around Obstacles for a Particular Panel
- Step 7: Finishing Touches
- Step 8: Painting (Optional)
STEP 1: Gather Your Materials and Tools
To start, ensure you have all the necessary materials and tools. You will need:
- Shiplap boards
- Stud finder
- Level
- Measuring tape
- Pencil
- Nail gun or hammer and nails
- Saw (circular saw or miter saw)
- Wood putty
- Sandpaper
- Paint or finish (optional)
- Safety gear (protective eyewear, gloves)
STEP 2: Prepare Your Workspace
Clear the area where you plan to work by removing any furniture or decorations from the walls and laying down protective covers on the floor. A clear work area creates a safe and clean environment to work in.
Removing furniture and decorations also ensures they won’t get damaged during installation. Also, laying protective covers on the floor catches any debris or mess that may occur during the project, making cleanup easier afterward.
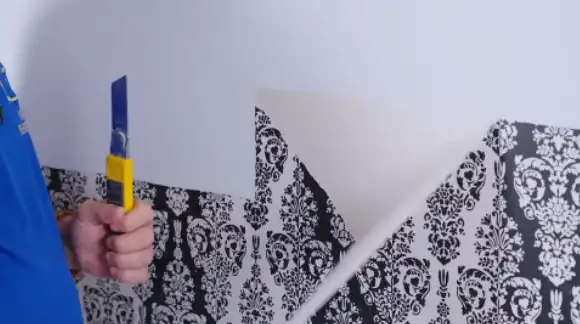
STEP 3: Inspect the Old Wallpaper
Check the old wallpaper for any loose edges, bubbles, or damage before removing imperfections. Start by carefully examining the wallpapered walls, paying close attention to any areas that may be peeling or bubbling.
Press down on these sections to see if they can be easily reattached. If there are any tears or holes in the wallpaper, consider patching them before proceeding with the shiplap installation.
Removing any dirt or grease from the wallpapered surface is also important, using a mild cleanser and a soft cloth. Inspecting and repairing the old wallpaper will help create a solid foundation for your new shiplap walls.
STEP 4: Measure and Cut the Shiplap
Using a saw, measure and cut the shiplap boards to fit the dimensions of the wall, windows, and other obstacles. This is crucial in ensuring a seamless installation of your shiplap over wallpaper.
Start by taking accurate measurements of your wall and then transfer those measurements onto the shiplap boards. Make sure to account for any corners that may require special cuts. You can use a miter or circular saw with precautions to make precise cuts.
STEP 5: Begin & Continue the Installation
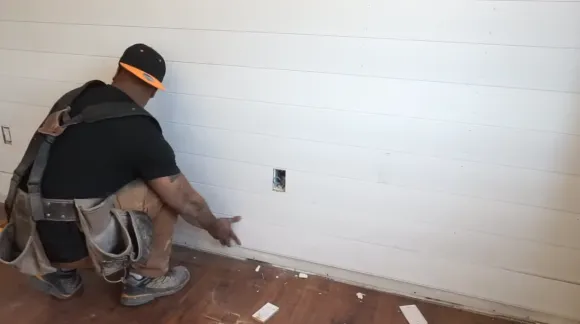
To start the installation, ensure your first board is level and aligned with the floor, securing it into the studs beneath the old wallpaper. This ensures a solid foundation for your shiplap project.
Once the first board is in place, insert the tongue of the next shiplap board into the groove of the previous one. Ensure they are level and properly aligned before nailing them into the studs.
By continuing this process, you will cover the entire wall with a shiplap. Remember to maintain even spacing between each board for a professional finish.
STEP 6: Cut Around Obstacles for a Particular Panel
When working around electrical outlets and components, turn off the electricity before cutting around them with a saw. You must do this to ensure your safety and to prevent potential electrical hazards.
Also, measure and mark the particular board accordingly before making any cuts. Before installing a particular shiplap panel, use a hand saw to carefully cut in the panel according to the obstacle measurements, such as outlets or light switches. Then, install the panel on the wall according to the cutting.
STEP 7: Finishing Touches
Now that all the panels have been installed on the wall, you can add some finishing touches. Consider adding trim or molding to cover these gaps to achieve a polished look. This will give your shiplap a seamless appearance and enhance the room’s overall aesthetic.
Also, don’t forget to fill any nail holes with wood putty. This will ensure your shiplap boards have a smooth surface and eliminate imperfections. Once you’ve filled in the nail holes, sand the boards lightly to create an even finish.
STEP 8: Painting (Optional)
You can paint over the shiplap if you prefer a painted finish for your shiplap siding. Begin by applying a primer, especially if the shiplap has a textured surface.
Once the primer is dry, apply your desired paint color using a roller or brush. Allow the paint to dry completely before repositioning furniture or decorations.
Do I need to remove the old wallpaper before installing the shiplap?
You can leave the old wallpaper in place when installing shiplap if it is still in good condition and sticking well to the wall. While it is generally recommended to remove wallpaper before installing shiplap for optimal results, there are situations where leaving the wallpaper intact may be feasible.
If the existing wallpaper is firmly adhered to the wall and shows no signs of peeling or bubbling, it can serve as a suitable base for your shiplap installation.
Should I install furring strips over the wallpaper before the shiplap installation?
If the old wallpaper has a textured or uneven surface, it’s beneficial to install furring strips before installing the shiplap. Furring strips provide a more even and stable surface for the shiplap to be attached to, ensuring a smoother and more professional-looking installation.
Also, furring strips allow for better nail or screw attachment, ensuring the shiplap remains securely in place.
Can I use adhesive to install shiplap over the wallpaper?
Using adhesive along with nails can provide extra support for shiplap installation over wallpaper. Adhesive helps create a stronger bond between the shiplap boards and the wall surface, ensuring durability and security.
When installing shiplap over wallpaper, properly prepare the wall surface by cleaning it thoroughly and smoothing any imperfections. Applying adhesive and nails can help prevent the shiplap boards from loosening or shifting over time.
It is recommended to use a construction adhesive specifically designed for bonding wood to different surfaces, such as wallpaper. This will ensure optimal adhesion and minimize the risk of the shiplap coming loose or causing damage to the underlying wallpaper.
Transform Your Home Interior Space: Install Shiplap Siding Over the Old Wallpaper
Installing shiplap siding over old wallpaper is a fantastic way to refresh your space without the hassle of wallpaper removal. By following these DIY steps, you can achieve a charming and textured shiplap wall that enhances your room’s overall aesthetic.
Although removing the old wallpaper prior to installing the shiplap ensures a smooth and secure surface, installing furring strips over the wallpaper can provide additional support.
This project adds visual appeal and repurposes existing materials, making it a sustainable and cost-effective home improvement endeavor. So, roll up your sleeves, gather your tools, and embark on this transformative journey to make your walls look great.