Last Updated on July 30, 2023
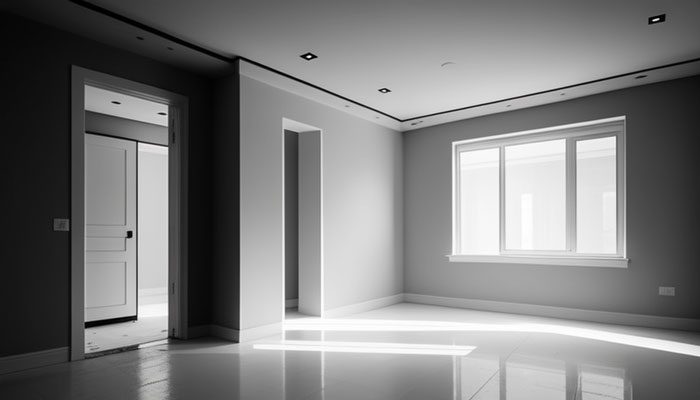
Giving your home or building a beautiful makeover starts with the paint job. But do you need to clean drywall dust before priming? In short, yes.
Before getting started, you’ll want to ensure surfaces are clean of drywall dust for optimal results. Otherwise, it could throw off the whole painting process and ruin that fab finish you’re going for.
The process of cleaning drywall dust before priming begins with preparation. Get ready with all the right tools like vacuums, sponges, rags, and buckets to ensure no harm comes to your primer or paint job. Plus, you’ll save yourself from inhaling any hazardous dust particles.
Here you will learn how to properly clean, prime, and check your walls before painting, so they look perfect. You will also learn why cleaning is so significant before priming and how you can ensure a flawless finish once you are finished.
How Do You Clean Drywall Dust Before Priming: In Steps
Cleaning drywall dust before priming is essential in any home improvement project. Whether patching and repairing holes, sanding down rough spots or just painting a wall, preparing the surface is key to achieving a seamless finish and lasting results.
Here are some essential steps for adequately cleaning drywall dust before you start priming:
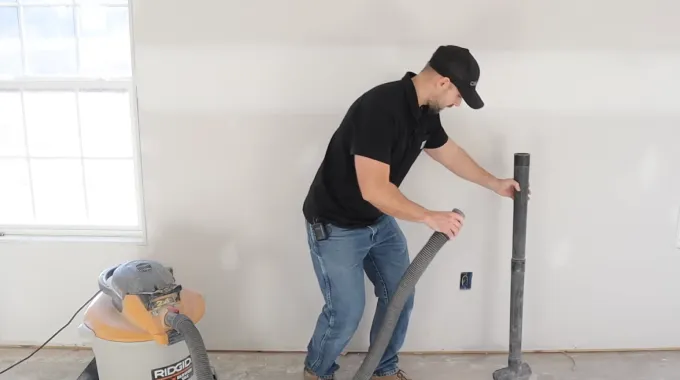
Step 01: Preparing for Dust Clean-up
The first step to preparing for dust clean-up is to assemble the necessary materials and equipment. This includes dust masks, gloves, goggles, a dustpan and broom, a wet/dry vacuum cleaner, and rags or microfiber cloths. It’s essential to use suitable materials and equipment when cleaning up drywall dust. Some materials, such as latex gloves, can cause more dust in the air.
After assembling the necessary materials, it’s important to identify which areas need to be cleaned. This includes walls, ceilings, floors, windowsills, trim work, and other surfaces that may have been contaminated with drywall dust.
It’s also important to check under furniture and appliances for any unseen patches of drywall dust. Once all areas of needed cleaning have been identified, it’s time to begin the cleaning process.
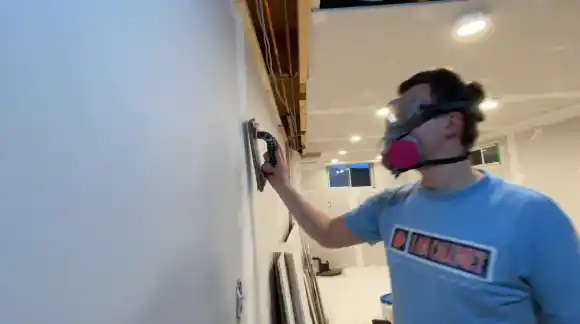
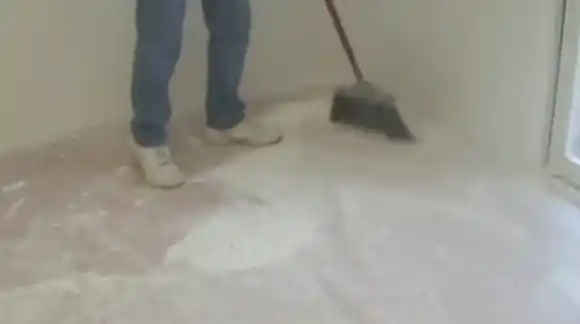
Step 02: Removing Dust from Surfaces
Once all areas needing cleaning have been identified, it’s time to remove the drywall dust from surfaces. The most effective way is by rubbing walls and surfaces with a damp cloth or microfiber cloth. This will help remove any loose debris while preventing further dust from entering the air during the cleaning process.

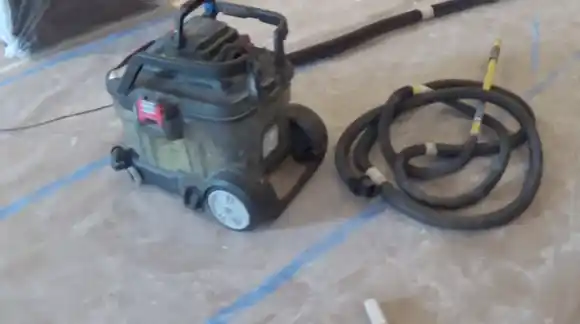
And using a HEPA vacuum cleaner or shop vac can help remove any remaining particles on walls and ceilings. But, these should only be used if there are no open windows in the room as they can spread further amounts of drywall dust into the air.
For areas that require more thorough cleaning, such as the trim work or corners of walled rooms, you can use a drywall sander. This will remove any stubborn particles missed while wiping down surfaces with a damp cloth or vacuuming them with a vacuum cleaner/shop vac.
Step 03: Cleaning Trim Work and Corners
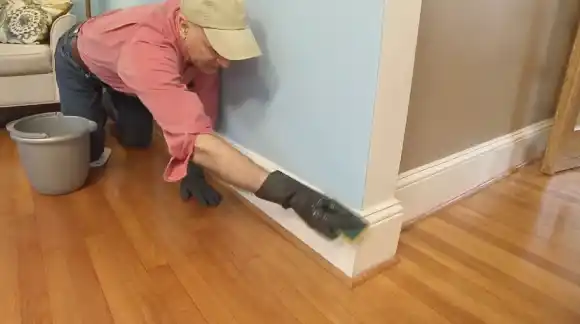
When cleaning areas around baseboards, window frames, and other tight spaces, it is best to use a stiff brush. This will help to loosen any stuck particles without releasing them into the air. If released into the air, they can contaminate other areas of the room or house with too much drywall dust.
Using this approach will help ensure that no missed pieces of debris remain after wiping down walls and surfaces with a damp cloth or using a vacuum cleaner/shop vac. Thereby ensuring greater cleanliness levels throughout all rooms/areas being cleaned up after construction projects involving drywalls are complete.
Step 04: Final Checks before Priming
Once you have wiped down or vacuumed all surfaces, you must check for any leftover drywall dust before beginning the priming process (if applicable).
To do this effectively, ensure you have full lighting conditions in each area being inspected. This way, no traces will go unnoticed, even in darker corners of rooms or houses where light does not necessarily reach immediately upon entering an area for inspection purposes.
If any spots were missed during the inspection, wipe them down again with a damp cloth or microfiber cloth until they are completely clean. Then you can move on to priming (if necessary).
How Do You Prime a Drywall after Dust Clean?
To ensure a successful paint job, you will need to thoroughly clean the surface of your drywall and then apply a primer coat. Here are the steps for priming drywall after dust cleaning:
Step 01: Preparation
Before starting to prime the drywall walls after dust cleaning, it is crucial to gather all necessary materials. Primer paint, a paintbrush, a roller pan/tray, a roller brush/pad, and drop cloths should all be readily available.
Once these materials are gathered, protective clothes and gloves should be worn to avoid any potential messes from staining the clothing or skin.
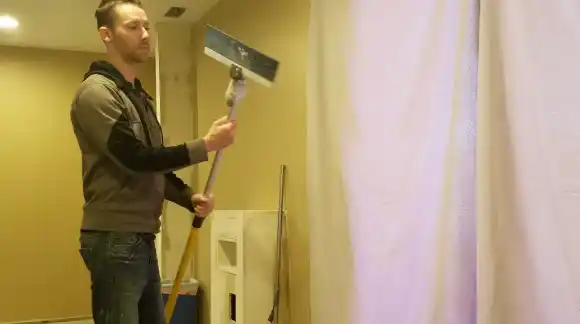
Step 02: Steps to Prime Drywall After Dust Cleaning
First, it is recommended that drop cloths are used on the floor below the wall being primed to catch any drips or splatters of primer. Then, the primer should be loaded into the roller pan/tray before dipping the roller brush/pad into it and applying an even layer of primer to the wall in an up-and-down motion.
For better control over coverage level and accuracy when working near corners and edges of walls, a paintbrush should be used for these areas as well. Finally, once this step is completed, allow enough time for the primer to dry completely before continuing with painting colors of choice.
What Are the Benefits of Priming Drywall After Dust Cleaning?
Priming drywall after dust cleaning has many benefits that cannot be overlooked when attempting this task. Primer helps to seal any stains or residues on walls that could potentially show through after painting and makes it easier to achieve even coverage with the paint colors of choice.
And priming can provide a smooth base layer that helps provide a better foundation for other layers of paint applied afterward. Ultimately, priming provides a longer-lasting finish that requires less maintenance than if left unprimed between repaints or color changes over time.
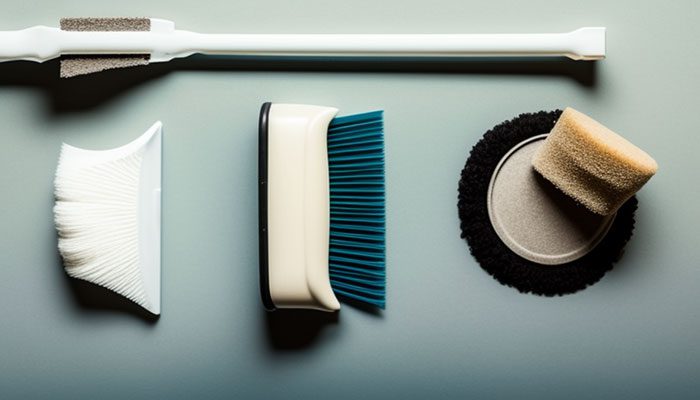
Here are some dust cleaner ideas for drywall dust:
Multi Purpose Heavy Duty Scrub Brush
This heavy-duty scrub brush is the perfect tool for tackling the toughest cleaning jobs. It features a firm, long handle for easy grip and leverage, making it ideal for scrubbing floors, walls, ceilings, windows, and more.
Its bristles are designed to be durable yet gentle on surfaces, so it won’t scratch or damage delicate surfaces while still providing an effective cleaning solution. Its robust construction ensures a long life of reliable use.
Wall Cleaner with Long Handle
This wall cleaner was designed to make cleaning walls easier and more efficient than ever before. Its extended-length handle gives you extra reach and leverage to clean high walls and ceilings with ease easily, no ladder needed.
Its lightweight construction ensures comfort while you work, and its bristles are strong enough to tackle tough grime but soft enough not to scratch delicate surfaces. It’s a must-have tool for any home cleaning job.
Drywall Dust Collector
Make drywall dusting a breeze with this convenient dust collector from our store. This easy-to-use gadget fits between wall studs in minutes and collects dust without you having to move furniture or climb ladders.
The powerful suction quickly removes drywall dust from cracks and crevices so you can get back to your project faster without any mess or hassle.
Wall Cleaner Tool for Floor and Ceiling
Keep your floor clean with this versatile wall cleaner tool from our store. Designed specifically for cleaning floors and ceilings, this brush combines long handle reach with firm bristles that are strong enough to tackle tough stains but gentle enough not to cause scratches or damage delicate surfaces.
And because it’s lightweight but highly durable, you can count on it being able to withstand years of heavy use around the home or workplace.
How Long Does It Take Drywall Dust to Settle After Priming?
The amount of time it takes for drywall dust to settle after priming depends on the humidity levels of the room. Generally speaking, it takes 24 to 48 hours for the dust particles to settle and disperse from the air naturally. During this period, the dust tends to attach to nearby surfaces and furniture, making them appear dirty and dusty.
To ensure that all of the dust particles have settled, it is recommended that you use a dehumidifier to reduce the moisture content in the air, as drywall dust will take longer to settle in more humid environments. Furthermore, you can also open up any windows and allow for more ventilation within the area to help speed up the process.
What Happens If You Paint Over Dusty Drywalls?
If you decide to paint over dusty drywalls without properly cleaning or preparing them beforehand, you are likely going to run into issues with flaking paint. This is because when the paint is applied over the top of a layer of fine dust particles, these particles will form a thin film between your wall and your paint job.
As a result of this thin film, your painting will not be able to adhere properly to the wall surface and will eventually start chipping off over time. Before you start painting, you should take some steps to make sure the paint job looks its best. Vacuum any dust and dirt particles from your walls or use a damp rag cloth to wipe away stubborn stains before applying primer or paint onto your walls.
Eliminate Health Risks and Ensure a Smooth Drywall Painting Project
Cleaning off dust before priming is a necessary step in successful drywall painting. Not only does it help prevent damage to the primer, but it also eliminates the risk of inhaling harmful particles.
Following the above steps, you can easily and safely prepare your surfaces for priming. Also, ensure that your home is well-ventilated during the process so that you don’t end up with unpleasant odors or dangerous fumes in your home or workspace. Taking these precautions can help ensure that your project goes smoothly without any issues down the line.


