Last Updated on March 13, 2023
Crafting the perfect walls begins with understanding how many layers of drywall mud to apply. Too few coats guarantee an unfinished look, and too many leave your surfaces bumpy or uneven. But what’s just right? Strike that coveted balance between beauty and function by finding out exactly how much mudding you need.
Figuring out the perfect number of coats for your drywall job can be tricky. It’s a delicate balance between what type you’re using, how big the room is, and just how expertly laid down that mud needs to be. But as a general rule of thumb, around one to three should do the trick. Each layer serves its own unique purpose in helping achieve that ultimate quality finish.
Let us guide you through everything about drywall mud application so that all of your efforts are rewarded.
How Many Coats of Drywall Mud: Factors to Determine

When applying drywall mud to a wall, various factors determine how many coats of the material will be needed to achieve the desired finish. Here are some of the most important factors to consider:
Type/Quality of the Drywall
The type and quality of drywall you use can significantly impact the number of coats of drywall mud needed to achieve a smooth, even finish. Higher-quality drywall will be more consistent in its thickness and texture, meaning fewer coats of mud will be needed.
Poorly made or low-grade drywall may require additional coats of mud if you want a professional-looking wall surface. Also, if the wall has any drywall seams that are not perfectly straight and even, more coats may be necessary to level out the wall.
The Level Of Quality Wanted
When it comes to determining how many coats of mud are necessary for any given application, the desired level of quality is another important factor to consider. A higher level of finish will generally require more layers of skim coating than a basic job would need.
More layers allow for greater coverage and a smoother appearance when painted over. Similarly, if increased durability is required in an area where there is likely to be extra exposure, then up to five thin coatings could be necessary for optimal performance results.
Joint Compound Complexity/Depth
Depending on how much joint compound is used and how complex the job is, there can be a difference in the number of coats needed for your drywall project. Multiple layers may be required for an even finish if you’re doing a complex job that includes deep drywall joint compound work, such as creating curved designs or intricate wall patterns.
On the other hand, if you’re working with shallow joint compound applications or simple lines and shapes, one or two coats should do the trick for most projects.
Patching or Finishing Kind Of Job
Fewer coats might be needed if you’re patching or repairing existing walls or surfaces rather than creating something from scratch. Since there won’t be as much work required in terms of evening out edges or filling gaps.
Then again, if you’re doing an entire wall finishing job, it could take two to three coats depending on how thick each layer is and whether any irregularities need evening out along the way.
Quality Of The Sandpaper
The sandpaper quality throughout your project can also make a difference in how many coats are necessary to complete it successfully. Using quality sandpaper that isn’t overly abrasive helps ensure that each layer applied is even and smooth without leaving behind too much residue or creating ‘globs.’
Generally speaking, most professionals prefer using medium-grade paper between grades 80-100 Grit. Anything above 120 Grit tends not to cause adequate smoothing between coats, so it should be avoided.
Level Of Skill Of Worker Applying Mud
Last but not least, the level of skill possessed by the worker applying their drywall mud also plays a huge role here. Although this is something outside our control, we should remember that someone with more experience might get better results quicker than someone new to this kind of work.
They need extra time to perfect each coat before moving on to the next one, especially when dealing with tricky finishes like curved surfaces. Resulting in them needing perhaps two more coats than what would have been initially planned for when starting on their project.
How to Apply Multiple Coats Of Drywall Mud?
To get that smooth, professional look for your drywall repair job, you’ll need to apply multiple coats of mud. It’s a few extra steps, but it’s worth putting in the effort. Check out these instructions for applying multiple coats of drywall mud.
Materials Needed:
- Drywall compound
- Smooth plywood board or sanding sponge
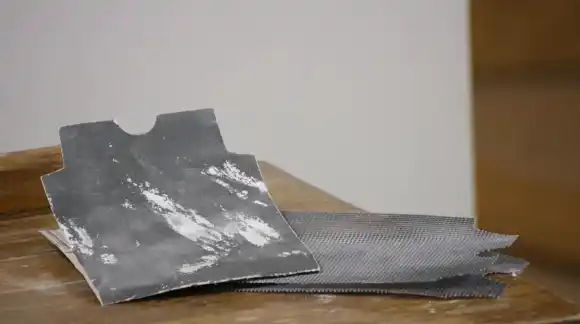
- Drywall paper tape
- Utility knife
- Sandpaper (medium grit)
- Drywall taping knife
- Putty knife or mud pan
Preparing Materials And Area For Application
Once you have gathered all the necessary tools and materials, preparing the work area for topping mud application is essential. Start by wiping down walls and ceilings with a damp cloth to remove any dust, dirt, or debris that may be present before beginning your project.
You should also check for any holes or cracks in the wall that need to be filled in before applying any additional coats of mud. This will ensure that your repairs are as seamless as possible when you’re finished.
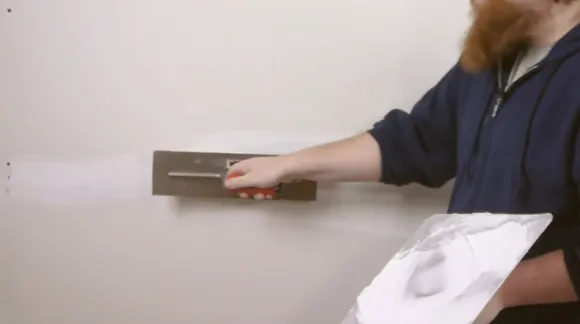
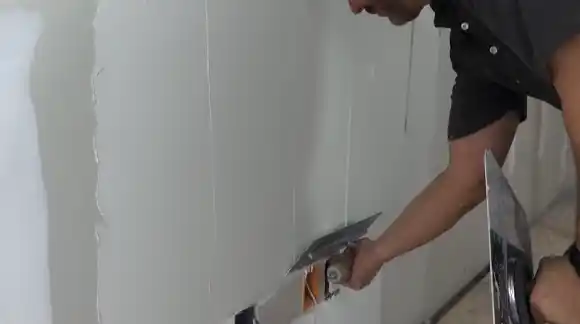
Applying The First Layer Of Drywall Mud
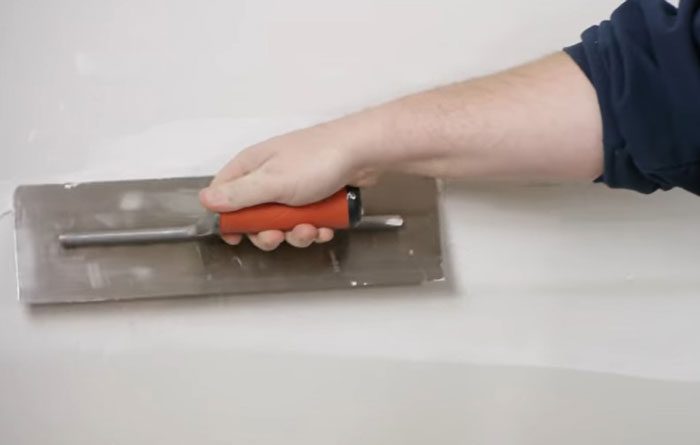
Mixing the right amount of drywall mud is key when it comes to applying multiple coats of drywall mud correctly. Make sure you follow the directions on the packaging label carefully and mix only what you think you’ll be able to use within an hour or two.
Leftover wet mud can quickly become unusable if left too long. When your drywall mud has been mixed properly, spread an even layer across the entire wall or ceiling surface using a putty knife or trowel, depending on preference.
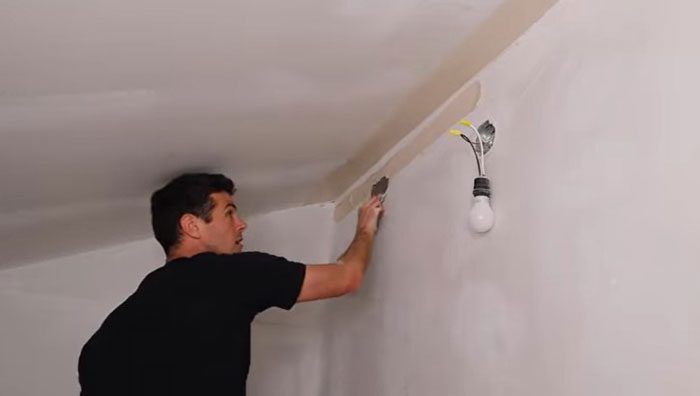
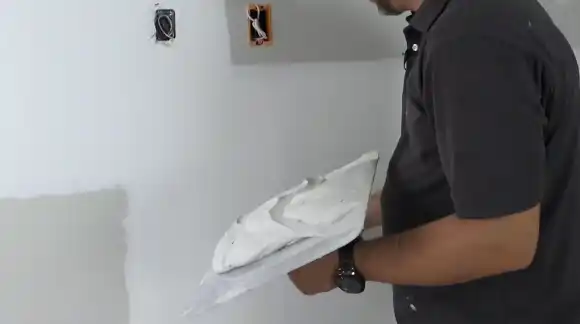
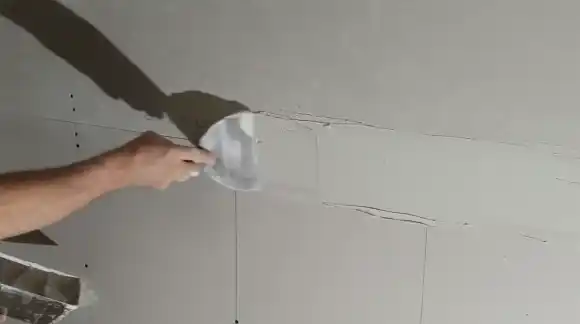
Adding Each Subsequent Coat Of Drywall Mud
After allowing time for proper drying of the first skim coat of mud applied on the wall/ceiling surface, use a hand sander or sandpaper to smooth out uneven areas. Which have formed due to the prior coat to achieve desired levelness across the surface.
As soon as this has been done, wipe down the wall/ceiling with a cloth dampened in a wet solution (preferably water) to remove the remaining dust & debris present after the complete sanding process.
Now you may proceed with step #1 once again by adding the next layer of drywall premixed mud based upon requirements specified earlier in this article. Ensuring that adequate drying time is given between each successive application.
Finishing Touches & Finalizing The Project
Upon completion of all coats, some drywall finishing touches need to be made to complete the project correctly. Begin by polishing with fine-grit sandpaper until you have achieved your desired results.
Afterward, you may choose to apply paint or another finish if desired. Before cleaning excess mud up your work area and putting away all tools and supplies used during this process.
Is It Necessary to Let the Drywall Mud Dry Before Applying a Second Coat?
Although it is a good idea to wait for the first coat of mud to dry before covering it again, doing so can have several advantages. For one thing, waiting allows you time to inspect your work and make any needed corrections before continuing with subsequent coats of mud.
Aside from that, letting the mud dry provides better adhesion between coats, leading to superior results overall. If you do choose to apply another coat without allowing time for drying first, you can do that as well, but you need to use an even softer grade of sandpaper than usual (e.g., 120-180 grit). This will help prevent damage or disruption on already soft mud surfaces.
For example, fine grit wet sandpaper, medium fine grit sandpaper, and silicon carbide abrasive sandpaper are good quality sandpaper for this purpose.
Does Drywall Mud Need to Be Sanded Between Coats?
Yes, it is necessary to sand between coats when mudding drywall. Sanding helps to achieve a smoother and more consistent finish drywall. It also fills any gaps between successive coats of mud, ensuring there are no bumps or ridges in the surface of your drywall joints.
When sanding, use medium-grit sandpaper (80-120) and vacuum up any dust that accumulates during the process. Sanding should be done after each coat has dried completely, usually around 24 hours, and it will help ensure a perfect drywall finish project.
When Mudding Drywall, What Should You Avoid?
Avoid using too much mud at once or applying it too quickly during mudding drywall. This can cause cracks in any drywall joint due to excessive pressure from the application process. Also, using too much mud will require unnecessary extra sanding later.
Unless done carefully and thoroughly, this can cause damage or disruption to your work. The best practice is, therefore, always “less is more” when working with drywall mud. Take care only to apply as much as needed for each coat and save yourself some time and effort later on.
Perfect Results Start with Calculated Drywall Mud Coats
Knowing how many layers of drywall mud are necessary for a successful finish is essential for achieving great results in any drywall project. It is crucial to consider factors such as the type of material being covered and the desired level of finish before beginning work.
Also, avoiding common pitfalls like putting too much mud on at once or not allowing enough drying time between layers can help ensure quality results.
You can coat drywall mud more than twice in one day, but your skillset and the size and scope of the job may restrict you. Be sure to follow all the steps outlined above for a professional-grade finish on your next drywall project.