Last Updated on March 18, 2023
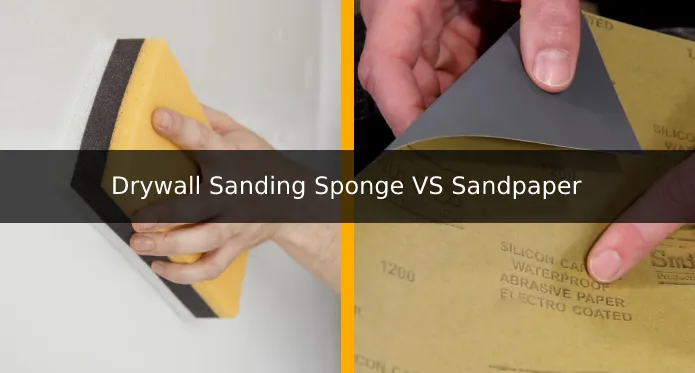
Creating a smooth, level surface on drywall? It’s no walk in the park, but with patience and precision coupled with the right tools, it’s achievable. Whether using a drywall sanding sponge or sandpaper, either will help you achieve a smooth, level surface. But which one is better?
Drywall sanding sponges are the best tool for getting the smooth finish you need on any drywall sheet or panel without causing too much damage to the surface. If you want to clean a surface while sanding, drywall sponges are your best bet. For time, effort, cost and versatility, sandpaper is suitable.
Let’s take a deeper look into how they stack up in terms of aspects like the sanding process, surface finish level, production speed, longevity, versatility, and cost.
Difference Between Drywall Sanding Sponge and Sandpaper
1. Sanding Process of Tape Joints and Skim Coat on Drywall:
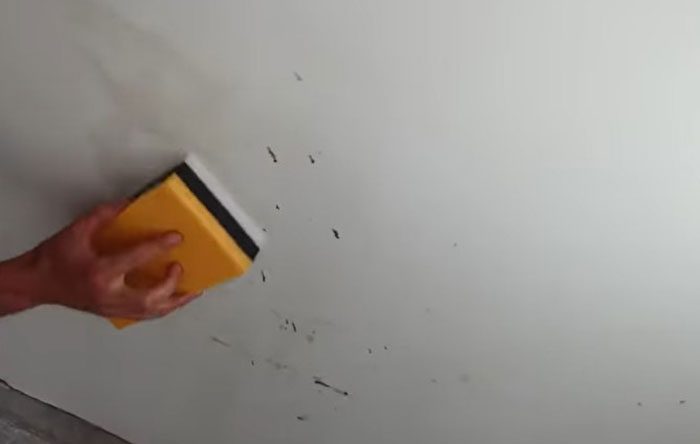
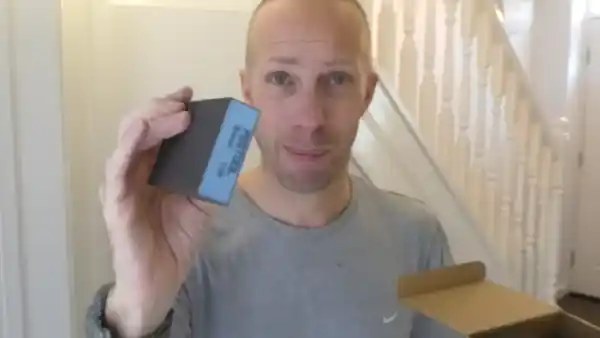
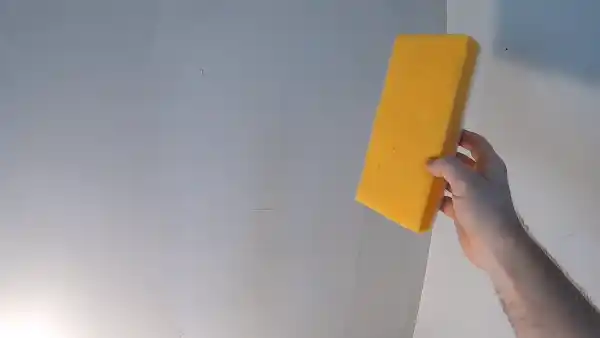
Sanding Sponge:
Sponges are generally used for wet sanding, with either a mixture of water and dish soap or just plain water depending on the severity and hardness of the joint compound’s texture. This wet sand method is less abrasive than sandpaper but much quicker at softening and smoothing uneven areas across dried joint compounds.
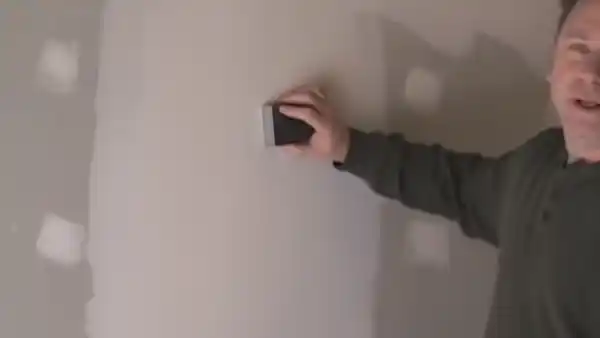
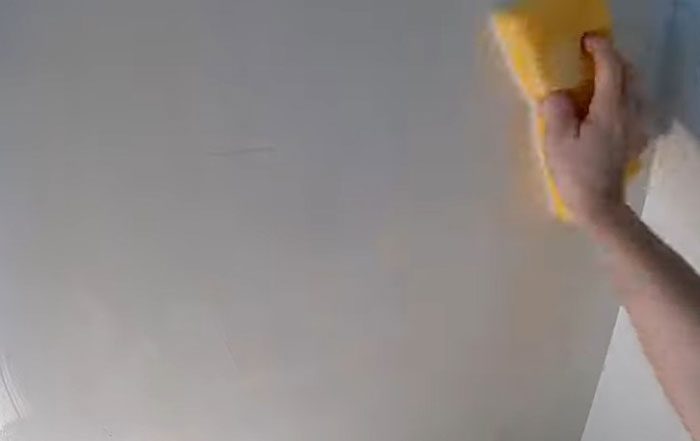
To use a sponge properly, simply soak it in your cleaning solution of choice before wiping it across the desired area using circular motions for about 30 seconds until the compound softens up.
Once softened up enough, use a firm sponge or flat drywall knife to blend the compound seamlessly without leaving any raised ridges behind from where it was patched originally.
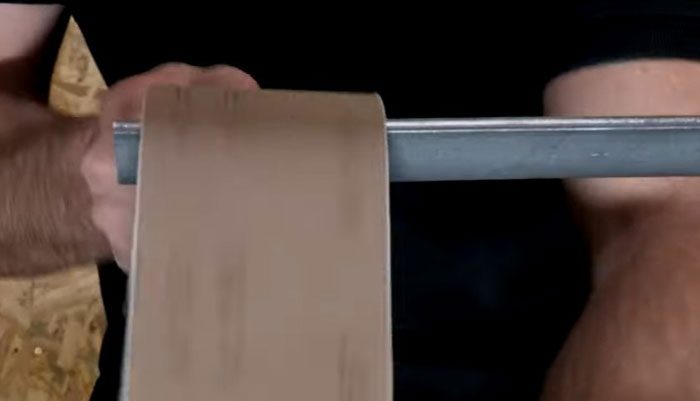
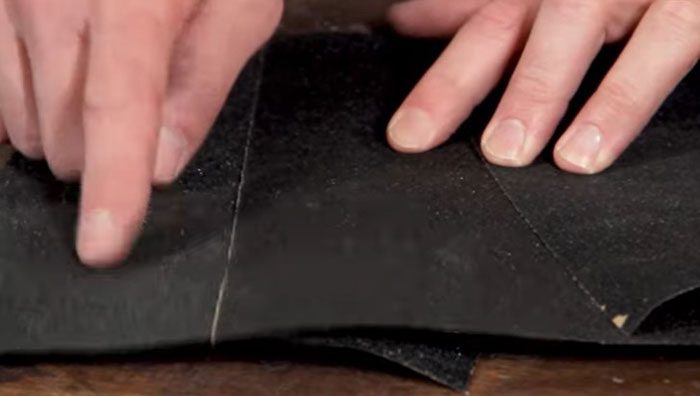
Sandpaper:
Sandpaper is a popular choice for sanding drywall joints and patches due to its abrasive nature and ability to reach into small spaces. It can come in different types of grits that range from 40 to 220, with the higher numbers being more abrasive.
When using grit sandpaper on mud or joint compounds on drywall seams and patches, it’s important to use only light pressure when sanding. Too much pressure can actually cause more damage than good, potentially leading to ripped paper or even gouges in the surface of the wall.
2. Dust Production Level:
Sanding Sponge:
Since the drywall sanding sponge can be used wet or dry, no drywall dust is produced when it is used wet. With this method of sanding, you will still need to use drop cloths to protect carpets and furniture from joint compound bits that may fall beneath your work area.
Sandpaper:
Sandpaper produces more dust than a drywall sanding sponge when sanding taped joints and skim coats. Sanding with sandpaper creates a cloud of fine white dust, making it necessary to wear dust masks and goggles while working. Also, plastic or fabric drop cloths must be used for blocking doorways and vents.
3. Clean Up:
Sanding Sponge:
When using a drywall sanding sponge, cleaning up is fast and easy as there will not be any dust present in the air or on surfaces due to its ability to be used wet or dry–no dust being created in either instance.
The only extra step during clean-up would involve removing any joint compound bits that have fallen beneath your work area as well as taking off any protective drop cloths that may have been laid down before beginning work.
Sandpaper:
When using sandpaper for sanding, clean-up can be more difficult due to the presence of fine white dust that needs to be removed from surfaces, filtered out of air vents, etc. This process can take some time, depending on how much was created during the project.
On top of this process, drop cloths will also need to be removed from doorways and vents if they were used to keep out the dust particles created by the paper.
4. Time and Effort:
Sanding Sponge:
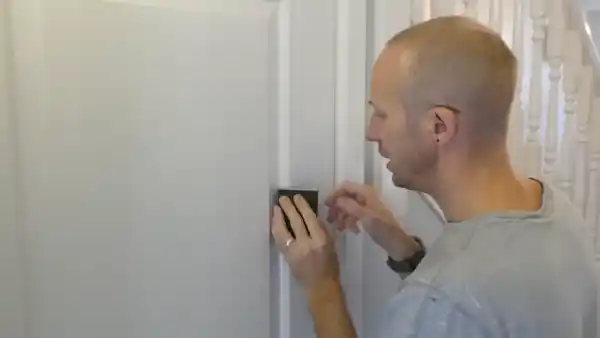
Sponging takes longer since more effort is required as compared to sandpaper. Additionally, sponging creates less fatigue since there is no need for consistent downward pressure, and it can be used even in hard-to-reach areas such as corners or edges of walls or ceilings.
Sanding sponges require more effort than using sandpaper in order to achieve the desired results. This is due both to the harder work needed with the sponge itself as well as needing additional time for drying and proper blending into the rest of the wall.
The process of wet sponging requires wiping off surfaces with a circular motion until soft, then continuing with firm strokes or flat drywall knives in order to blend out hardened joint compounds without leaving marks on surrounding surfaces.
Sandpaper does not require any additional drying process other than what has already been done on the newly applied joint compound. Applying downward pressure should result in a finished product after only one pass of sandpaper.
Sandpaper:
The use of sandpaper is generally quicker than using a drywall sanding sponge. Sandpaper requires less effort because it is flat and therefore has the ability to cover more area in a single pass, making it faster to get the desired results.
However, constant use of sandpaper can create fatigue due to its weight and the need for constant pressure in order to achieve the right finish. Furthermore, due to its flat shape, it may be difficult to reach tight spaces when using sandpaper.
Sandpaper requires less time to achieve the desired results, but more effort is required due to its flat shape. Sanding with sandpaper can be difficult in tight spaces due to its shape while creating a high level of fatigue due to the amount of effort required.
5. Surface Finish Level:
Sanding Sponge:
While sponges are soft and non-abrasive, they don’t provide a smooth finish like sandpaper on drywall panels. The sponge will usually take more time to sand down any bumps or grooves in the panel properly and is often ideal for finishing newly installed drywall panels.
While they are great for preventing over-sanding of the wall or ceiling surface, they won’t be appropriate for quick-setting joint compounds that need to be sanded down quickly. A 180-grit hand sponge will also leave no scratches behind.
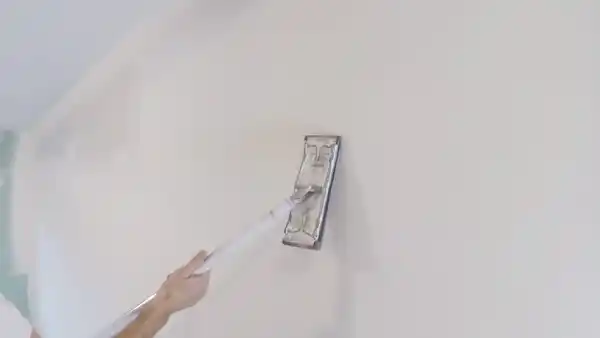
Sandpaper:
Drywall sandpaper can provide a much smoother finish as it is more abrasive than a sponge. When using it with an orbital sander, it can help to create a more even finish and remove any small imperfections from taped joints and skim coats.
However, it can cause scratching on softer materials, such as wood surfaces, if you use it with a 360 round sander and an orbital sander.
6. Versatility:
Sanding Sponge:
Drywall sanding sponges are better suited to gentle tasks such as smoothing out small imperfections or feathering edges where two different textures meet. Due to their non-abrasive nature, they will not damage the surface underneath like sandpaper can. This makes them suitable for working with delicate materials like wallpaper or wallboard.
Sandpaper:
Sandpaper is a more abrasive material and can be used on almost any surface type, including wood, metal, and plastic. It is also more aggressive than a drywall sanding sponge, so it can remove larger amounts of material quickly. This makes sandpaper ideal for roughening surfaces prior to painting or priming them.
7. Durability and Cost:
Sanding Sponge:
Due to durability and cost, drywall sanding sponges offer a longer lifespan than traditional sandpaper mainly because they are non-abrasive. They are also much cheaper than regular sheets of sandpaper, making them an affordable choice for those on a budget.
Sandpaper:
Sandpaper is available in multiple grades ranging from extra coarse to extra fine which gives you more options depending on your project requirements. While coarse grits will wear out faster than finer ones, they can still be effective for getting into hard-to-reach areas or removing larger amounts of material quickly.
Drywall Sanding Sponge vs Sandpaper: Which Method is Recommended to Use?
Sandpapers can offer more control when compared with sponges due to their rigid nature, allowing you to focus on specific areas of the wall while keeping your strokes consistent and uniform. In addition, they are often much cheaper than sponges, making them accessible even on tighter budgets.
In terms of surface finish level, both methods provide good results if used correctly. When it comes to dust production and cleanup, drywall sanding sponges are highly recommended over sandpaper since they produce significantly less dust.
Overall, when it comes down to choosing between drywall sponge and sandpaper there is no definitive answer since both methods offer different advantages depending on the job at hand.
What Are the Biggest Sanding Mistakes to Avoid with A Sanding Machine?
One of the biggest mistakes that people make when sanding with a machine is sanding too quickly or too slowly.
When sanding too fast, it can cause scratches and gouges on the surface being worked on, as well as leaving an uneven finish. When you sand too slowly, it can result in more dust getting left behind and can also cause clogging of the machine’s filter.
For best results when using a machine sander, it is important to adjust the speed according to the material you are working on and always keep the sander moving in order to avoid any issues with uneven finishes.
What’s The Best Sandpaper for Drywall?
The best kind of sandpaper for drywall is 220-grit paper. This type of paper provides a smooth finish without leaving deep gouges or marks in the drywall surface. It is also suitable for both hand-sanding and machine-sanding applications.
Additionally, 220-grit paper has small grains meaning that it won’t clog up while working on drywall surfaces and produces less dust than coarse grits do. Its small grains help ensure a uniform finish and provide better control over your work compared to other types of sandpaper.
What Kind of Sponge Should I Use for Drywall?
Most drywall tasks such as patching imperfections or smoothing joints after taping can be accomplished with an 80 grit sanding sponge. It can get into tight places (such as corners) easily, and it provides a high level of control over your work by providing finer details than other sponge types.
For tougher jobs in those hard-to-reach areas around door frames or ceilings, step up your game with 180-grit hand sponges. These tough little beauties are the perfect solution for bending and contouring into awkward spots, delivering a detailed finish that other spongers just can’t match.
Can You Reuse a Sanding Sponge?
Reusing sanding sponges is a great way to save money on your projects. With each one usually lasting between 1 – 3 uses, it’s cost-effective and easy-to-use over buying countless sheets of paper.
Can You Clean a Sanding Sponge?
You can easily clean a sanding sponge with soap and warm water to remove any dirt or grime that may have accumulated on it from previous jobs.
Choose Between Drywall Sanding Sponges and Sandpaper Based on Your Preferences
Making a decision between drywall sanding sponges and regular sandpaper can be tricky, but ultimately it all comes down to personal preference and what works best with your budget.
Sandpaper offers an affordable solution but may not provide as smooth a finish as a drywall sanding sponge. On the other hand, while sponges have their own benefits in terms of time savings and minimal dust production, they come with a higher price tag than sandpaper.
Taking into account all factors, from surface finish level to cost, both solutions have their pros and cons. It’s up to you to decide which one best fits your needs for any particular task at hand.