Last Updated on September 16, 2023
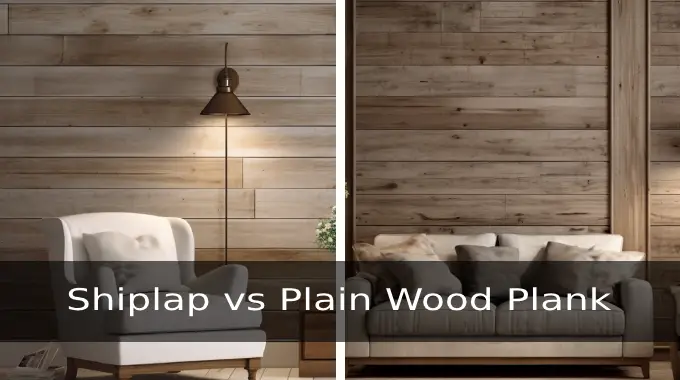
Shiplap is a popular and visually appealing wall finish, but you can benefit from insulating behind it. Insulating behind the shiplap helps to create a more comfortable indoor environment by preventing heat loss during cold months and heat gain during hot months.
To properly insulate behind the shiplap for better insulation, prepare the area by removing any existing insulation. Next, seal gaps and cracks with caulk or foam to prevent air leakage.
Then, measure, trim, and place fiberglass batts. After that, install a house wrap to create a moisture barrier and install the shiplap panels.
This article will guide you through the steps you must follow for better insulation results. We’ll also explore additional insulation options specifically designed for shiplap. So keep reading to insulate behind your shiplap walls effectively.
How to Insulate Behind Shiplap for Better Insulation: 6 Steps to Follow
For proper insulation behind the shiplap, you will need to follow these steps:
- Step 1: Gather necessary supplies
- Step 2: Seal gaps and cracks
- Step 3: Measure and trim fiberglass batt
- Step 4: Install a house wrap
- Step 5: Add a vapor barrier (for added moisture protection)
- Step 6: Install shiplap panels
Step 1: Gather Necessary Supplies
First of all, gather all the necessary tools and materials for insulating behind the shiplap. You’ll need insulation materials such as fiberglass batts, spray foam, or mineral wool. These options provide effective thermal and sound insulation.
Also, you’ll need a polyethylene vapor barrier to prevent moisture from penetrating the walls and home wrap to enhance the overall insulation performance. Use sealing materials like spray foam to ensure an airtight seal between the shiplap boards and the wall studs.
Step 2: Seal Gaps and Cracks
After gathering the supplies, remove any existing shiplap boards or wall coverings to prepare the area. Clean the surface thoroughly to remove dust or debris that could interfere with the proper adhesion of the insulation materials.
Now, use a can of spray foam to seal any cracks between the wall and window frames and the door frame and wall to create an airtight seal. Spray foam insulation expands to fill even the smallest crevices, ensuring that no air or moisture can penetrate through.
Wear protective gloves and goggles when applying the foam, as it can be messy and irritate your skin or eyes. Hold the can about 12 inches away from the gaps and cracks and apply with steady pressure.
Start at one end and work your way along, covering all areas thoroughly. Allow the foam to settle and dry completely before further installing. With a putty knife, remove the excess foam.
Step 3: Measure and Trim Fiberglass Batt
Measure the distance between the studs using a measuring tape. Trim the fiberglass batt accordingly using sharp scissors or a utility knife, leaving a small allowance for a tight fit within the wall cavity.
Remember to consider any gaps or irregularities in the stud spacing so that you can achieve an even and secure insulation installation.
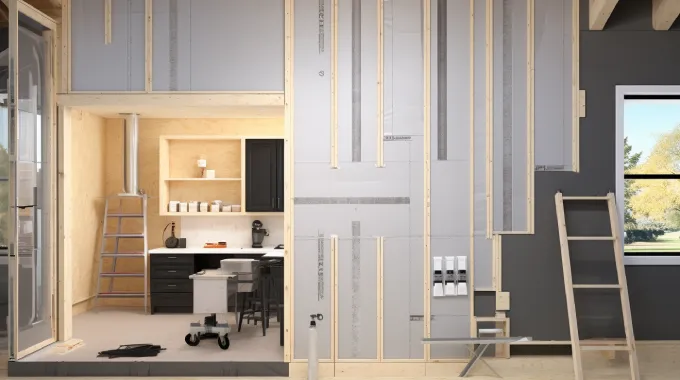
Step 4: Install a House Wrap
Once all the cracks and cavities are filled, install a layer of house wrap between the studs and shiplap boards. These house wraps act as a waterproof barrier, allowing air to pass through preventing moisture from seeping into the wall cavities.
To properly install the house wrap, cut it to fit between each stud on the wall. Make sure to leave some overlap at the edges for proper sealing. Use staples or nails to secure the house wrap onto the studs, ensuring it is taut and smooth across the entire wall surface.
Once installed, inspect the house wrap for any tears or punctures. If any are found, patch them immediately with specialized tape designed for house wraps.
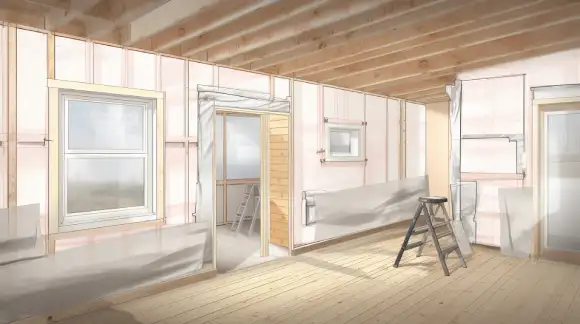
Step 5: Add a Vapor Barrier (for added moisture protection)
You can further enhance moisture protection by placing a polyethylene vapor barrier over the fiberglass insulation. This barrier acts as a shield, preventing any trapped moisture from causing damage and mold growth.
When installing the vapor barrier, ensure it covers the insulation material completely without gaps or overlaps. Secure it in place using staples or other suitable fasteners, making sure to keep the barrier taut and wrinkle-free.
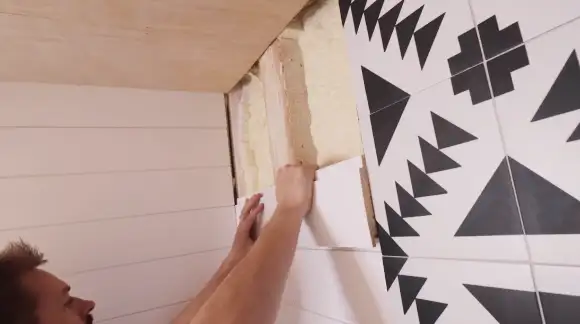
Step 6: Install Shiplap Panels
Once the vapor barrier is in place, it’s time to start installing the shiplap panels. Before you begin, measure and cut your panels to fit the desired wall dimensions.
Start at one corner of the room and work across, securing each panel with nails or screws. For horizontal installation, align the top edge of each panel with a level line drawn on the wall.
Use a nail gun or drill to securely fasten the panels into place, ensuring they are flush against each other. If you prefer vertical installation, follow the same process but align the side edge of each panel instead. Continue this pattern until all panels are installed, ensuring a snug fit without gaps or overlaps.
Additional Insulation Options for Shiplap
When insulating behind a shiplap siding, you can consider several additional options, such as:
1. Rigid Foam Insulation
Combining rigid foam insulation with spray foam can create a highly effective thermal barrier behind shiplap, especially in areas with limited space between studs. Rigid foam insulation comes in panels or boards made from polystyrene, polyurethane, or polyisocyanurate.
These panels have high R-values and provide excellent insulation properties. When installed properly, they can help to reduce heat transfer through walls and increase energy efficiency.
2. Closed-Cell Spray Foam
Closed-cell spray foam insulation provides maximum R-value and is a popular choice for those with a budget. This insulation is made up of tiny cells that are packed tightly together, creating a dense and impermeable barrier.
This type of insulation has a high R-value per inch, providing excellent thermal resistance. It also acts as an air and moisture barrier, preventing drafts and condensation from entering your home.
3. Mineral Wool
Mineral wool insulation can also be installed similarly and offers flame resistance. When insulating behind shiplap, mineral wool is a great choice due to its ability to withstand high temperatures without igniting. This wool provides effective thermal and acoustic insulation while offering fire-resistant properties for enhanced safety.
Does the shiplap need to be supported by drywall?
No, you don’t need drywall behind the shiplap for it to be secure and stable. Shiplap can be directly attached to studs or installed over furring strips without any issues. You can sing nails, a common method that ensures a tight grip between the shiplap and the wall.
Alternatively, screws can also be used for added strength and stability. Another option is using adhesive to bond the shiplap to the wall surface effectively. Whichever method you choose, ensure it suits your specific project requirements and follow proper installation guidelines for optimal results.
Enhance Your Space’s Energy Efficiency by Insulating Shiplap
Insulating behind the shiplap is crucial to enhance the overall heat retention of your space. Carefully following these steps, you can create a well-insulated and comfortable living space with attractive shiplap finishes.
Also, exploring other insulation options, such as foam panels or spray foam, can further improve the insulation properties of your shiplap.
While it is not mandatory for shiplap to be backed by drywall, adding this additional layer can offer enhanced fire protection and durability. With these insights, you’re now equipped to maximize the energy efficiency of your shiplap installation.