Last Updated on March 21, 2023
If you’ve ever needed to undo a painting project gone wrong, then removing silicone caulk from painted drywall is probably the next step.
Don’t worry, it’s not as hard as it sounds. Some tried, and true methods exist, although the most common and dependable way to remove silicone caulk is to scrape it off with a razor blade or metal scraper.
Removing old silicone caulk needs to be done with accuracy and caution. Otherwise, you might end up dealing with paint chips or structural damage that could cost a pretty penny. When tackling any wall covered in drywall, take extra care as the slightest mistake can snowball into an even bigger issue.
Check out our guide on safely and effectively removing silicone caulk without a splattered mess.
How to Remove Silicone Caulk From Painted Drywall: Simple Steps
Here are a few steps to help ensure that you get rid of all the silicone caulk successfully with minimal damage:
Silicone Caulk Removal Preparation:
Safety Considerations:
- Be sure to wear protective clothing and eye protection when handling chemicals.
- Keep the area ventilated during the removal.
Tool Selection:
- Razor blade or metal scraper
- Clean cloth
- Cutting cleanser
- Small bowl
- Sponges or Rags
- Sandpaper
Step 1: Refresh Your Walls
Before removing the silicone caulk from your painted drywall, you should ensure that the walls are free of dust and other debris. This can be done by wiping them down with a damp cloth, which will help loosen any dirt and grime that may be stuck to the surface.
Once the walls are clean, you can start the process of removing the caulk.
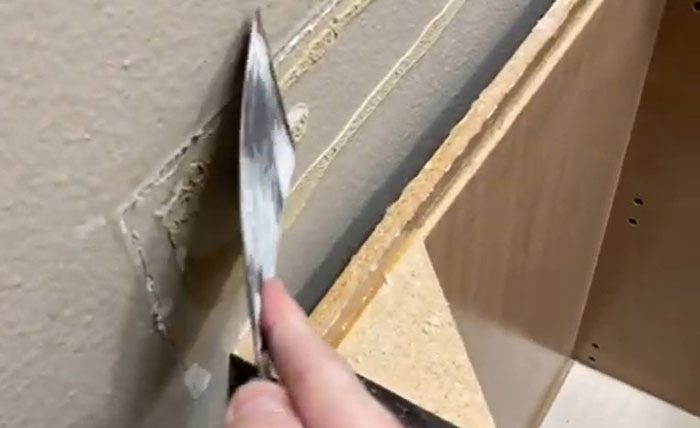
Start by holding a blade at a 30-degree angle to the wall. You must not scratch or damage the paint color when scraping off any silicone caulk. Slowly shave away small bits at a time using a putty knife or razor blade, keeping the blade flat against the wall and applying even pressure as you go.
Remember that some silicone caulks may require more vigorous scraping than others, so be mindful of how much force you use during this process.
Continue working along the wall until all traces of silicone disappear. If stubborn bits are still remaining, try switching out blades for a harder one or use a scrubbing pad for tougher patches.
Be sure to look out for any leftover residue, as this can cause staining on your walls if it remains.
Step 2: Scrape Silicone With Ease
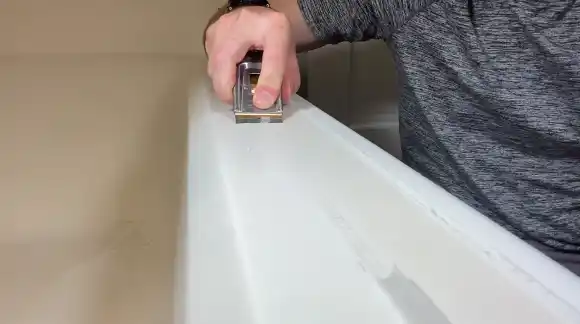
Begin using a razor blade or putty knife to scrape off loose caulk pieces from the wall. Make sure to apply gentle but even pressure while scraping to avoid damaging the wall surface. It may help to use a small paintbrush to brush away any debris as you go along.
After all of the visible pieces have been removed, it’s time to move on to using a chemical solvent or caulk remover to break down any remaining bits of silicone caulk.
Step 3: Create a Mild Cleaning Solution:
After all of the silicone has been scraped away from your painted drywall surface, it is essential to take extra measures to ensure that no residue remains behind on your walls after completing this project. To do this, create a mild cleaning solution by mixing together cutting cleanser and water in equal parts in a bowl or bucket.
When combined, dip a sponge into this solution and apply it over where you have just scraped off silicone caulking lines on your walls. Leave this cleaner for five to ten minutes before wiping it off with an old towel or damp cloth to remove any remaining residue.
Step 4: Wipe Away Residue
Follow up with another round of wiping away any residual caulking using a damp sponge that has been rinsed with clean water after each pass until all traces have been wiped clean off the surface area being treated. This process might need to be repeated more than once, depending on how much residue remains on your wall.
Step 5: Smooth Out Rough Edges
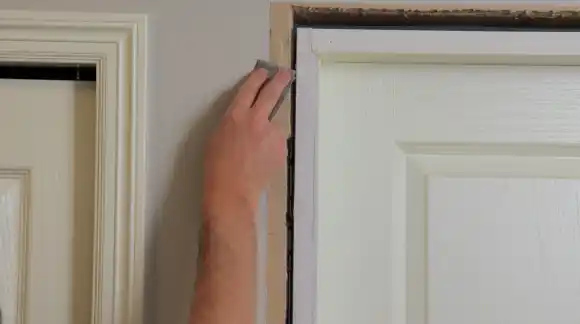
After removing all of the excess caulk from painted drywall, there may still be some rough edges left behind, which can cause problems down the line if not appropriately addressed. A quick fix for these jagged edges is to buff them out using fine-grit sandpaper for light strokes over problem areas.
One should be careful when dealing with sandpaper, as rough motions can damage fragile drywall surfaces, leaving unwanted holes or abrasions in its wake.
Caulking On Painted Drywall: Five Reasons to Remove It
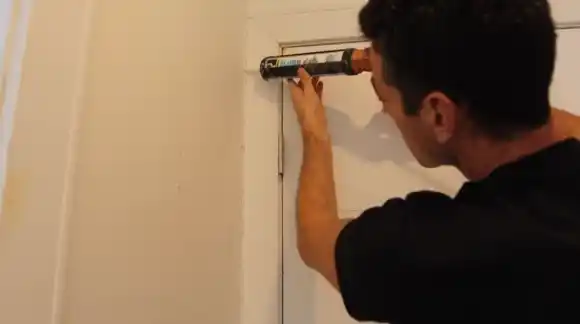
Removing caulking may seem like an impossible feat, but it’s a must-do if you’re after the perfect wall finish. Here’s why you should remove painted drywall caulking:
Improved structural integrity
Caulking that has become compromised over time due to weathering or water damage can lead to structural issues in the drywall. Removing this compromised caulking makes it possible to repair any damage and ensure that all surfaces are structurally sound.
Improved Caulk Adhesion
When you remove the old caulk, it’s much easier for the new caulk to form a better bond with the surface of the walls. This ensures that your freshly caulked area will remain watertight for many years.
To Maximize Long-Term Durability
Removing existing caulk will only improve the long-term durability of newly applied caulking as well as allow it to last longer without needing frequent reapplication. By doing this extra step, you’ll also avoid the risk of moisture intrusion later on due to weakened seals caused by leftover caulking residue.
Replacing old or Damaged Caulking
If you have old or damaged caulking on your painted drywall, it’s best to remove all existing caulking before applying new material. This ensures that the new caulk adheres properly and creates a watertight seal around fixtures and joints or other gaps in the wall surface areas.
Preparation for Repainting
Caulk must be removed to ensure that a proper bond is established between the new paint and existing surfaces. When left behind, caulking can create a barrier between the paint and the surface, negatively affecting the finished look.
Is Silicone Caulk Soluble In Mineral Spirits On Painted Drywall?
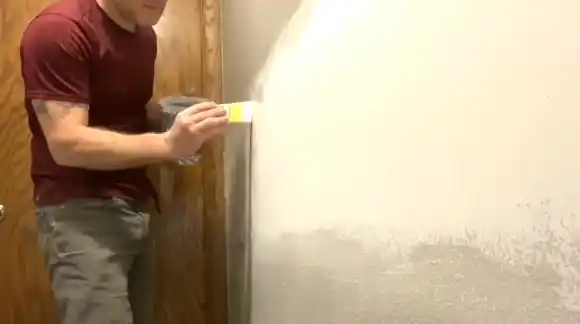
Mineral spirits can dissolve silicone caulk when applied to painted drywall. Mineral spirits are typically petroleum-based solvent that has the ability to penetrate and break through the tough silicone material, making it easier to clean and remove from the surface.
It’s important to note that you should use protective equipment such as gloves and eye protection when working with any type of chemical solvent. Aside from this, it is also essential to test a small area before applying any kind of chemical solution.
Does Rubbing Alcohol Remove Painted Drywall Silicone Caulk?
Yes, rubbing alcohol can be used on painted drywall for removing silicone caulk. Please remember that not all types of rubbing alcohol will work for this task. Industrial-grade isopropyl alcohol will be strong enough to effectively break down the tough composition of the silicone sealant.
To use it properly, apply a small amount of rubbing alcohol onto the area and allow it to sit for several minutes before using an abrasive tool such as a putty knife or scrub brush to scrape away any residue left behind. You can also combine rubbing alcohol with a detergent solution for an even stronger cleaning mixture.
Can WD-40 Remove Silicone Sealant From Painted Drywall?
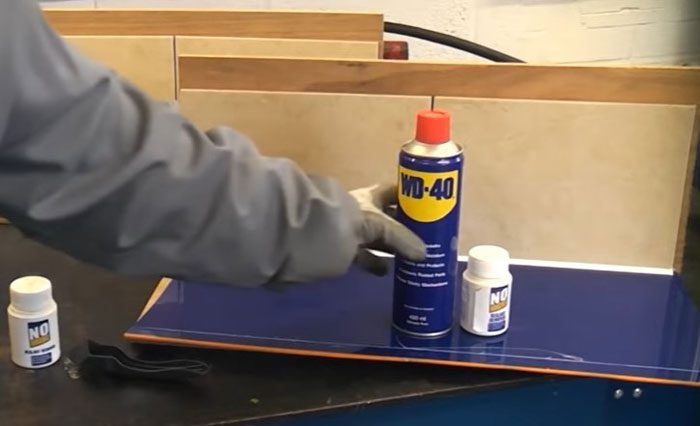
WD-40 is often recommended for removing silicone sealant from painted drywall surfaces. Due to its effective grease-cutting properties and ability to penetrate deep into difficult materials.
To use WD-40 properly for this task, first, dampen a rag with some of the product before gently wiping away any excess material still stuck on your wall’s surface.
After that has been done, spray some more WD-40 there and give it time to penetrate deep into the sealant. So that it can be easily removed by scraping away with an abrasive tool like a scrub brush or putty knife.
Once all residue has been cleared away, ensure no traces of WD-40 are left on your wall before applying any new sealant, as they may react negatively when mixed together.
Does White Vinegar Dissolve Silicone Caulk On Painted Drywall?
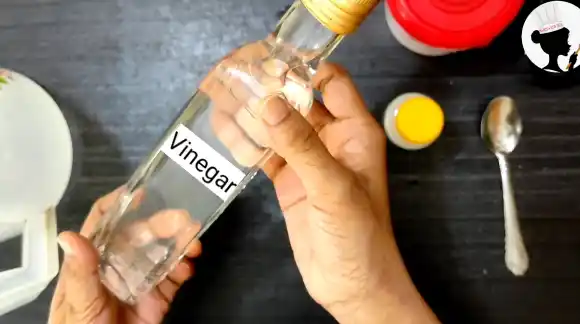
Yes, white vinegar can be used to clean painted drywall of silicone caulk. The acetic acid in the vinegar helps to soften and break down the silicone. It is important to note that this process may take a few minutes or longer, depending on the thickness of the silicone caulk.
If needed, a paint scraper or putty knife may be used to help remove any softened caulk residue once it has been dissolved. Several applications of vinegar and scraping may be necessary to ensure full removal.
Do Dryers And Heat Guns Remove Silicone Caulk From Painted Drywall?
It is possible to remove silicone caulk effectively with dryers and heat guns. A heat gun or blow dryer will slowly warm up the caulk so that it becomes softened enough for removal without causing damage to the paint underneath.
When using either of these tools, it is important that the heat is applied evenly over all parts of the caulking and that you keep track of how long you have been heating each section. Likewise, be sure to wear appropriate safety gear, such as eye protection and gloves, and ensure ample ventilation while working with either tool.
Silicone Caulk Removal: No Stress Required
Silica caulk removal can be tricky if done improperly, but it doesn’t have to be a stressful experience. By being aware of why someone may want to remove caulking from painted drywall and using the correct methods and tools, you can quickly eliminate any unwanted residue without damaging your walls.
It is crucial to research any potential solutions before attempting them, as not all methods work on every type of surface. With careful consideration and preparation, anyone should be able to successfully remove silicone caulk from their walls safely and easily.

