Last Updated on March 21, 2023
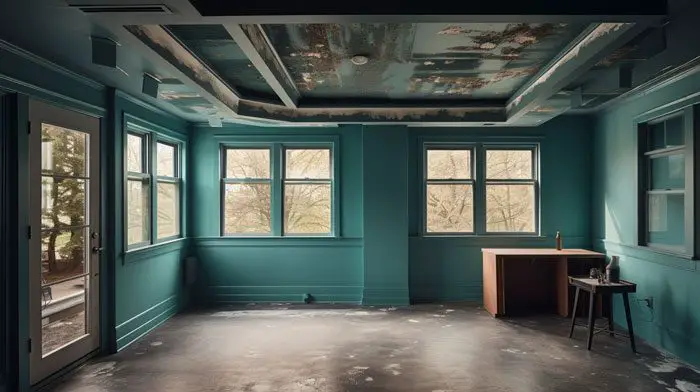
Whether you’re sprucing up your drywalls or covering up unsightly blemishes before selling your home, painting drywall can help add value and elegance to your property. But what if you don’t want to add texture to your walls? Is it still possible to paint drywall without texture?
Of course, it is. But the question is, how do you do it? With the right supplies, preparation steps, and finishing touches, painting drywall can be an easy and enjoyable home improvement project.
When done correctly, you can transform any room of your home with this unique and minimalist aesthetic without investing in expensive materials or labor costs. Here’s a closer look at everything you need to know about painting drywall without texture.
How Can You Paint Drywall Without Texture: In Steps
Transform any drywall space in your home with ease. With just a few supplies and some preparation, you can give even the dullest room an entirely new look. Just follow our simple step-by-step guide for impressive results:
Supplies Needed
To ensure a stunning, smooth finish on your drywall surfaces, it’s important to acquire the right tools and supplies. A drop cloth or sheeting will help protect other areas of the home during painting.
You’ll also need objects like a tape measure, chalk line, painter’s tape, etc., and paint rollers and brushes for application purposes. Sandpaper helps ensure irregularities are sanded away smoothly, while thinner aids in cleaning up after work are done, don’t forget floor protection too.
To ensure straight lines when painting along with the edges of the wall surface, a pencil or chalk line should be used. Painter’s tape should also be included to mask off any areas that shouldn’t be painted, such as outlets or switches.
Primer or sealer might also be needed before painting, depending on the wall conditions of the drywall. The primer provides coverage over any stains or minor imperfections on the wall surface while the sealer helps ensure that paint adheres better to glossy surfaces such as those from previous wallpaper applications.
A complete set of painting tools, including a paint roller, brushes, and tray, are essential for achieving uniform coverage during application. It’s a good idea to wash your brush or roller with paint thinner after finishing each section and to sand the drywall surface before painting to eliminate any bumps and ridges.
Last but not least, floor protection, such as cardboard, should be used to give extra cushioning against potential scrapes when rolling out your walls with a ladder.
Preparation Steps
Once all supplies have been gathered together, it’s time to get ready to prep your walls with a painting by following these steps below:
Before beginning the tedious task of preparing your walls, make sure to take down any decorations, such as pictures and knick-knacks that are hanging up. If not removed before starting, these valuable treasures could get damaged in the process.
After taking down all decorations, you need to use warm soapy water and a sponge to wipe down all surfaces to remove dust particles which can affect how well your new coats of paint adhere to it later on.
To create the perfect base for your project, start by giving any bumps or ridges left behind from previous applications like wallpaper glue a smooth finish with sandpaper. Then use a putty filler compound to fill in and level out any cracks or imperfections before allowing it some time, around 3 to 5 hours, to dry completely.
Based on the condition, apply either primer or sealer onto all surfaces (primer provides coverage over stains while sealer aids adherence), allowing sufficient drying time between each application layer before moving forward (every 30 minutes).
Afterward, you should check all areas once more to see if there are no missed spots left behind that require additional attention before finally starting with the actual painting process itself.
Painting Steps
Drop cloths or plastic sheeting should be used to protect your floors before painting. This will help prevent splatters and spills from damaging your flooring. After the floor protection is applied, use a tape measure and chalk line to mark off areas you do not want paint.
For example, if you have exposed electrical outlets on the wall, you can use the chalk line to create a square around them, so they are avoided when painting.
The next step is to use painter’s tape to section off any areas that need more attention or should be avoided, such as baseboards, door frames, and window frames. Once these areas are taped up, it’s time to paint.
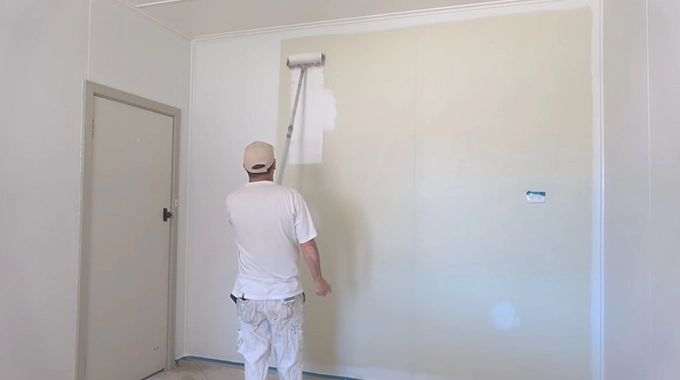
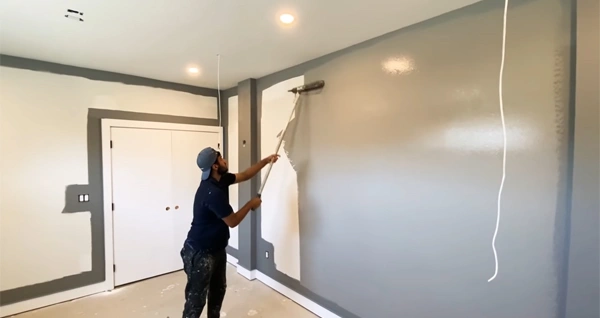
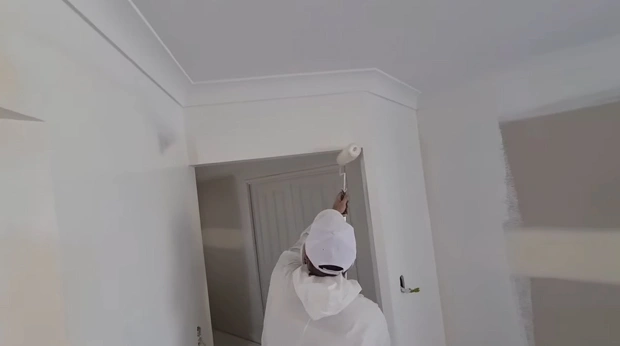
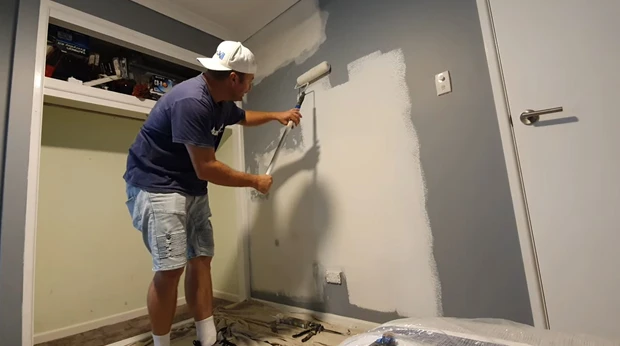
Begin at the top of the wall and roll on the paint using a tray, ensuring evenness across the surface. It’s crucial to roll back over any uneven spots, as this could result in an unprofessional finish once everything has dried. Don’t forget to also “cut in” around corners and edges of walls by hand brushing where necessary.
Once the painting is complete, it’s essential to give the walls adequate time after being painted before reinstalling furniture or fixtures onto them. Minimum of 24 hours, but 48 hours would be better. This allows ample drying time for all surfaces being touched during installation, which could result in damage due to moisture if moved too soon.
Finishing Touch
After waiting for appropriate drying times after painting, it is time for final touches, such as cleaning up brushes, roller, and tray with paint thinner. This will ensure no remaining residue on these tools, which could contaminate further projects.
Carefully remove painter’s tape, ensuring not to tear away any newly dried paint underneath, which could cause problems when touching up later on down the road. If removed too quickly, some pieces may remain behind, causing future problems such as bubbling or cracking of new layers of paint, so take your time here.
Replace any decorative items you removed before painting, such as pictures, curtains, and knick-knacks. This is a great way to show off your hard work.
Finally, once everything has been properly reinstalled, inspect your walls carefully for any touch-up spots, and if you find one, don’t forget to add an extra layer of paint over those areas with a small brush or craft sponge.
This will help give a uniform look across all surfaces while keeping fluid particles out of newly dried paint which causes cracking down the road.
Do You Have to Skim Coat to Create Untextured Drywall?
Yes, it is recommended to skim-coat drywall to achieve a smooth and untextured finish. A skim coating is a thin layer of joint compound applied on the drywall surface with a trowel, sponge, or brush. This will create a uniform surface that can be painted without visible imperfections like ridges or bumps.
Skim coating also helps to fill in small gaps and irregularities in the drywall before painting. This ensures a high-quality finish and helps prevent chips, cracks, and other damage. After the skim coat has been applied, it must be sanded down until it is perfectly smooth before painting can begin.
How Do You Hide Non-Textured Drywall Imperfections with Paint?
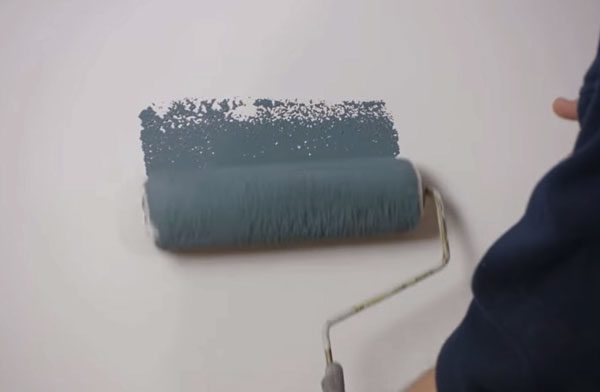
To hide the imperfections of the non-textured drywall with paint, you should apply a base coat thicker than regular paint. Base coats are specially formulated paints that contain fillers and plasticizers to help hide any hairline cracks or minor flaws on the walls or ceiling.
The base coat should cover the entire area before applying two top coats for optimal results. After the base coat has dried completely, use medium-grit sandpaper to lightly sand away any remaining imperfections that may still be visible on the surface.
Make sure you remove all dust particles before applying another coat of paint for maximum coverage and hiding power.
What Makes Untextured Drywall So Popular?
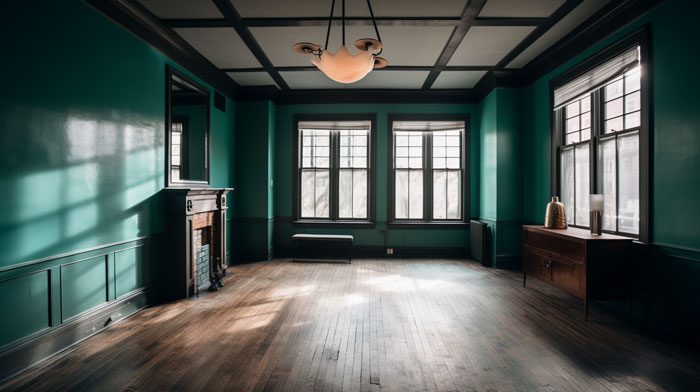
Untextured drywall has become popular due to its ability to create minimalist and modern-looking interiors without relying too heavily on texture treatments like popcorn ceilings or faux stucco walls.
Its clean lines allow homeowners to focus on their furnishings rather than busy textures, ultimately creating more airy open-plan living spaces that are desirable now.
Unlike textured walls, which may seem out of style, repairs on untextured drywall are a breeze. The straightforward construction process is faster and more cost-effective than restoring textured surfaces, making it an ideal choice for those looking to keep their home’s value up during the presale phase.
Transform Your Drywalls with a Modern Touch
Painting drywall without texture may seem daunting, but by following the tips suggested in this post, you can rest assured that your home will have a modern touch with beautiful walls.
Hard work and dedication to the process are key elements for saving money on extra material or labor costs while achieving incredible results.
Painting drywall without texture will add a unique touch to your home and make it stand out from the rest. Make sure you pick up all necessary supplies at your local hardware store or online. Now is the time for those dreamy walls to become a reality.


