
Last Updated on July 30, 2023
Removing the tiles from your plasterboard walls is necessary when renovating your bathroom or kitchen. Tearing down tiles from plasterboard is a simple process. You only need to follow some easy steps.
The steps involved in removing tiles from plasterboard walls include removing the grout and starting the tile removal. You can use a grout saw or rotary tool to remove grout. For tile removal, use a chisel. After that, eliminate the adhesive using a scraper or putty knife, and then clean up the area.
Ready to tackle removing tiles from plasterboard walls? Hang tight because this guide covers you with all the details.
How to Remove Tiles From Plasterboard Walls: Easy DIY Steps
The steps to removing tiles from plasterboard walls are as follows:
- Step #1: Prepare the Area
- Step #2: Remove Grout
- Step #3: Start Removing Tiles
- Step #4: Remove Adhesive
- Step #5: Clean Up And Dispose Of Debris
Now let’s take a closer look at the details.
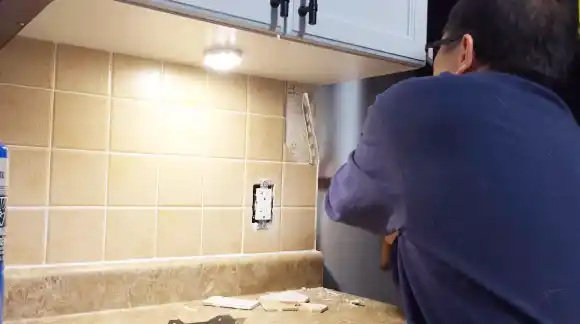
Step #1: Prepare the Area
Before you start, protect yourself and the surrounding area with safety gear and drop cloths to catch any debris that may fall during the process.
Wear safety goggles, gloves, and a dust mask to prevent any flying tile chips or dust from getting into your eyes or lungs.
You should also clear the surrounding area of any furniture or objects that may get in the way during the removal process.
Once you have cleared the area, it’s time to prepare the plasterboard walls for tile removal. Inspect the walls to ensure no cracks or damage may worsen during the tile removal process. If you find any damage, repair it before proceeding.
Cover the floor and surrounding area with drop cloths or plastic sheets in case anything falls during removal.
Step #2: Remove Grout
Remove the grout from your plasterboard walls before removing the tiles. You can use a grout saw or a rotary tool with a grout removal attachment.
These tools will help you carefully cut away the grout surrounding the edges of the tiles, allowing them to loosen up and come out more easily.
Hold a grout saw at a 45-degree angle and apply gentle pressure to the grout line. Move the saw back and forth along the line until all the grout has been removed.
If you’re using a rotary tool, attach the grout removal bit and adjust the speed to a low setting. Again, hold the tool at 45 degrees and gently remove the grout.
Once the grout has been completely removed, the tiles should be easier to remove without damaging the plasterboard walls.
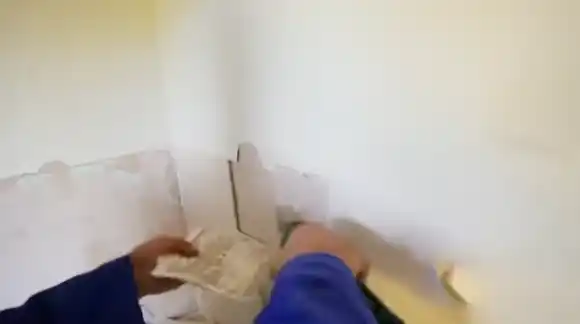
Step #3: Start Removing Tiles
Now it’s time to gently pry off each tile one by one, starting from the corner and working towards the center. Be careful not to cause any damage to your walls.
Use your putty knife or chisel to create a gap between the tile and the wall, then gently tap the handle with a hammer to widen the gap.
Once you have enough space, use the tool to pry off the tile. Apply gentle pressure and work slowly to avoid any damage to the plasterboard. As you work toward the center of the wall, remember that some tiles may be more difficult to remove than others.
Be patient and take your time, using your tool to loosen each tile before gently prying it off. If you encounter any stubborn tiles, try tapping the tool with a little more force or using a small crowbar to help you pry it off.
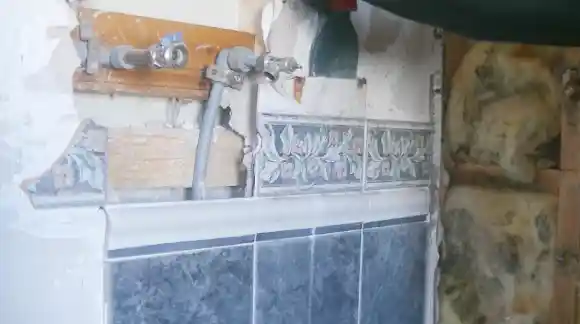
Step #4: Remove Adhesive
After that, you have to remove the adhesive. You can gently remove it with a scraper or putty knife without causing any damage.
Scrape the adhesive off the plasterboard using a scraper or putty knife at a 45-degree angle. Be sure to go slow and steady to avoid damaging the wall.
If the adhesive is particularly stubborn, use a heat gun or a hairdryer to soften it up and make it easier to scrape off. Just be careful not to overheat the plasterboard, which can cause damage.
Step #5: Clean Up and Dispose of Debris
Follow local regulations and properly dispose of all debris, broken tiles, and dust when removing tiles from plasterboard walls. This is essential to keep the environment clean and safe for everyone.
Place all the debris and broken tiles in a sealed container or bag. Contact your local waste management services to find out the proper way to dispose of them.
Once the debris has been removed, it’s time to clean up the area. Use a vacuum or a broom to remove any remaining dust or debris from the surface of the walls and floors.
Make sure to clean the corners and edges as well, as these areas tend to accumulate more dirt and debris. After cleaning, inspect the area to ensure that there is no leftover debris or dust.
Can I reuse the tiles after removing them from the plasterboard walls?
You can reuse tiles after removing them from plasterboard walls, but several factors determine whether they are reusable.
The condition of the tiles, the adhesive used, and how they were removed all play a role. You can reuse the tiles if they’re in good condition and weren’t damaged too much.
Using new tiles may be more practical and cost-effective if the old ones were installed with strong adhesive or if they have been damaged. The decision to reuse tiles depends on several factors, such as their condition, your preferences, and the specific circumstances of your project.
How long does it usually take to take tiles out of the plasterboard?
Removing tiles from plasterboard walls typically takes several hours to a full day. But, this timeline can vary based on several factors, including the surface area, amount of tiles, adhesive type, and removal technique.
Larger or more complex projects may require significantly more time. Therefore, assessing the project’s specific requirements is important to determine an accurate timeline for the task.
Utilizing the appropriate tools and techniques can also help expedite removal and minimize damage to the plasterboard walls.
Safely Remove Tiles from Your Plasterboard Walls
Preparing plasterboard walls for tile removal can be intricate, but engaging in it can be an enjoyable experience.
With a comprehensive guide, you can safely and efficiently release the tiles from the walls. You can use them again in other projects.
As you embark on this venture, handle the removal gently and take great care to avoid damaging the plasterboard while removing the grout. It is best to stay focused, take all the necessary time, and enjoy every process step.


