
Last Updated on September 16, 2023
Picking the right size for your shiplap wood can make all the difference in transforming your space into a rustic haven. It can also affect the installation process and the overall look of your home. Now you might think, what size shiplap should you use?
While several width options are available, the most commonly used width is 1×6 inch shiplap wood boards. This size of shiplap provides a classic and versatile look that can complement different interior styles.
But, if you’re going for a more substantial look, consider using wider shiplap boards such as the 1×8 inch size. It’s also essential to consider the nickel gap reveal to ensure optimal optimization of the shiplap.
Throughout this article, we will discuss the factors to consider when selecting the right size for shiplap so that you can achieve the perfect look for your home.
What Size Shiplap Should You Use: 10 Things to Keep in Mind
When considering the size of shiplap wood for your space, there are several key points to remember. Here are a few of the main factors that determine the size and type of shiplap you should use:
- Room dimensions
- Square footage calculation
- Board lengths
- Plank width
- Overlapping grooves
- Total plank count
- Orientation and layout
- Cuts and waste
- Aesthetic goals
- Future projects
Let’s dig into each factor and discuss how to determine the best size for shiplap wood in your home.
No 01: Room Dimensions
1. Height
The height of the shiplap can vary based on your design goals. For a traditional wainscot look, you might consider installing a shiplap on the lower third or half of the wall. This could be around 3 to 4 feet from the floor.
In contrast, for a more dramatic effect or to make the room feel taller, you could install a shiplap on the entire wall from floor to ceiling.
2. Width
The width of the shiplap boards can affect how the room feels. Wider boards can make a room feel cozier and more rustic, while narrower boards might provide a more modern and refined look. Common widths range from 4 inches to 8 inches.
No 02: Square Footage Calculation
To accurately determine the amount of shiplap you’ll need, multiply the length and height of the wall together. This simple calculation will give you the total square footage that shiplap wood needs to cover.
When you consider the size of each board and any necessary trim pieces, it’s best to add 10% or more to your total square footage so you have enough material.
For example, if your wall is 10 feet long and 8 feet high, your calculation would be 10 x 8 = 80 square feet. And 80 x 10% = 8, so you’d need to order at least 88 square feet of shiplap wood.
No 03: Board Lengths
The length of the shiplap boards can affect the overall visual appearance. Longer boards can create a more seamless and uninterrupted look, while shorter boards can create a more segmented or patterned appearance.
Choose board lengths that match the height of your walls. If you’re installing full-height shiplap, you’ll need longer boards. If you’re doing a wainscot-style installation, you can use shorter boards.
For example, you can choose the shiplap board lengths that best fit your wall’s dimensions, such as 8′, 12′, or 16′. This will help ensure minimal wastage and a cleaner overall appearance. And you should always factor in a little extra board length to account for any potential errors or mis-measurements.
No 04: Plank Width
The most common plank widths are 5 ½ and 7 ¼-inch. When deciding between the 5 ½-inch or 7 ¼-inch plank widths, consider how each option will impact your room’s overall aesthetic and feel.
The width of the planks plays a significant role in creating the desired look for your space. If you have a larger room and want to create a cozy atmosphere, opting for wider planks can achieve that effect. The broader surface area of the planks adds visual interest and warmth to the room.
On the other hand, if you have a smaller space and want to make it appear more elongated, narrower planks are your best bet. These thinner boards create an illusion of length, making your room feel more spacious.
No 05: Overlapping Grooves
When considering the size of the shiplap for your project, remember to consider the overlapping grooves. Here are some key points to keep in mind:
- Overlapping grooves reduce the effective coverage of each board.
- The width of each groove should be subtracted from the overall width of the plank when calculating coverage.
- Measure and mark where each overlap will occur to ensure accurate installation.
- Consider any additional spacing required between boards to accommodate for expansion and contraction.
No 06: Total Plank Count
To determine the number of planks needed for your shiplap project, you should start by calculating the total square footage of the area to be covered. Once you have that figure, divide it by the square footage of a single plank. This will give you an estimate of how many planks you’ll need.
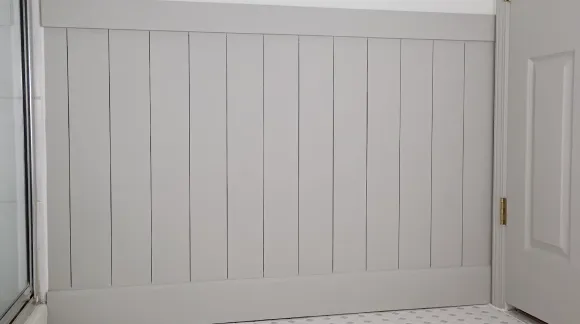
No 07: Orientation and Layout
Decide whether you want to install the shiplap horizontally, vertically, or diagonally to determine the planks’ orientation and layout. The choice of orientation can greatly impact your space’s overall look and feel.
Here are some considerations to help you make a decision:
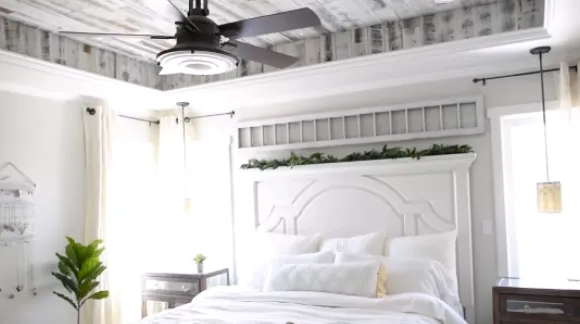
- Horizontal: This traditional installation style creates a classic and timeless look. It can make a room feel wider and more spacious.
- Vertical: Installing the wooden shiplap vertically can add height and create an illusion of taller ceilings. This orientation is often used to make rooms appear grander.
- Diagonal: A diagonal installation adds visual interest and can be used to create a unique focal point in your space.
- Mixed Orientation: Combining different orientations can result in a dynamic and visually appealing design.
- Consider Pattern: Depending on the size of your planks, you may choose specific patterns like herringbone or chevron for added character.
No 08: Cuts and Waste
When minimizing cuts and waste, opting for horizontal installation can result in more efficient use of material. By installing the shiplap horizontally, you can minimize the required cuts and reduce waste. This approach is particularly beneficial when working with limited material or within budget.
No 09: Aesthetic Goals
When choosing the right size of shiplap for your home, you should consider your aesthetic goals. Thinner planks will give you a refined and elegant look, while wider ones will create a more rustic or bold appearance. The size of the wooden shiplap you choose can greatly impact the overall feel of your space.
No 10: Future Projects
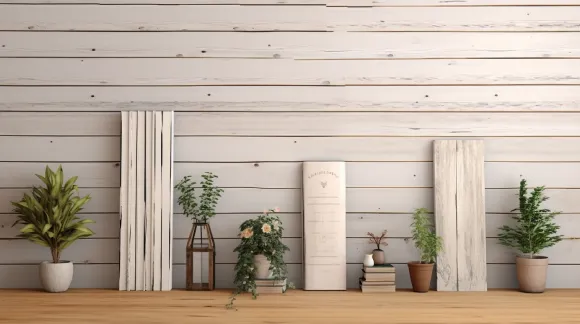
To plan for future projects, you should anticipate potential uses for shiplap offcuts and ensure that even remnants have a purpose. Shiplap offcuts can be utilized in numerous creative ways, such as crafting decorative wall art or constructing small furniture like shelves or planters.
They can also be repurposed as backing boards for picture frames or used to create unique accent pieces. By carefully selecting the size of your shiplap board and keeping offcuts in mind, you can maximize their potential and minimize waste.
Does shiplap make a room look bigger or smaller?
The size of the shiplap can significantly influence how a room appears. Larger shiplap panels tend to create a sense of openness and can make a room look bigger. This is because the fewer visible seams can give the illusion of a more expansive wall space.
On the other hand, smaller shiplap panels might make a room feel cozier and more intimate, potentially making it appear slightly smaller.
Unlock the Secrets of Shiplap Sizing
When deciding on the size of shiplap wood for your project, you should consider factors such as the size of the room, the desired aesthetic, and any existing architectural elements.
Shiplap will complement your space and create a visually pleasing result when you take these factors into account. Also, by carefully selecting the size and reusing offcuts, you can maximize the potential of your shiplap while minimizing waste.
As with a perfectly tailored suit, choosing the right size of shiplap will enhance the appearance of your room.


