Last Updated on March 21, 2023
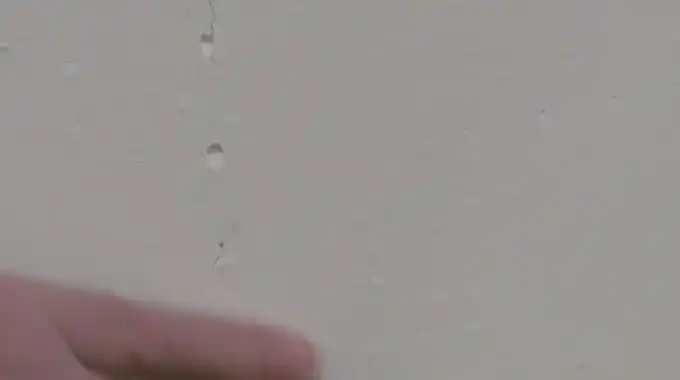
If you’ve ever noticed bubbling or blistering on your drywall, you might wonder why it’s happening. Bubbling or blistering on drywall can be caused by a few different things. The good news is that some simple causes and solutions may help you fix the problem quickly and easily.
Drywall mud is a great material for filling in imperfections and providing a beautiful finish to any wall surface, but if not done correctly or with the right materials, bubbling can occur. The most common causes of bubbling are moisture in the air or an inconsistent amount of compound being applied at once.
There are solutions available that can help resolve the issue quickly and effectively, including using a vacuum cleaner to remove excess moisture from the area around the bubble before applying fresh mud.
In this post, we’ll discuss the causes, preventative measures, and solutions for bubbling on drywall. Learn how to apply joint compound correctly so that it is evenly spread and not too thick or thin. If the bubbling continues, use a putty knife to remove any existing bubbles before applying fresh mud.
Why Is My Drywall Mud Bubbling: Causes
Incompatible Paint or Primer Used on the Wall
Using paint and primer that is not compatible with drywall mud can cause bubbling to occur. This is because the paint or primer may contain chemicals that break down the adhesion between the mud and wall surface.
A chemical reaction occurs when oil-based primers are used with water-based paints on walls, for example.
Additionally, it is important to use primers specifically designed for drywall mud, as other types of primers may also cause bubbling with this material.
Excessive Humidity Level or Steam from Home Appliances
Excessive humidity levels in a room, caused by steam from home appliances such as stoves, showers, and washing machines, can cause bubbling in drywall mud.
This is because moisture trapped between layers of drywall mud will expand when exposed to higher levels of humidity. As well as resulting in bubbles forming beneath the surface of the mud layer, this can also make any existing bubbles larger and more visible.
It is, therefore, important to keep humidity levels in check when working with drywall mud or applying new coats of paint to prevent bubbling.
Poor Preparation of the Wall or the Application Process
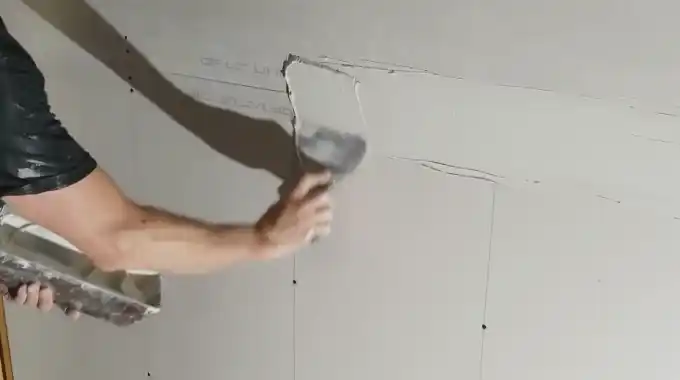
Bubbles can form in drywall mud if proper preparation steps are not taken before starting a project.
For instance, if old layers of paint have been left on the wall prior to application, then these must be removed first as they could stop adhesion from occurring, which could result in air pockets appearing under new coats of paint or mud.
It is also essential that surfaces are properly cleared of dust, dirt, and debris before painting with drywall mud, as this, too, can interfere with adhesion and lead to bubbling problems.
Temperature Fluctuations in the Room
Temperature fluctuations can lead to issues with bubbling when using drywall mud, as extreme temperatures can affect its curing process.
If temperatures drop too low, then this will slow down curing time which could mean that air pockets become trapped beneath layers which would ultimately result in visible bubbles appearing once drying has finished completely.
If temperatures rise too high, then this may speed up curing time, but it could also cause premature drying, which could produce similar results and lead to bubble formation within the material itself.
Improperly Mixed Drywall Mud Components
Bubbling in drywall mud can be caused by improper mixing of the components of the mud. If too much water is added to the mix, or if it is not mixed adequately, it can cause bubbles to form in the final product.
The components of the drywall mud must be combined together in the correct ratio and mixed vigorously until they form a homogeneous paste. If this is not done, air bubbles can form between the different components, leaving an uneven texture on the wall after drying.
This will result in an unsightly finish with bumps that look like bubbles. It is important to follow instructions for mixing and application carefully so that bubbling does not occur.
Poor Quality Materials Used for Installation
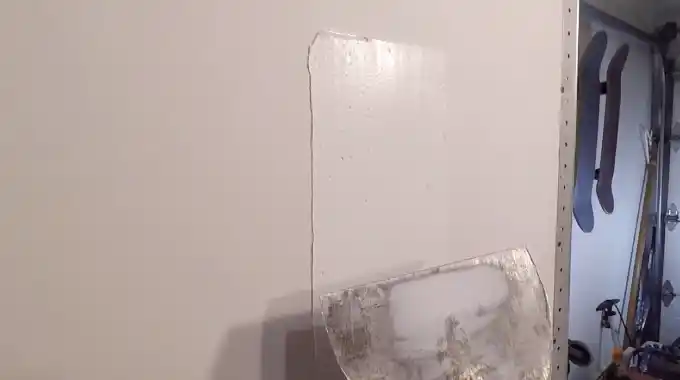
Bubbling in drywall mud can also be caused by poor-quality materials used for installation.
When installing walls and ceilings, cheap materials such as shoddy plywood or particle board should never be used as they are prone to warping and cracking, which can lead to bubbles forming in the finished product.
Additionally, nails should be long enough to penetrate through all layers of material used and held securely.
Otherwise, these fasteners will pull away from the wall when pressure is applied, which creates an uneven surface for drywall mud application, resulting in undesirable bubbling.
Defective Manufacturing Practices by Drywall Makers
Manufacturing defects can also lead to bubbling in drywall mud. If a particular batch of drywall has been made with insufficient core strength or has been improperly dried during production, it will become weak when exposed to moisture.
It may easily sag or warp over time, leading to an uneven surface with irregularities where bubbles can form upon application of drywall mud.
In order to prevent this phenomenon from occurring due to faulty manufacturing practices, a property inspection should be performed before installation begins so that any potential defects are identified and addressed before proceeding with construction work on site.
Use of Water-Based Paints with Oil-Based Primers on Walls
Using oil-based primers with water-based paints can also cause bubbling in drywall mud. Oil-based primers are not compatible with water-based paints, which leads to a weak bond between the two substances. This can result in buckling or dimpling when trying to apply drywall mud over them.
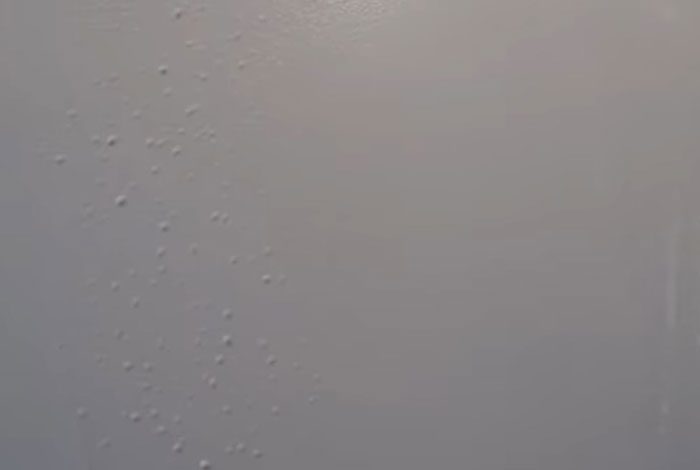
Furthermore, moisture present within the plasterboard may escape through this weak bond causing air pockets that result in blistering or bubbling after drying out completely.
To avoid such issues from occurring, both water-based paints and oil-based primers must be compatible prior to application. Otherwise, there is a high risk of such defects arising after post-installation work is completed.
Poor Ventilation in the Room or Poor Substrate Priming or Sealing
One of the major reasons for bubbling in drywall mud is inadequate air circulation and sealing. A lack of proper ventilation can trap moisture within the walls and lead to an increase in humidity levels.
High humidity levels can cause the drywall mud to pull away from the wall, causing it to bubble. In addition, if the surface on which you have applied the drywall mud is not properly primed and sealed, then moisture could get into it and create air pockets that eventually cause bubbling.
To prevent this from happening, make sure your room has adequate ventilation and that you have done a thorough job of priming and sealing any surfaces before applying any drywall mud.
Infestation by Insects, Rodents, Mold, and Mildew on the Wall Surface
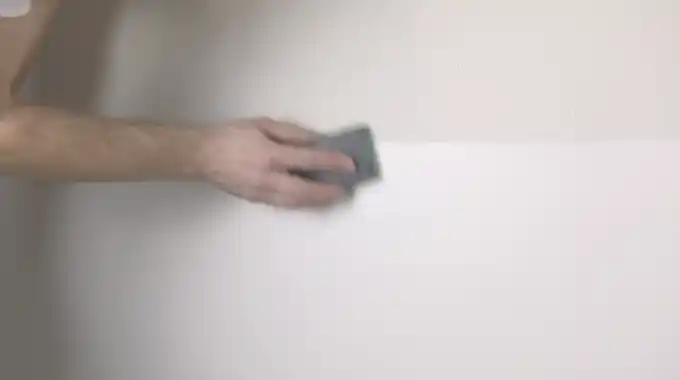
Another common reason for drywall mud to bubble is infestation by mold, rodents, and insects on the wall surface. These pests can create holes through which moisture can enter into walls leading to bubbling when applying drywall mud over them.
Additionally, mold spores can form due to high levels of humidity caused by these microorganisms; this creates an environment where air pockets form beneath the drywall mud causing it to bubble up.
To avoid this issue, inspect for insect activity regularly and treat any areas where you may find evidence of them as soon as possible. Also, check for signs of mold or mildew growth on your walls before applying drywall mud.
High Acidity Levels in Room Atmosphere
High acidity levels in a room atmosphere are another factor that can contribute to bubbles forming beneath a layer of applied drywall mud. The presence of acids such as hydrogen sulfide (H2S) will actively corrode components in certain types of paint or finishes used during installation.
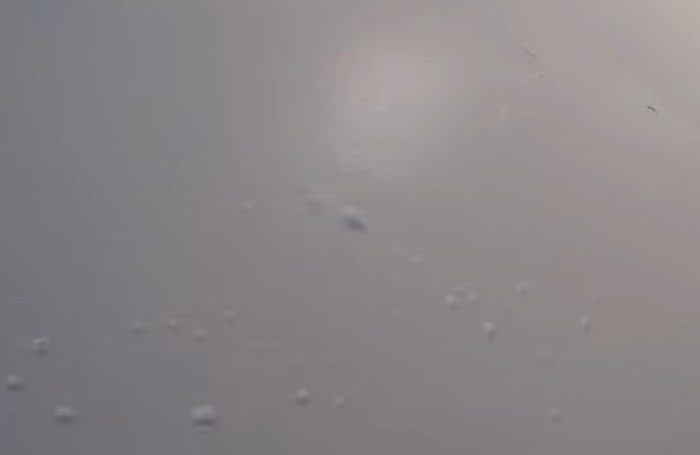
This corrosion leads to air pockets being formed underneath the layer of applied drywall mud, which will eventually cause it to bubble up. To avoid this problem, ensure that your rooms have adequate ventilation so that any acidic gases present are removed.
Also, consider using paints with anti-corrosive properties, as they are less likely to be affected by high acidity levels.
Solutions to Address Bubbling in Drywall Mud
A. Ensure Proper Cleaning Agents are used to Wash Walls Before Applying Any Coating Material (Especially when Painting)
In order to discourse bubbling in drywall mud, ensure the right cleaning agents are used prior to any coatings being applied.
Using a detergent solution or specialized cleanser will help break down dirt and oils, resulting in a smoother finish.
Additionally, employing the services of a professional who has experience in this field can also be beneficial by ensuring that the walls are properly prepped before painting begins.
B. Select Appropriate Paint Products Suited to the Type of Wall Being Painted
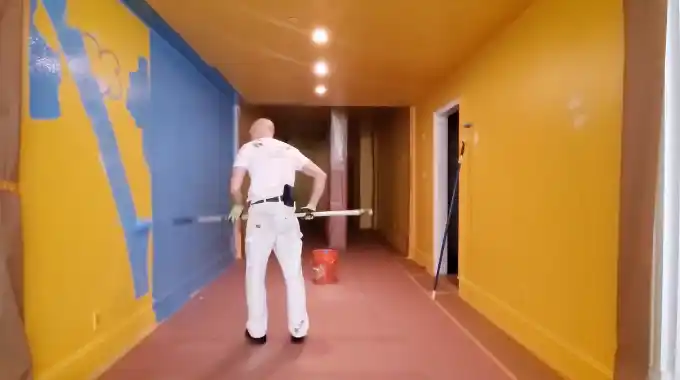
Selecting appropriate paint products that are appropriate for the wall type being painted is key in helping avoid bubbling issues with drywall mud. Depending on the surface of the wall, different types of paints may be needed for effective adhesion and coverage.
Water-based paints are typically best for interior walls due to their low odor and easy clean-up, whereas oil-based paints are better for outdoor use as they last longer and adhere better to exterior surfaces.
C. Apply an Appropriate Primer Over a Porous Substrate Before Applying Any Coating Material
To avoid bubbling when using drywall mud, an appropriate primer should be applied over a porous substrate.
Primers tend to be thicker than paint, so they can fill in any uneven spots or gaps more effectively and provide more adhesive power when drying.
Additionally, primers are specifically designed for certain types of surfaces, such as metal or ceramic tiles, and can create an even base layer that helps ensure smooth coverage with minimal bubbling when drywall mud is eventually applied on top.
D. Make Sure Temperature Fluctuations Don’t Exceed the Manufacturer’s Recommended Specifications
Fluctuations in temperature should not exceed the manufacturer’s recommended specifications when working with drywall mud.
Extreme temperatures can cause the mud to expand and contract too quickly, which could result in bubbling when it dries.
To prevent this from happening, try using fans or air conditioning units if necessary to keep rooms at a steady temperature while working with drywall mud.
E. Ensure Drywall Mud is Mixed Thoroughly and Professionally Installed According To the Manufacturer’s Instructions
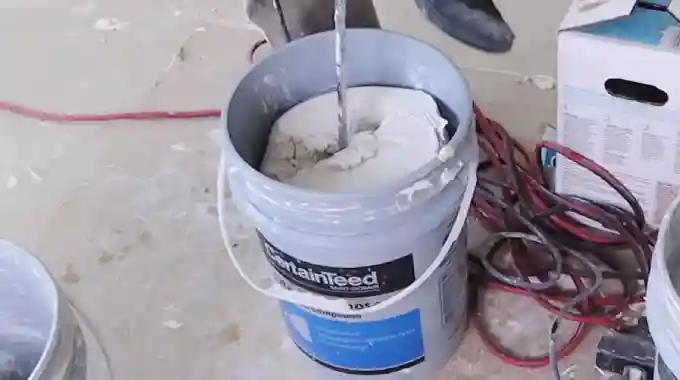
Ensuring that drywall mud is mixed thoroughly will help reduce bubbling when it’s applied. If there is too much water added during mixing, then it creates pockets of air which can result in bubbles forming on the surface once dried.
However, if there isn’t enough water mixed, then it becomes difficult to spread evenly across a surface as it becomes too thick and lumpy, creating an uneven finish prone to cracking and bubbling over time.
Professional installation is also important as these experts will know how much water needs to be added for correct consistency as well as how long it needs mixing for maximum results, which minimizes potential issues later down the line like bubbles occurring after drying out.
F. Invest in Quality Materials for Installation to Avoid Issues Later On
Investing in quality materials for installation helps avoid potential problems like bubbling with drywall mud applications further down the line due to deterioration from everyday usage or environmental factors such as humidity or moisture buildup over time.
The use of quality materials during the installation process leads to a durable end product. Inferior materials can cause eventual problems, such as bubbling.
G. Improve Ventilation & Install Air Purifiers to Lower Acidity Levels & Reduce Dust Particles in Room’s Atmospace
Improving ventilation indoors helps lower acidity levels while reducing dust particles which could potentially affect your drywall application negatively, causing bubbles to form over time if left unchecked.
Installing air purifiers around workspaces filters out dust particles suspended within the air. It is important to maintain humidity levels at tolerable levels to prevent damage over time from improper ventilation. Bubbles can form if there is a delay in the initial installation.
H. Contact Professional Help If Insects, Rodents, Mold, and Mildew have Infested the Walls
When bubbling appears in drywall mud, the best solution is to assess the cause and address it accordingly. If mold or mildew is present, professional help should be contacted so that it can be properly removed.
This could involve using a fungicide and bleach solution on the affected areas, as well as possibly replacing any water-damaged materials like insulation or drywall. To prevent future problems, it is important to ensure that all moisture sources are addressed and prevented from recurring.
This includes fixing any leaks or other sources of water intrusion in the walls. The area should also be thoroughly inspected for any signs of rodents, insects, mold, or mildew and treated if needed before attempting any restoration work on the drywall mud.
Can I sand out bubbles in drywall?
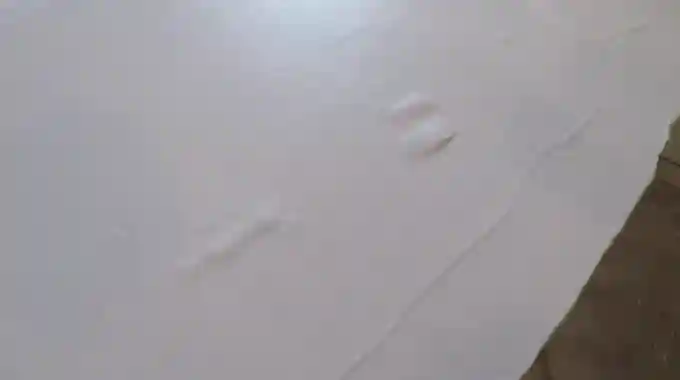
Yes, you can sand out bubbles in drywall. This process is known as skim coating and involves applying a thin layer of joint compound over the entire wall or ceiling. When the drywall mud has dried, you can use sandpaper to smooth it out.
To ensure an even finish, you should use several lighter layers instead of one thick layer. You should also wait for each layer to dry before adding another one so that you don’t end up with clumps or bumps on your walls.
What causes blistering on walls?
Blistering on walls can be caused by a variety of factors, but the most common is water damage. If moisture from rain or condensation seeps into a wall, it can cause the paint to blister due to the expansion and contraction of the wall’s material underneath.
Other causes could include poor ventilation, high humidity levels in the home, or not enough insulation in exterior walls, leading to temperature fluctuations causing blistering when damp air meets cold surfaces.
Can you use toothpaste to fill drywall?
No, toothpaste is not a suitable filler for drywall holes or cracks. Toothpaste contains abrasives that could potentially damage the gypsum board and create permanent discoloration on painted walls.
A better option would be to use a spackling compound or joint compound specifically designed for filling holes in drywall.
It is also important to make sure any repairs are sealed properly with primer before painting with any type of paint product to prevent further problems down the line.
How do you smooth out bumpy drywall?
To smooth out bumpy drywall, start by using coarse-grit sandpaper and working your way up until you achieve a smoother finish with finer-grit sandpaper after each pass.
After sanding the entire surface area, apply a thin coat of joint compound over all imperfections and let it set overnight before re-sanding with fine grit paper to achieve a completely smooth finish.
Once finished with sanding, add two more light coats of joint compound before priming and then painting for the best results and longevity of the repaired area.
How do you fix bubbling plaster?
To fix bubbling plaster, you need first to determine the cause of the bubbling. If the problem is due to moisture, then you need to identify and repair any potential sources of water leakage or condensation in your home.
Once this is done, allow the area to dry completely before repairing it. To fix the bubbling plaster, use a putty knife and power sander to remove any loose plaster around the area.
Fill any gaps with patching compound, sand down any rough edges, and then apply a coat of primer before painting over it.
The Bottom Line
Whether drywall mud bubbling caused by excess moisture or uneven application techniques, using a vacuum cleaner beforehand and sanding down any bumps afterward should provide excellent results aesthetically speaking while allowing you time-saving convenience as well.
Remember that if all else fails, then you can always try using toothpaste instead, as long as it’s a non-abrasive type. Otherwise, it may end up causing more damage than good.
