Last Updated on March 13, 2023
Sanding drywall can be a messy process, with clouds of dust quickly spreading around the room. If you’re not careful, this dust can become lodged in furniture, carpets, and other items throughout your home.
Fortunately, there are several methods you can use to reduce the amount of dust created during sanding, such as using a vacuum attached drywall sander, wet sanding with a sponge, spraying water very lightly, and more.
We will take a closer look at some of the best methods for reducing dust when sanding your drywall so that you can keep your space clean without sacrificing quality results.
How to Reduce Dust When Sanding Drywall: Effective Methods
Sanding drywall can create a lot of dust and make it difficult to clean up. To minimize dust when sanding drywall, the following methods can be used.
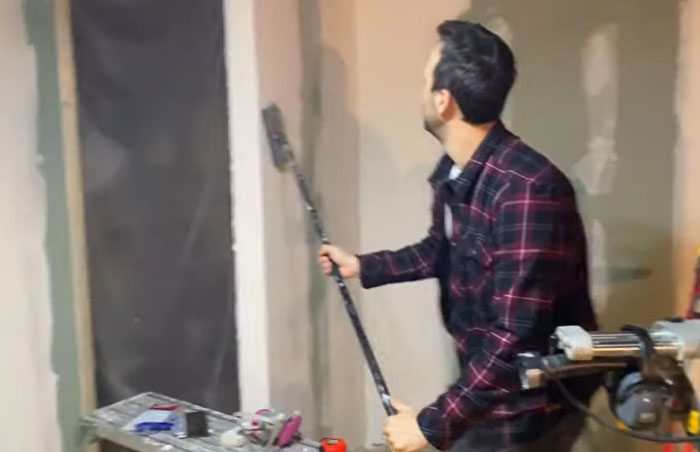
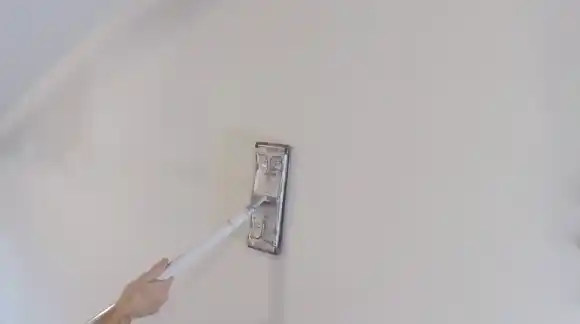
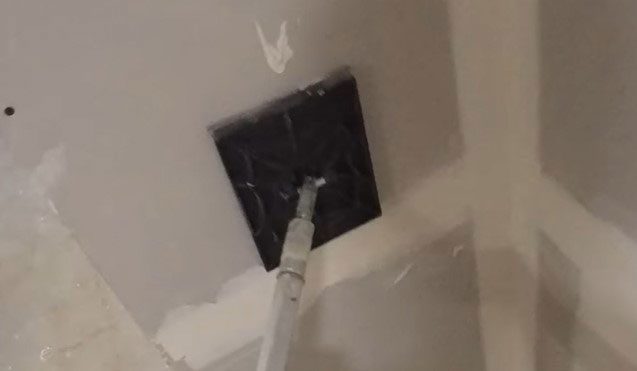
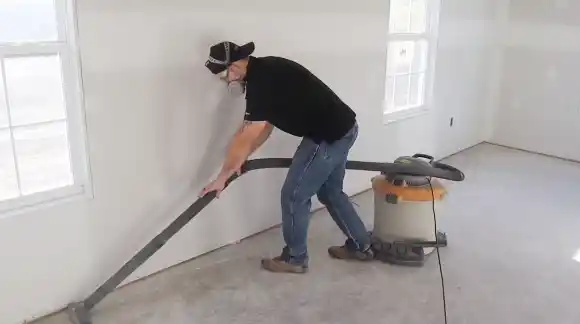
Method 1: Use a Drywall Sander with Vacuum Attachment
Using a drywall sander with a vacuum attachment or dust collection system is an excellent way to keep drywall dust down. The vacuum attachment is designed to capture the dust created while sanding, ensuring that no dust escapes into the environment and that there is minimal mess.
To effectively use a vacuum drywall sander, gather the necessary supplies, such as safety glasses, a face mask, and ear protection. It may be useful to have additional drywall sandpaper in case of any unexpected wear and tear on the original paper during the sanding process.
Once all of the supplies have been gathered, begin by plugging the sander into an electrical outlet and connecting it to the vacuum hose attached to your shop vac or other suction devices.
Check that all connections are secure before turning on both devices. Start at one end of the wall section you would like to sand and slowly move from side to side in overlapping strokes while maintaining control of the sander’s handle to avoid gouging out chunks of material in unwanted places.
To keep any residual dust particles contained within the vacuum system, ensure that you are keeping a consistent distance between yourself and where you are working so that nothing escapes into your breathing space or onto other surfaces.
Once finished, turn off both devices and disconnect them from each other and any power sources before cleaning up any remaining debris for everything to be ready for use in future tasks.
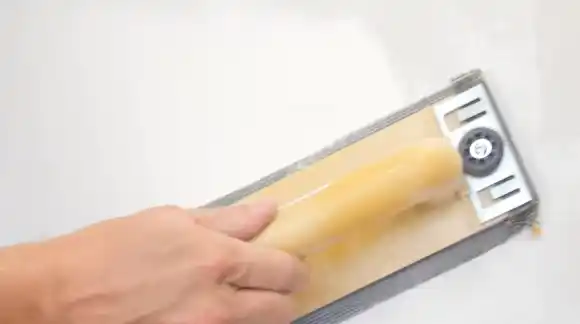
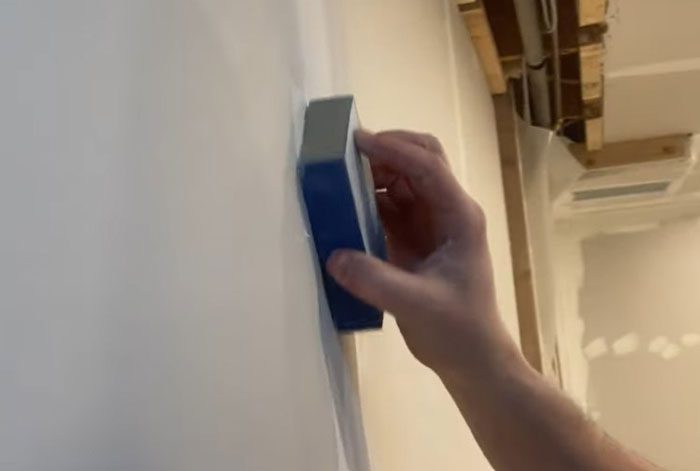
Method 2: Sanding with a Wet Drywall Sponge
Wet drywall sponge sanding is another easy way to reduce dust when sanding drywall. This method requires slightly less equipment than drywall sander and vacuum, but yields similar results when done properly.
Before beginning, collect necessary items such as safety glasses, ear plugs, heavy gloves (to protect hands from splintering), and an extra bucket filled with clean water for constantly rinsing off the sponge tool used in this procedure.
Start by wetting down your sponge tool and the area being worked on so that there is no chance for any dust particles to escape during this process due to the lack of humidity in these areas.
This step alone will drastically minimize potential airborne dust particles significantly more than traditional sanding methods without using water can promise.
Continue by making gentle passes over sections within reach while maintaining control over the pressure applied so not too much material is removed per pass besides what you intend on taking away.
Applying too much pressure can cause uneven surfaces or grooves, which need to be undone with more mud down the road. If not done correctly now instead, you might end up going down this same road again.
Once complete, rinse out your tool before continuing on other sections so that none of these past particles get carried over onto new parts being worked on right now either, as just mentioned previously.
Method 3: Dry Sand the Drywall with Barrier
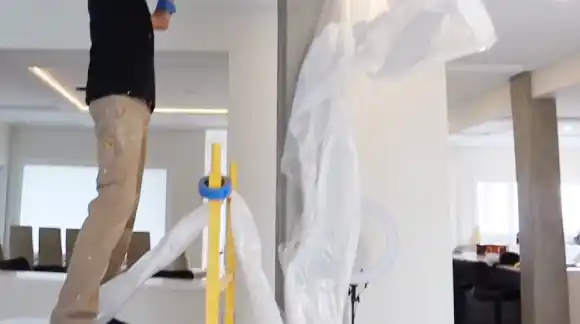
When attempting to reduce dust when dry sanding drywall, another helpful technique is by using a barrier material such as heavy plastic sheets hung directly around each individual section of wall being worked on at one time.
This prevents dust from spreading around other parts of the room while also helping contain it until disposal afterward can be done safely and efficiently.
To begin your project with this method, start by hanging plastic sheeting along each section of the wall where work needs to be completed beforehand for containment purposes later on in the process. It helps if these materials are securely fastened at each corner for durability.
When selecting which type of sheeting material is best for this purpose, make sure it’s appropriate for both indoor and outdoor use if needed (the heavier options tend to be best).
Then, continue by taping down each sheet near its edges so there are no gaps left between them and other walls where dust may have a chance of escaping through into other living spaces within your home.
With these steps complete, now it’s time to start addressing any imperfections in need of repair, which can simply be done by using coarse grit sandpaper specifically designed for drywall surfaces.
Rub out bumps or ridges along the surface of each section, and you’ll create some friction that then releases tiny pieces of unwanted matter into nearby corners. This step will result in less mess overall since protective barriers have already been laid out.
Even though they may seem small at first, when you cover up certain sections but leave others behind, you must ensure everything is sealed securely to prevent future leaks/spills. Or, when you’re finished with them entirely, you need to replace them again after completion.
Method 4: Spray Water Very Lightly
This method requires some caution due to its potential risks. If done correctly, it can significantly reduce dust created during more traditional methods of sanding walls while still providing desirable results.
To begin, attach an adjustable nozzle sprayer onto your garden hose and set it at its lowest setting so that only a light mist is emitted and no large streams of water come out at once, potentially weakening the wall’s integrity over time due excessive moisture content being applied onto its surface area.
Once prepped and ready for spray application, lightly focus on one area at a time until evenly coated with mist without applying too much force.
This maintains desired results without affecting drywall’s foundation structure over time due to excessive water buildup within its fibers over extended periods of time or use thereof.
Start near ceiling lines where dust accumulates most often first, then proceed downwards towards floor level until complete coverage is achieved throughout the entire wall surface area, move the furniture aside if necessary.
Wait two minutes before starting the sander on the affected area. After that, quickly wipe away excess moisture(if necessary) with a clean, lint-free cloth before beginning the task, thus allowing adequate drying time before actually starting the work process itself.
Once completed, use a vacuum cleaner equipped with an appropriate attachment made specifically for picking up residual plasterboard debris caused by sander motion.
Other Factors That Reduce Dust While Sanding Drywall
Use Low-Dust Drywall Compound
Using low-dust drywall compound can help to reduce dust while sanding drywall significantly.
This type of compound has specialized ingredients which bind together most of the fine particles created during sanding. Rather than letting them spread through the air like regular joint compounds, they’re contained inside the product.
Low-dust compounds are specially formulated with compounds that won’t cause irritation to eyes or skin if inhaled or touched, making them safer for indoor use than traditional joint compounds would be as well.
Thin Your Joint Compound Before Applying it to the Wall Surface
Before applying your joint compound onto walls surfaces, prepare it by thinning it out slightly with water for it to spread more evenly over its surface area.
Doing this will help bind together smaller particles from creating clouds of airborne powder while still providing enough coverage for repair purposes once dried, such as filling small holes or patches on walls before painting or staining activities taking place afterward.
Scrape Out Irregularities with Taping Knife
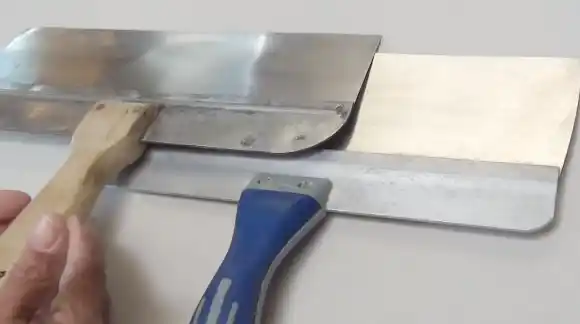
Another great tip for keeping the mess at bay while sanding drywalls is by scraping out irregularities from each layer of the joint compound with a taping knife.
Try doing this when each layer is only moderately set but not yet completely dried. This will avoid having to do excessive amounts of sanding down later on (which generates copious amounts of dust).
After scraping out all irregularities, use only fine-grit sandpaper (150 or higher) to achieve optimal results without producing significant amounts of debris.
Do I Need to Wipe Down the Drywall After Sanding?
To remove dust or debris that may have been generated during sanding, it’s important to wipe down drywall after sanding.
Wiping down the drywall will help ensure that any remaining dust particles do not become embedded into the surface of the drywall and will also help protect against potential hazards associated with prolonged exposure to drywall debris.
For best results, use a slightly damp cloth or sponge to lightly wipe the drywall down. This should be done in a well-ventilated area since there will likely be some amount of dust exposure in the air from the sanding process.
How Long Does Drywall Dust Stay In the Air?
Drywall dust can stay suspended in the air for several minutes, depending on environmental conditions such as humidity and air movement. Generally speaking, however, airborne drywall dust particles tend to settle within 5 to 10 minutes after being generated by activities like sanding or drilling into walls.
It is important to ensure that your work area is well-ventilated when working with drywall since this will help prevent breathing problems caused by inhaling too many airborne particulates from drywall dust.
Also, it is a good idea to clean up any residual dust once you have finished your project, as this will help reduce buildup over time and lessen the chances of any long-term health risks associated with prolonged exposure.
Is Drywall Dust Cancerous?
While drywall itself is generally considered non-toxic and safe to use, the compounds used in joints between sheets may contain hazardous elements such as talc, calcite, mica, gypsum, silica, and even mercury.
When these particles are inhaled, they can cause respiratory conditions like asthma and even lung cancer over time due to their toxic nature.
Therefore it is essential to take proper safety precautions when handling drywall and its components, such as wearing protective gear and respirators when dealing with fine particles of drywall dust.
Make Drywall Sanding Work Dust-Free
Reducing dust while sanding drywall is possible through various methods that include using a vacuum attachment on your sander, wet-sanding techniques, applying low-dust joint compound options, and thinning them before use.
Taking time to understand these measures will help ensure that your next DIY project is successful without creating an excessive amount of dust particles in the air.
Following them each time you work on any wall repair or a project involving sanding drywall will help keep your home clean long after you’ve completed your task.


