Last Updated on March 6, 2023
People often make the mistake of thinking they can just slap some paint onto drywall and expect it to look perfect, but that’s far from reality. Mudding is an essential step in painting, creating smoothness and hiding any undesirable features. Put simply: you can’t skip mudding if you want beautiful results.
If you don’t mud your drywall, the walls will look patchy and unattractive, and they could become susceptible to cracking caused by moisture damage or other adverse factors. Inadequate adhesion between paint and surface can also have costly consequences. So before decorating with color, ensure mudding is firmly applied.
With this post, we reveal why mudding is the key ingredient in achieving that professional look with your walls and provide some top-notch tips too.
Can You Paint Drywall Without Mudding: Potential Problems

Mudding is essential in preparing drywall for painting, and skipping this process can lead to several problems. The following are some potential issues that can arise from choosing to forego mudding:
Difficulty in Obtaining Consistent Results: Without mudding, the finish on the drywall will be uneven and may contain deep indentations or waves. This can make it challenging to apply coats of paint evenly, resulting in a patchy or streaky finish. It is also highly likely that the texture will show through any coat of paint, making it impossible to achieve a smooth, uniform look.
Poor Adhesion of the Paint to the Wall: Drywall without mudding often has a rough texture that provides weak adhesion for paint, leading to flaking or bubbling after drying. Also, dust and dirt particles may become embedded into the wall during painting without mud coating. They act as a barrier between the wall and its new coat of paint.
Increased Risk of Peeling, Chipping, and Bubbling: Without mudding, there is an increased chance that within weeks or even days after finishing the project, parts of your newly painted walls will begin peeling off or bubbling up due to poor adhesion from inadequate preparation. Plus, they’ll chip and crack if you don’t apply enough mud to your walls.
Moisture Damage: Moisture is one of the biggest threats to any painted walls, as it can quickly seep into small cracks or crevices and cause serious damage over time. When you don’t mud before painting, you leave those areas exposed and vulnerable to water damage. Not only does this weaken the wall’s structure, but it can also ruin wiring, plumbing, and studs behind the drywall.
Fire Resistance Requirements Not Met: Mudding is also essential for providing fire protection for walls. When you paint without mud, you won’t achieve the same level of fire resistance that mud provides. This means that if there were ever a fire in your home, there’s a higher chance that your walls would not meet fire safety requirements and could burn faster than they should.
Possibility Of Walls Paint Becoming Easier To Damage: Without proper mud preparation before painting, your paint job may be more prone to chipping and peeling over time. Which results in an ugly look for your home that no one wants. It also makes cleanup much harder as dirt and dust will easily stick to your walls without a protective barrier like mud provides.
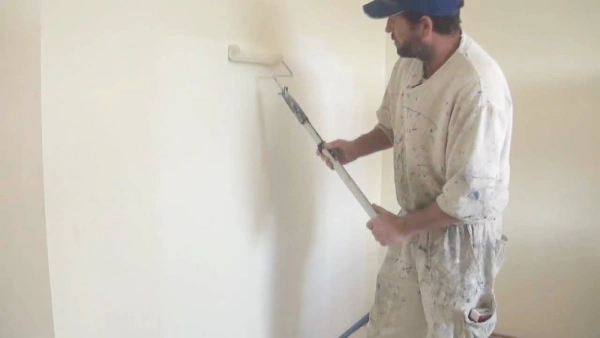
How Do You Mud and Paint Drywall?
Mudding and painting drywall requires time, patience, and attention to detail. The results can be stunning, however; when done right, your walls will look smooth and professional. Here are the steps you’ll need to take to mud and paint drywall.
Tape and Mud Drywall Seams
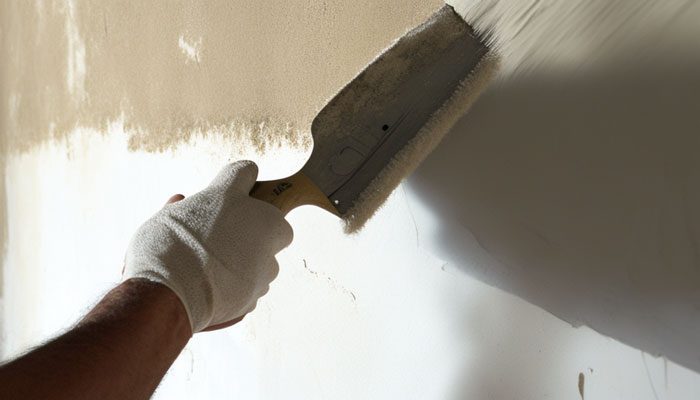
When taping and mudding drywall seams, it is important to start by preparing the walls. To do this, use a putty knife or sanding block to scrape away any loose material from around the fasteners or joints, this will ensure that the paper tape adheres properly.
Once you have scraped any loose material away from the drywall joints, it is time to apply the joint compound. Begin by opening up a joint drywall compound container and applying it directly onto the paper drywall tape at each drywall seam using a putty knife or drywall trowel.
You need to apply pressure as you spread out the joint compound for better coverage. If you scrape the paper tape, you can lay another layer right away. Then use a wet sponge to smooth out any ridges that exist in between each seam. Allow for drying overnight before applying additional coats as needed.
Spread Mud In Multiple Layers
Applying several layers of joint compound is crucial for a successful mud job. After waiting for the first coat of premixed mud to dry, fill any gaps with another layer of joint compound. Use a wider putty knife or taping knife for this second coat, so it is spread evenly across the wall surface.
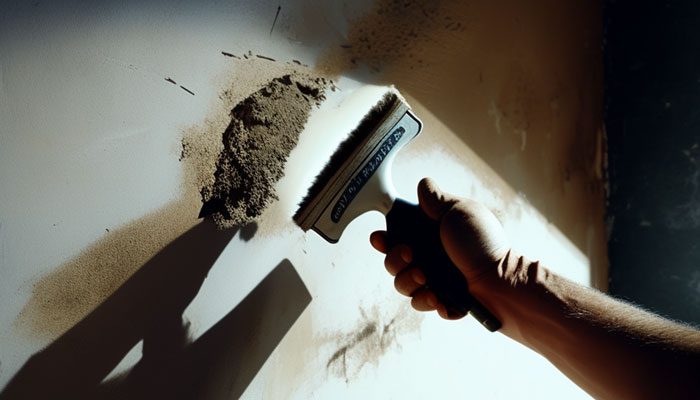
This second coat needs time to set as well. Usually, 24 hours should be enough depending on humidity levels/temperature etc, in your surrounding area while working on this project.
Sand After Complete Mudding
After all, the layers have been applied on top of one another, it is time for sanding. Start by taking an electric sander with grit sandpaper and sand down any excess ridges/lumpiness created during mudding. Paying close attention not to create dust clouds but rather lightly “dust off” each area until you achieve an even surface across the entire wall(s).
Use hand-held sandpaper if necessary when getting into crevices or hard-to-reach areas such as outside corners/edges etc. After completing this process, thoroughly clean up any remaining dust particles using a wet cloth and vacuum cleaner before proceeding with the priming & painting stages below.
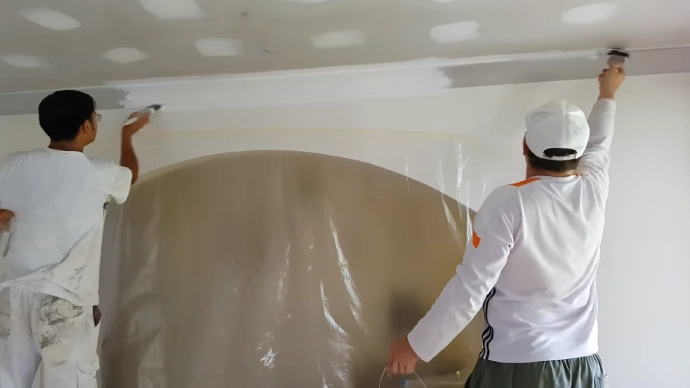
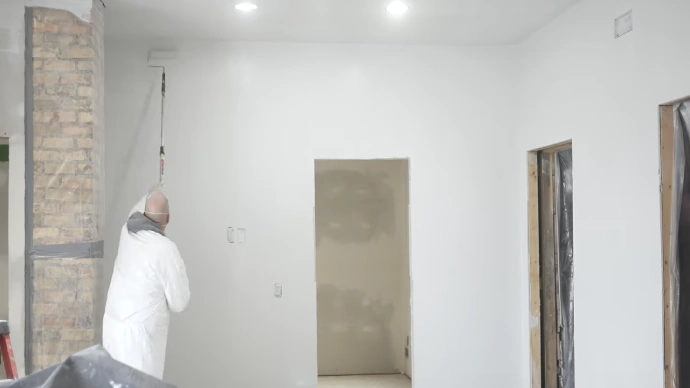
Put A Primer On Your Drywall
Now that your surfaces are prepared after having been taped/mudded & sanded down, it’s time for priming. Open up a fresh can of wall primer and begin rolling it onto your walls slowly but surely, trying not to create lumps or clumps along the way.
Rollers are typically best suited for good coverage, but use brushes around wood moldings/trim pieces etc, for best results here too. Allow the primer coat(s) to dry completely before proceeding with the painting stage.
Give Your Walls A Paint Job
Now comes finally offering your freshly primed walls some color via paint. Open up whichever color choice(s) best suits for your needs, then begin rolling & brushing onto previously primed surfaces. Like primers, keep an eye out for lumps or clumps while applying paint.
Ensure each area has been properly covered without issue before continuing along other sections until the entire wall(s) have been painted accordingly. Allow at least a 5 to 6 hours drying period between coats too, if layering thin coats (or thicker ones).
Once the area has dried properly, take one last look and inspect each area, and ensure there are no imperfections left, reward yourself.
Does Mud Have to Be All Over the Drywall Before Painting?
No, mud does not need all over the drywall. But, it is crucial to use a layer of mud to properly adhere to the joint drywall tape and create a secure seal. This is because a joint compound (mud) acts as an adhesive and creates a barrier between the wallboard paper and paint or wallpaper.
The layer of mud also helps to even out any irregularities in the wall surface so that when you put on a coat of paint or wallpaper, it will look smooth and uniform. It’s best practice to apply two thin layers of mud before painting. One for the mesh drywall tape and one for filling cracks and holes in the drywall.
With two layers of protection and a sanding session, your walls will achieve an impeccable smoothness that only professional-grade paint can bring out.
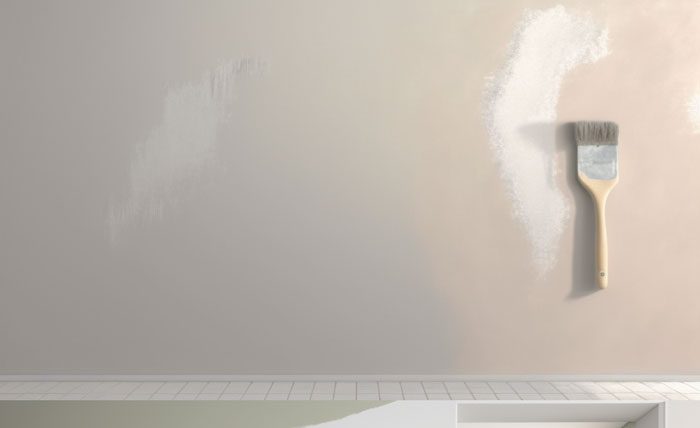
Is It Possible to Paint Over Drywall Mud Directly?
Painting directly on drywall mud? Not the best idea. Unlock your wall’s true potential and give it a fresh start with an all-important primer before you apply any color. This will smooth out any inconsistencies in the drywall mud and allow for better paint adhesion.
Primers also help protect against moisture and other elements that can damage drywall, such as mold and mildew. After the primer has been applied, several coats of paint can be used to give the wall its final look.
Don’t forget to use high-quality paints that are formulated specifically for painting over new or patched drywall surfaces, and don’t forget to allow adequate drying time between coats. Also, try to use good-quality primers that are made for drywall applications.
For example, multi-surface primer, primer for torn drywall, interior/exterior latex pva primer sealer, and white latex-based primer are some good options available.
On Drywall Mud, How Many Coats of Paint Are Needed?
A minimum of two coats of paint should be applied over exposed drywall mud. This will create a more even finish drywall and provide better coverage. For optimum results, apply a thin layer of the paint and wait for it to dry effortlessly before applying the second coat.
It may be necessary to apply additional coats to achieve the desired result. The paint must have good adhesion properties to work. Also, before you start painting, verify that you have chosen the correct type of paint for your project. It depends on where you are working and whether you should use oil-based or water-based paint.
Over the Exposed Drywall Mud, Can You Paint?
Yes, you can paint over drywall mud that is exposed. For a successful outcome, it’s important to prepare the area properly first. Before painting, it’s best to apply a drywall primer. This will seal any spackle or joint compound and create an even base layer that is ready to be painted on.
Depending on the size of the repair area, you may need more than one coat of primer before applying your chosen paint color. Use a quality roller brush or mini-roller when applying the primer and leave it to dry per manufacturer instructions.
If you notice any imperfections once the primer has dried, lightly sand them away before finally painting your desired color onto the wall.
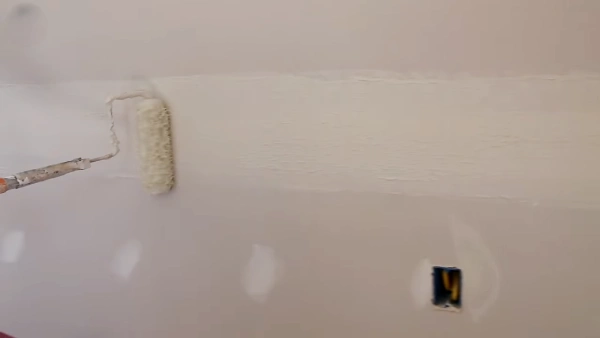
Is Spraying or Rolling Paint Better for Drywall Mud?
Rolling paint is generally the better option when it comes to applying drywall mud. Although spraying can be faster, the rough texture of drywall mudding often leads to a fuzzy finish if sprayed. Rolling the paint on allows for better coverage and a more even application with less mess.
Aside from that, rolling typically results in a smoother finished look and less time spent pole sanding afterward. When rolling, you can use various tools, including roller covers, extension poles, and specialized rollers designed specifically for drywall mudding.
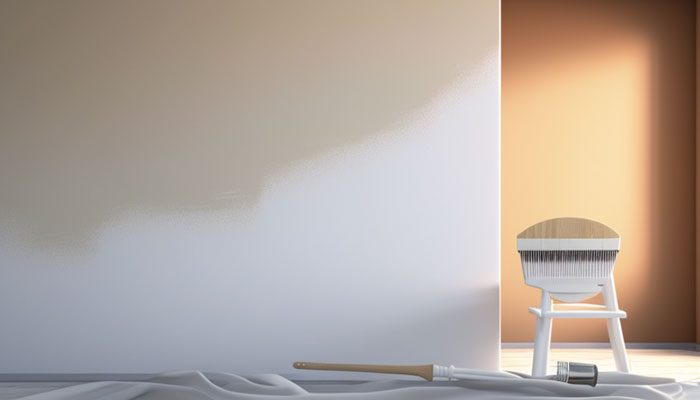
Unlock Lasting Color: Master the Art of Mudding First
If you want your paint job to last and look great on your walls, you must consider the importance of mudding before painting.
Yeah, you could rush the job and slap a skim coat of paint over any old drywall mud, but it would be like slapping tape on a cracked window. Sure, your walls might look okay right away, but hidden flaws will start to show sooner or later.
Please take the time to properly treat the surface by following the steps outlined above. Doing so will ensure that you get a beautiful, professional-looking finish every time. So don’t skip the mudding and get painting.