Last Updated on March 6, 2023
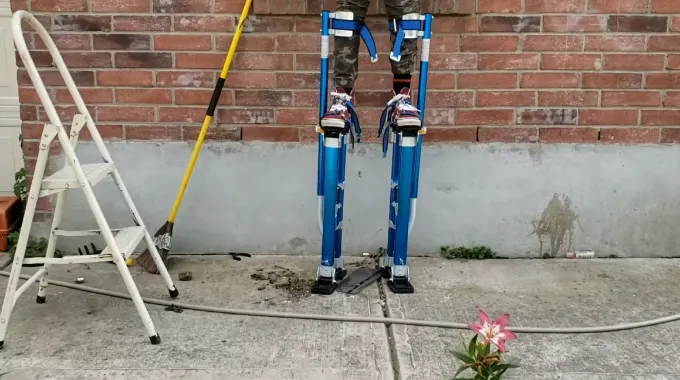
Building a drywall stilt frame from scratch is an exciting DIY project that can pay off in the long run. Not only are they incredibly useful for hanging up drywalls without using ladders or scaffolding, but you can also use them to create exciting designs in your home, like staircases and high-ceilinged rooms.
Before beginning work on your drywall stilts, first, design them on paper. Measure and record key dimensions such as height, width, length, and a weight capacity of each frame leg before getting started. Visualization can go a long way in helping you visualize how your final product will turn out.
We’ll cover everything from required to know, and you’ll also learn about necessary safety measures when using them and answers to essential questions.
How To Build Drywall Stilts Frame: Design on Paper
One crucial step often overlooked is on paper drawing of the drywall stilt frame in advance of beginning the construction process. While it may seem like an unnecessary extra step, it has several advantages that can save time and money in the long run.
By following these guidelines we will provide, you can ensure that your drywall stilts are accurately measured, cost-effective, and comfortable to use.
Before you can start designing on paper, gather the necessary tools and materials. This includes a pencil, ruler, graph paper, and calculator.
These items will be used to accurately measure and record the drywall stilt dimensions and the user’s feet, as well as to calculate the cost of the materials needed for the drywall stilts project.
Measure and Record Key Dimensions
Once you have gathered the necessary materials and tools, the next step is to measure and record key dimensions. This includes the desired height of the drywall stilts and the length and width of the user’s feet.
To determine the height of the drywall stilts, use a tape measure to measure the distance from the ground to the top of your head while standing on your toes.
Add a few inches to this measurement to allow for the thickness of the foam padding and the height of your feet when standing on the drywall stilts. Record this measurement on paper.
Next, measure the length and width of your feet using a tape measure or ruler. It is important to be precise with these measurements, as the size of the drywall stilt frame will need to accommodate the user’s feet to ensure a secure and comfortable fit. Record the width and length of the feet on paper.
Create a Sketch on Paper of the Drywall Stilt Frame
With the key dimensions measured and recorded, create a top view of the drywall stilt frame on graph paper. Using the recorded dimensions as a guide, accurately represent the height and size of the drywall stilts and feet on the paper.
Include details such as the location of the hinges, straps, and foam padding. These elements will be important in ensuring a secure and comfortable fit for the user. Take the time to carefully plan drywall stilt frame design on paper, as this will save time and effort during the construction process.
Make any necessary design adjustments as needed. For example, if the drywall stilt frame appears too large or small based on the recorded dimensions, you may need to adjust the size on paper before beginning construction.
Visualization
Once you have completed the design of the drywall stilt structure on paper, you can use the design plan to visualize the finished product. It is crucial in the design process, as it allows you to see how the finished drywall stilt frame will look and function.
To visualize the drywall stilt frame, simply look at the design plan and imagine the finished drywall stilt frame in your mind. Consider factors such as the overall size and shape of the drywall stilt frame, the placement of the hinges and straps, and the comfort and stability of the foam padding.
If any issues or concerns arise during the visualization process, make any required adjustments to the design on paper before beginning construction.
Materials and Tools Needed to Build Your Drywall Stilt
Before building drywall stilts, you will need to gather the necessary materials and tools. It is important to have a clear understanding of what you will need for the project, as this will help to ensure a smooth and successful construction process.
Here is a list of materials for building drywall stilts:
Drywall sheets
These sheets will be used to form the stilt frames. The size and quantity of the sheets you need will depend on the desired height and size of the stilts.
Screws
Screws will secure the drywall sheets and attach the hinges and straps to the stilt frames. Make sure to have a variety of sizes on hand to suit the needs of the project.
Hinges
Hinges will allow the stilt frames to pivot and move with the user’s feet. Make sure to choose sturdy and durable hinges that can support the weight of the user.
Foam Padding
Foam padding will be added to the surface of the stilt frames to provide cushioning and comfort for the user. Choose a high-density foam padding that is thick enough to provide sufficient support.
Straps
Straps will secure the user’s feet to the stilt frames. Make sure to choose durable and adjustable straps that will fit the user’s feet comfortably.
In addition to the materials listed above, you will also need a variety of tools to complete the project. Here is a list of tools that you may need for building drywall stilts:
Drill
A drill will attach the screws, hinges, and straps to the stilt frames. Make sure to have a fully charged drill or plenty of extra batteries on hand.
Screwdriver
A screwdriver will be needed to tighten any loose screws or make adjustments to the stilt frames.
Saw
A saw will cut the drywall sheets to size. Make sure to wear protective goggles and gloves while sawing to prevent injury.
Tape Measure
A tape measure will be used to measure the desired height of the stilts and the size of the user’s feet. Make sure to choose a tape measure with a long enough length to reach the optimal height of the stilts.
Assemble the Drywall Stilt Frames
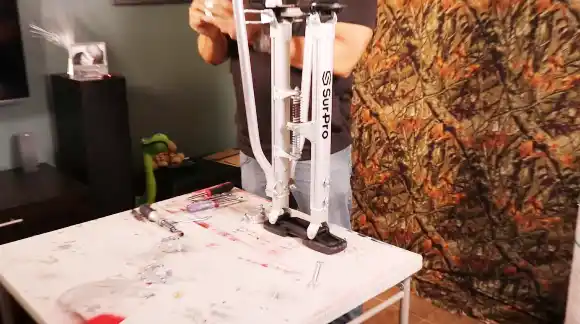
With the materials and tools gathered and the stilt frame design complete, it is time to assemble the drywall stilt frames. This is an important step in the construction process, as it will determine the overall strength and stability of the stilts.
Follow these steps to assemble the stilt frames:
- Position the cut drywall sheets in a “T” shape to form the stilt frames. Lay one of the sheets flat on a stable surface and place the other sheet on top of it at a 90-degree angle, forming a “T” shape.
- Secure the sheets together using screws and a drill. Using screws and a drill, attach the two sheets together to form the stilt frames. Make sure to evenly distribute the screws and use enough to ensure a strong and secure connection.
- Test the stilt frames for stability. Once the stilt frames are assembled, test them for stability by gently applying pressure to the top of the frames. Make any necessary changes to the screws or hinges to ensure that the stilt frames are secure and sturdy.
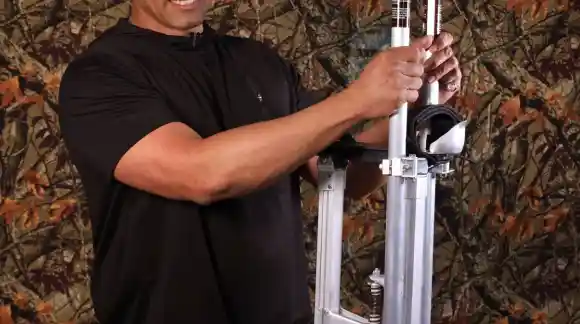
Add Hinges and Foam Padding to Your Drywall Stilts
With the stilt frames assembled, the next step in building drywall stilts is to add hinges and foam padding. These elements will help to make the stilts more comfortable and secure for the user.
To add foam padding and hinges to the stilt frames, follow these steps:
- Attach hinges to the back of the stilt frames using screws and a drill. Position the hinges behind the stilt frames, so they are parallel to the ground. Using a drill and screws, attach the hinges to the frames. Make sure the hinges are securely fastened and able to pivot freely.
- Cut foam padding to size and attach it to the top of the stilt frames using glue or tape. Cut the foam padding to size, fitting it on top of the stilts.
You can use glue or tape to attach the foam padding to the frames. Ensure the foam padding is securely attached and covers the entire top surface of the stilt frames.
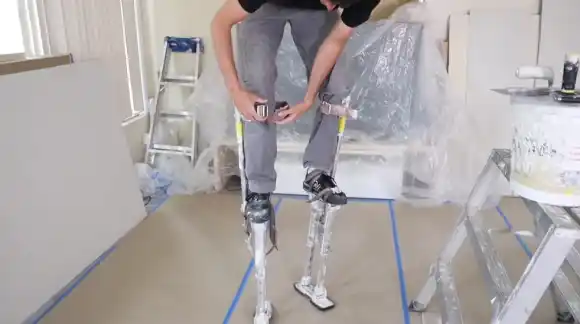
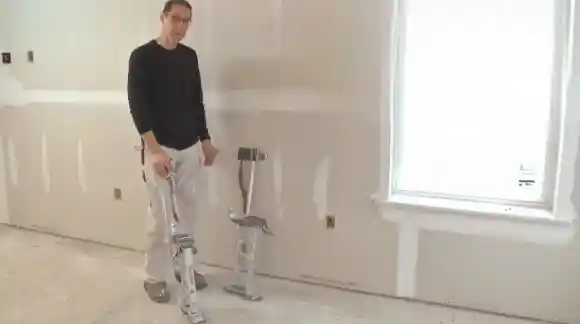
Test and Adjust the Drywall Stilts
With the stilt frames assembled and the hinges and foam padding added, test and adjust the stilts. This will help to ensure that the stilts are comfortable, secure, and safe to use.
To test and adjust the stilts, follow these steps:
- Put on the stilts and walk around in a safe, open area. As you walk, pay attention to the stability and comfort of the stilts. Make any necessary adjustments to the hinges or straps to ensure a comfortable and secure fit at all heights.
- Test the stilts at different heights to ensure they are stable and comfortable at all levels. Use the adjustable straps to change the height of the stilts and test them at various heights.
- Make any necessary repairs or adjustments to the stilts as needed. If you notice any issues with the stilts, such as loose screws or damaged foam padding, make the necessary repairs or adjustments to ensure the stilts are safe and reliable.
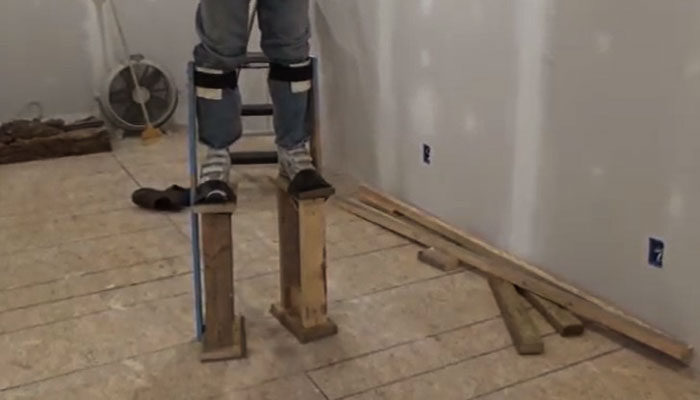
Are Drywall Stilts Hard To Balance?
Balancing on drywall stilts can be difficult, especially for beginners. When walking with drywall stilts, the user will need some practice and familiarity to learn how to balance properly, as the user is essentially walking on two sticks.
To balance effectively on drywall stilts, the user must pay attention to their center of gravity and use their arms and legs to shift their weight accordingly.
One way to help with this process is to focus on pushing off one stilt at a time rather than trying to walk with both simultaneously. With some practice and guidance, users can become comfortable with balancing on stilts.
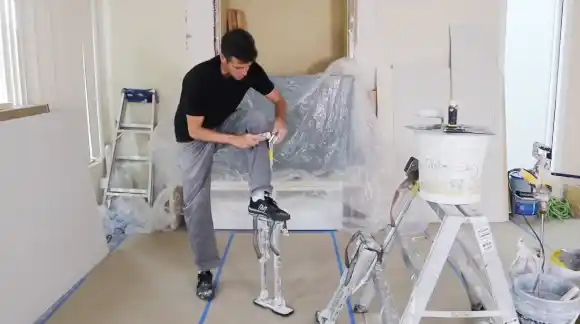
Can You Walk With Drywall Stilts?
Yes, it is possible to walk using drywall stilts. However, doing so requires some practice to become comfortable and proficient in balancing while using them. When first starting out with drywall stilts, users should ensure they are wearing appropriate safety gear, such as knee pads and elbow protection.
They should choose an open environment without obstacles where they can practice walking without any risk of falling or hitting something while they get used to using the stilts.
Once familiar with how the equipment works and feeling more comfortable in their stance and movements when using them, users can then move onto more challenging terrain, such as walls or other areas that require greater skill when working with drywall stilts.
Drywall Stilts: How High Should They Be?
Drywall stilt height should be determined by the user’s individual size and stature before any other factor is considered.
A pair of stilts that is the right size will have enough room between the top of your foot and the bottom of the platform. This is when you are standing up straight with your legs bent at the knees.
You should be able to move around without feeling uncomfortable or tight in the platform area.
What Are The Different Types Of Drywall Stilts?
There are several different types of drywall stilts that you can choose from, depending on what your specific needs or preferences are. The most common type of aluminum ladder has adjustable straps around both ankles for added comfort and support.
The leg length extension mechanism is also adjustable so that the ladder can be any size from small (2-3ft) to extra large (14ft). Other types of ladders include fiberglass ladders, which are stronger than aluminum ladders but weigh less.
There are also collapsible ladders, which can be folded up for easy storage. These models come in sizes ranging from 4-6 feet (medium) to 12 feet (large).
Drywall Stilts: What Wood Is Used For Building?
Drywall Stilts typically consist of an aluminum frame construction along with steel components, including axles and springs that provide dynamic movement during use. The wood used in the construction of most brands and models is typically hardwood plywood or solid oak.
Some manufacturers have been known to use maple wood instead for those wishing for slightly lighter versions over standard ones. The materials used for this project need to be very strong and durable. Otherwise, the weak points could give way later during use.
This could lead to catastrophic results because people usually need these tools to reach high during particular applications. So pay attention when choosing suitable materials beforehand.
Conclusion
Building drywall stilts is a great way for homeowners and professional contractors alike to gain access to hard-to-reach places without putting any undue strain on their feet or legs.
While it may seem like a daunting task at first glance, there are many simple steps involved that can help you create a safe and sturdy drywall stilt set that will last for years if properly cared for.
Don’t forget to measure dimensions before starting construction and test out the finished product before use. With these tips in mind, you should be able to build an excellent set of drywall stilts that will make any job easier.


