Last Updated on July 30, 2023
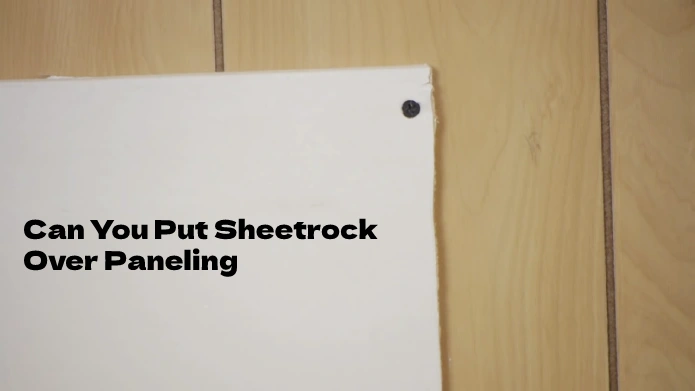
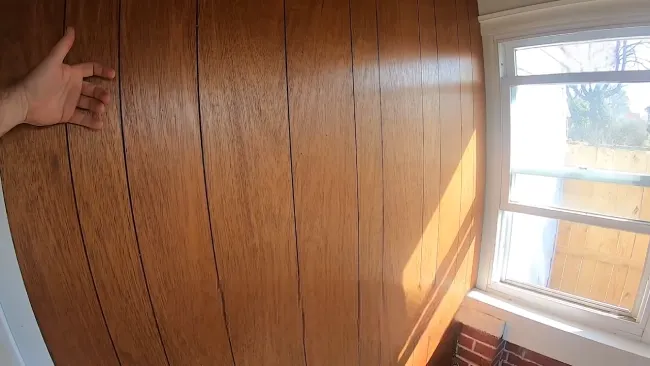
When thinking about your home improvement project, you might wonder if sheetrock can cover up outdated or unsightly paneling. Once a popular choice for wall coverings, panels have become outdated or need to adhere to your desired aesthetic.
It is possible to put sheetrock over paneling. This method commonly covers outdated or damaged paneling with a smoother surface.
We will discuss the necessary steps for how to install sheetrock over paneling. So, if you’re ready to give your walls a fresh new look, let’s explore the world of sheetrock installation over paneling.
The Things You Need to Know Before Putting Sheetrock Over Paneling
Before putting sheetrock over paneling, you should keep a few things in mind. Here is what you need to know:
1. Assess the Condition of the Paneling
Before putting sheetrock over the paneling, you need to assess the paneling condition. A level and secure surface for the sheetrock requires removing any loose, damaged, or rotting paneling.
If the paneling remains in poor condition, the sheetrock will likely crack or shift over time, leading to costly repairs. So, check the paneling and ensure it’s securely attached to the wall before installing.
2. Thickness
The thickness of the paneling is a major consideration when putting sheetrock over it. Standard sheetrock may not fit correctly over thicker paneling, leading to uneven wall surfaces.
In such cases, adding furring strips can help create an even surface and allow for the correct installation of sheetrock.
Remember, the paneling’s thickness can significantly impact the final finish. Selecting the right solution to achieve a smooth and even wall surface is essential.
3. Remove Protrusions
Protruding elements like decorative trim or chair rails can cause unevenness in the wall surface. Before putting sheetrock over paneling, removing any of these protruding elements is crucial.
If you don’t, you’ll have an uneven surface that’s hard to fix. Removing protrusions helps ensure that the wall’s final surface is smooth and even, which is essential for good insulation and soundproofing. It’s advisable to take the time to remove these elements before installation.
How Can You Install Sheetrock Over Paneling: Steps in Detail
You need to follow a few key steps to install sheetrock over paneling. Here’s a quick overview:
Step #2: Measure and Cut The Sheetrock
Step #3: Attach Furring Strips (If Necessary)
Step #4: Apply Construction Adhesive
Step #5: Install the Sheetrock
Step #6: Fill the Joints and Screw Indentations
Let’s take a closer look at the details.
Step #1: Prepare the Paneling
You must prepare the surface properly before applying sheetrock over the paneling. Clean the paneling thoroughly and lightly sand it in this case.
Remove any dirt, grease, or dust from the paneling using a damp cloth or sponge. If the paneling has a glossy finish, it’s necessary to sand it lightly.
This will create a rougher surface that will help the sheetrock adhere better. Use fine-grit sandpaper and make sure not to over-sand, as this can damage the paneling.
Once you’ve finished sanding, wipe down the surface with a clean cloth to remove any dust left behind.
Step #2: Measure and Cut The Sheetrock
Now you can start measuring and cutting the sheetrock for your new walls. To start, use a tape measure to determine the wall dimensions you want to cover with sheetrock.
Once you have your measurements, mark them on the sheetrock using a pencil or marker. Next, score the front paper layer of the sheetrock along these marked lines with a utility knife. Be careful not to cut too deeply into the material.
After that, snap the sheet along these scored lines to break it cleanly. Then, cut through the back paper layer using a sharp utility knife to complete your cuts.
Step #3: Attach Furring Strips (If Necessary)
Attach furring strips vertically to wall studs every 16 inches using screws or nails to ensure your walls are even and secure.
If the paneling is thicker than the sheetrock, you must use furring strips to create an even surface. Installing these thin strips of wood or metal is easy.
Just measure and cut them to size, then attach them vertically to each stud. Make sure they’re spaced evenly about 16 inches apart, and use a level to ensure they’re straight.
Once you’ve attached all of your furring strips, you’ll have a sturdy foundation for installing your sheetrock on top.
Step #4: Apply Construction Adhesive
Now you have to apply construction adhesive in a zigzag pattern to bond the sheetrock to the paneling. This adhesive will help ensure that the sheetrock remains securely attached to the paneling, preventing shifting or warping over time.
When applying the adhesive, it’s wise to leave about 2 inches from the edges so that you have room for taping and finishing later on. Make sure to apply enough adhesive to create a strong bond, but not so much that it creates bumps or lumps behind the sheetrock.
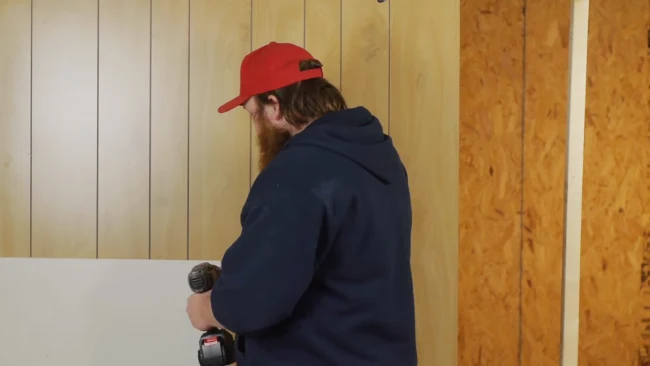
Step #5: Install the Sheetrock
Let’s get those sheetrock panels up on the wall. Using drywall screws, secure them firmly against the adhesive. Make sure to keep a distance of 12 inches between screws along the edges and 16 inches in between them in the field.
As you position each panel against the wall, press it firmly against the adhesive before screwing it in place.
When drilling in screws, ensure they’re countersunk slightly below the sheetrock surface without breaking through to avoid damaging its paper layer.
Step #6: Fill the Joints and Screw Indentations
Fill in all the joints and screw holes using a joint compound and a taping knife to achieve a polished finish on your wall. This creates a smooth surface that’s ideal for painting or wallpapering.
Use a taping knife to apply a thin layer of joint compound over the seams between the sheetrock panels. Ensure the mixture fills in gaps or uneven spots, making your wall look seamless.
After that, apply another light layer of drywall compound over the screw indentations, spreading it smoothly with your knife. Follow the manufacturer’s instructions to allow the compound to dry properly.
Step #7: Sand and Finish
You can sand and paint your wall when you’ve filled in screw holes and joints with joint compound.
Sand the surface to remove any imperfections left from the joint compound. Use fine-grit sandpaper to avoid damaging the sheetrock. Sand until you achieve a smooth and even surface.
Once you’ve finished sanding, wipe off any dust with a damp cloth or vacuum cleaner.
Next, apply primer to prepare the surface for painting. This will ensure that the paint adheres properly and lasts longer.
At last, choose your desired color of paint and apply it evenly using a roller or brush. Allow it to dry completely before touching or moving anything against the wall.
How long does it take to install sheetrock over paneling?
The installation time for sheetrock over paneling can vary depending on various factors. These include the size of the area, the condition of the existing paneling, and the installer’s level of expertise.
On average, the process can take anywhere from a few hours to a few days. The sheetrock installation may require additional time if the paneling is damaged or uneven.
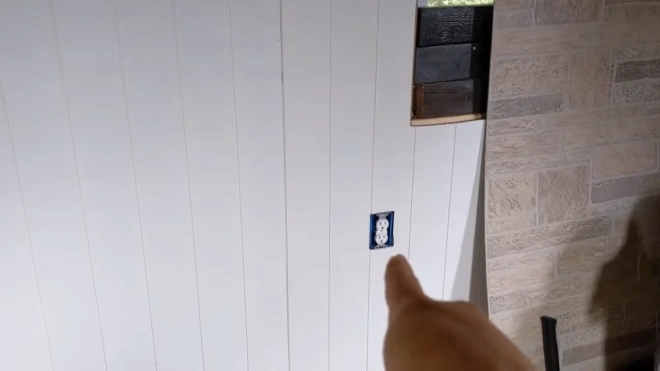
Relocating or adjusting fixtures such as electrical outlets can also extend the installation time.
Upgrade Your Walls with Sheetrock Installation over Paneling
Installing sheetrock over paneling is a great way to update your walls. The installation process should go smoothly if you check the paneling’s condition, consider its thickness, and remove any protrusions.
Always remember to follow the necessary steps for sheetrock installation, including measuring and cutting the sheetrock, attaching furring strips if necessary, and filling the joints and screw indentations. With these tips in mind, you can give your walls a stylish new makeover with sheetrock.