Last Updated on July 30, 2023
Wallpapering over drywall transforms any room instantly if you take the right approach. It offers a cost-effective way for a quick update to your living space.
Whether you want to add a splash of color, create a focal point, or refresh the space, wallpaper can provide a versatile and stylish solution.
Drywall, also called plasterboard, provides a polished and sturdy foundation for your wallpaper project. The secret to achieving a sleek and masterfully executed finished product is utilizing the correct equipment, supplies, and methodologies.
Here, we’ll take you through the step-by-step process of wallpapering over plasterboard, from surface preparation to the final touches. By following these instructions, you’ll have no trouble on your way to enhance your living space with beautiful wallpaper that suits your style.
How Can You Wallpaper Over Plasterboard with Ease?
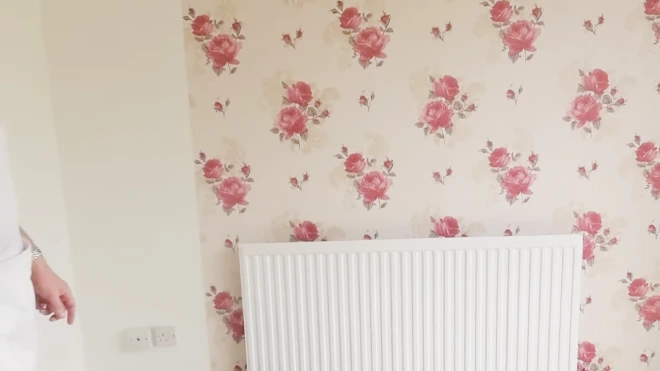
Wallpapering over plasterboard is a great way to give your walls a fresh look without the hassle and expense of painting. And with the right tools and techniques, it’s easier than you might think. Here are the step-by-step instructions for wallpapering over plasterboard:
- Step 01: Gather your supplies
- Step 02: Prepare the surface
- Step 03: Measure and cut the wallpaper
- Step 04: Prepare the wallpaper paste or adhesive
- Step 05: Apply the paste
- Step 06: Hang the wallpaper
- Step 07: Continue hanging the wallpaper
- Step 08: Trim the excess
- Step 09: Repeat for the remaining walls
- Step 10: Clean up
Step 01: Gather Your Supplies
Get everything ready, from the smooth brush to the wallpaper adhesive and knife. Doing so lets you easily transform your blank plasterboard canvas into a masterpiece.
A level is essential for ensuring that your wallpaper is straight and even, while a sponge or damp cloth will come in handy when removing excess paste. Once you’ve gathered your supplies, it’s time to prepare the surface for wallpaper application.
Step 02: Prepare the Surface
Before applying the wallpaper, let’s ensure the plasterboard surface is free from lining paper, dust, or debris. First, use a damp cloth to wipe down the plasterboard and remove dirt or grime.
Then, fill in any cracks or holes with filler and sand them down until they’re smooth. If there are larger imperfections on the wall, you may need to apply multiple layers of filler and sanding to make them completely level with the rest of the surface.
Once your plasterboard is smooth and even, removing any existing wallpaper is time. Make sure you remove all traces of old adhesive as well. If you don’t, this can cause problems later on when you try to apply your new wallpaper.
Step 03: Measure and Cut the Wallpaper
Before measuring and cutting, ensure your wallpaper pattern aligns perfectly with the wall. This is a crucial step in ensuring that your wallpaper installation looks seamless.
Measure the height of the plasterboard wall and add a few extra inches to allow for trimming. It’s important to have accurate measurements so you don’t end up with an uneven application.
Once you have measured the wall, roll out the wallpaper and cut it into strips according to the wall height. Make sure that each strip aligns with the previous one if there’s a pattern involved. Take your time cutting each strip. Precision is key to achieving a professional finish.
Step 04: Prepare the Wallpaper Paste or Adhesive
Determine if your product requires mixing with water or if it comes pre-mixed. Follow the manufacturer’s instructions precisely to avoid consistency or drying time mistakes.
When preparing the adhesive, use the appropriate tools, such as a mixing bucket and trowel, and mix thoroughly until the paste is smooth and free of lumps.
Remember that different types of wallpaper require different types of adhesives. So, always choose one compatible with your specific wallpaper material.
Once mixed, let the paste rest for a few minutes before using it to allow it to thicken slightly. With your adhesive ready, you can apply it to your walls for hanging the wallpaper.
Step 05: Apply the Paste
Before starting, make sure your plasterboard is clean and dry. Then, apply the paste evenly to the back of the wallpaper using a wallpaper brush or roller. Apply enough to cover the entire surface but don’t apply too much, as it can cause warping or bubbling.
Step 06: Hang the Wallpaper
Start by aligning the edge of the first wallpaper strip with a plumb line or level at one corner of the plasterboard wall.
Remember to gently press the wallpaper against the wall while smoothing it out as you go along to remove any wrinkles or air bubbles. This will ensure proper adhesion, so use a smoothing brush or squeegee to flatten the paper.
As you continue hanging the wallpaper, ensure each strip is aligned properly and overlaps slightly at the seams. Take care not to stretch or pull the paper too tight, as this can cause it to tear or bubble.
Step 07: Continue Hanging the Wallpaper
As you hang the wallpaper, slightly overlap the edges by about 1/4 inch to ensure no gaps between strips. This will help create a cohesive look for your wall.
Take extra care when matching patterns as well. Careful consideration of pattern placement can make or break the overall appearance of your wallpapered wall. Smooth out each strip as you go, ensuring no bubbles or wrinkles.
Step 08: Trim the Excess
Using a sharp blade or scissors, you can trim the edges of your newly hung paper, ensuring a polished and professional appearance. The following tips will help you trim the excess paper along the top and bottom edges of your plasterboard:
- Use a wallpaper knife or scissors for precise cutting.
- Carefully cut along the edge of the plasterboard, taking care not to damage it.
- Take your time during this step to achieve clean and neat edges.
After trimming off all excess paper, repeat these steps for the remaining walls until all wallpaper is applied.
Step 09: Repeat for Remaining Walls
Continue the process for each wall, aligning the patterns and smoothing out the paper as you go to create a cohesive and stylish room. Remember to measure twice before cutting and use a sharp knife to trim any excess wallpaper around corners or edges.
It is crucial to carefully ensure that all of the wallpaper is properly aligned, as any mistakes are difficult to correct later. Once you’ve finished hanging wallpaper on all the plasterboard walls, it’s time for cleanup.
Step 10: Clean Up
Now that the wallpaper looks great, it’s time to tidy up and remove any excess paste or scraps from the walls. To start, grab a damp cloth or sponge and carefully wipe away any remnants of adhesive or paste. Don’t forget to pay extra attention to the seams and edges where excess paste accumulates.
It’s important not to use too much water as this can damage the wallpaper or plasterboard underneath. Instead, gently dab at any stubborn spots until they’re completely removed.
Transform Your Space with Perfectly Wallpapered Plasterboard
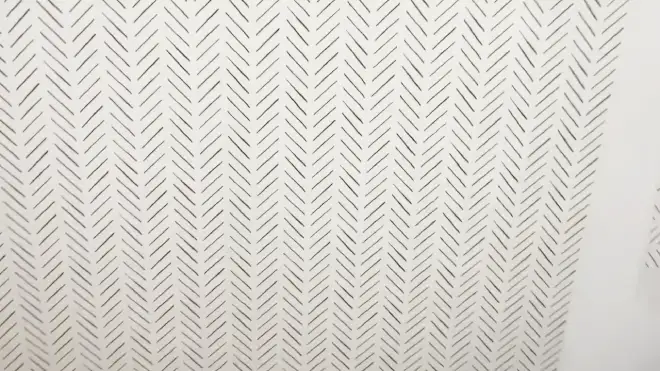
Wallpapering over plasterboard requires careful preparation and execution. Properly priming the plasterboard will ensure the wallpaper adheres properly and lasts longer. Accurate measuring, cutting, and placing of the wallpaper on the wall is essential to achieve a smooth and even finish.
To remove any air bubbles or wrinkles, use a smoothing tool or brush to press down firmly and evenly on each part of the paper. Don’t let fear hold you back from attempting this DIY project. With patience, preparation, and practice, you can easily create a stunning result that adds charm and personality to your space.
So, gather your tools and supplies and take your first step. If you feel stuck, take a breath, step back, and remind yourself: “You’ve got this.”
