Last Updated on March 29, 2023
Keeping your drywalls structurally sound is vital for protecting the integrity of your home, and it all begins with patching up pesky cracks or holes. But before you start mudding away at those troublesome divots, do you need to bother taping them first?
Using tape might be an extra step in the process, but trust us, it’s worth every second. Not only can this help prevent future costly repairs from being necessary, but it makes any current fixes last much longer too.
Patching drywall requires several steps, like preparing the area, applying the tape, applying joint compound, painting the wall (optional), and finishing touches.
In this insightful read, we’ll discuss the why-to and how-to behind patching drywall with tape. Learn all you need to know about proper prep work and executing each step. It’s essential for achieving flawless walls.
How Do You Use Tape When Patching Drywall?
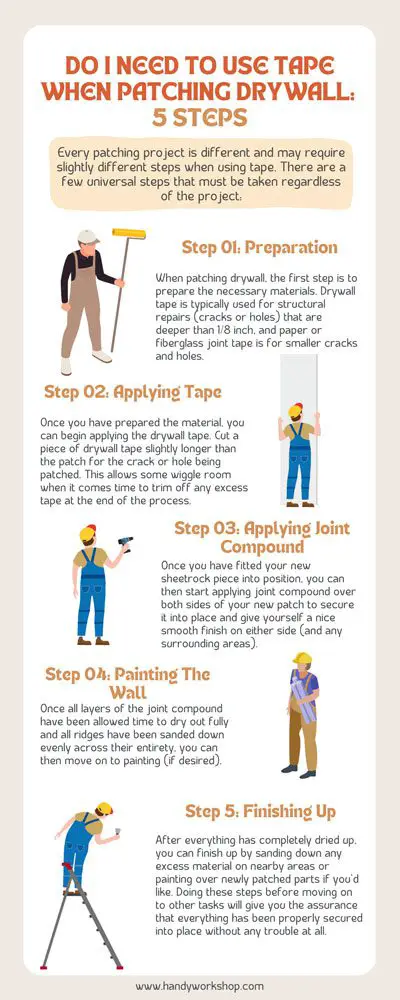
Every patching project is different and may require slightly different steps when using tape. There are a few universal steps that must be taken regardless of the project:
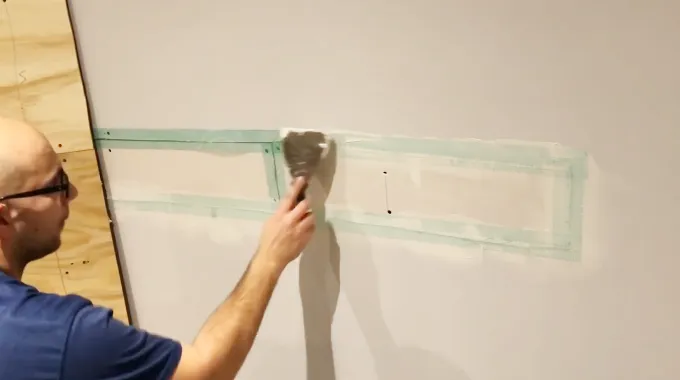
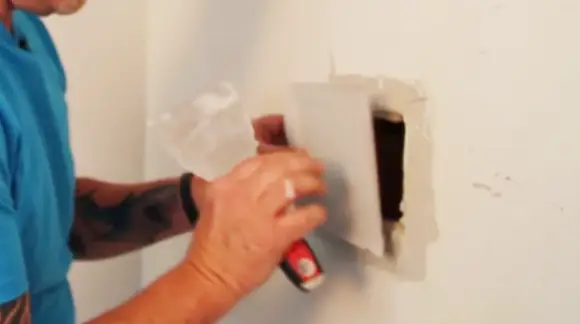
Step 01: Preparation
When patching drywall, the first step is to prepare the necessary materials. Drywall tape is typically used for structural repairs (cracks or holes) that are deeper than 1/8 inch, and paper or fiberglass joint tape is for smaller cracks and holes.
And you will need a drywall compound, a putty knife, and sandpaper. It is important to measure the area to be patched and cut the patch accordingly with a utility knife before beginning. The correct size of the patch is crucial to ensure a neat finish.
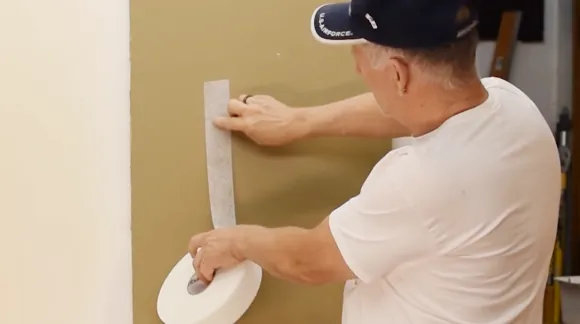
Step 02: Applying Tape
Once you have prepared the material, you can begin applying the drywall tape. Cut a piece of drywall tape slightly longer than the patch for the crack or hole being patched. This allows some wiggle room when it comes time to trim off any excess tape at the end of the process.
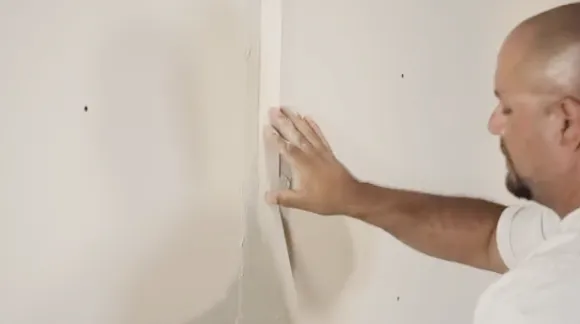
When doing so, remember that your patch should be slightly larger than the hole being patched. This will allow for extra space around it so you can embed it securely with an additional joint compound once everything is ready.
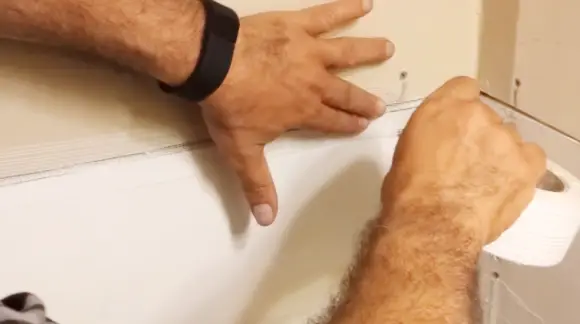
Once you have cut out your new piece, place it into position by lightly pressing around its edges until it sits flush against the wall’s surface. If necessary, insert small nails at various points along its edges to hold everything together while drying (sometimes referred to as “tacking”).
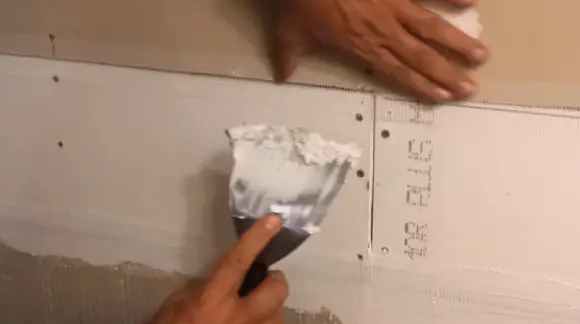
Step 03: Applying Joint Compound
Once you have fitted your new sheetrock piece into position, you can then start applying joint compound over both sides of your new patch to secure it into place and give yourself a nice smooth finish on either side (and any surrounding areas).
Use a putty knife or taping tool to spread an even coat of joint compound over both sides until everything looks nice and uniform. Make sure not to leave any lumps or bumps behind, as these may show through after painting.
Allow this layer of compound time to dry completely before moving on to sanding down any visible ridges. This should help create an even texture across your newly-patched wall section before painting (if desired).
Step 04: Painting The Wall (Optional)
Once all layers of the joint compound have been allowed time to dry out fully and all ridges have been sanded down evenly across their entirety, you can then move on to painting (if desired).
Before beginning, always make sure that any unpainted sections are given two coats of primer/sealer first to protect them from moisture damage later on while also providing an ideal base surface for painting over afterward.
Quality paints can make or break any painting project, and latex-based products reign supreme. Not only do they dry quickly to prevent smudging while in use, but their durability makes them the go-to pick for lasting protection against wear and tear. With so many options available at your local hardware store, why not choose a paint you know will be up to the task?
When you’re set to go, begin rolling on pairs of coats slowly from one corner and outwards until everything appears even. Make sure that each section has sufficient time between layers for the paint to dry properly before progressing further, if necessary.
Step 5: Finishing Up
After everything has completely dried up, you can finish up by sanding down any excess material on nearby areas or painting over newly patched parts if you’d like. Doing these steps before moving on to other tasks will give you the assurance that everything has been properly secured into place without any trouble at all.
You can use the following tape when patching drywall:
Self-Adhesive Fiberglass Joint Tape
It is an ideal product for patching drywall as it provides an easy-to-use, high-strength, and reliable solution. The tape comprises a thin fiberglass mesh embedded with a special adhesive that activates when pressure is applied.
This product sticks securely to the drywall surface, and once in place, it fills the gaps between joints providing extra strength and stability. It is perfect for repairing large cracks or holes and securing corners on new walls. The tape can be painted to match your wall color, making it virtually invisible upon application.
Wall Patch Tape
This is an essential product for patching drywalls as it offers a quick and simple solution to repair small cracks or holes. The self-adhesive tape comes in various sizes and is easily cut to fit the desired application area.
Not only does this product seal in the edges, but its strong adhesion also prevents further damage from occurring to the surrounding material. And this type of patching tape can be used on indoor and outdoor surfaces ensuring optimum performance even under extreme weather conditions.
Drywall Joint Tape
This joint tape is designed specifically for use on drywall applications, offering superior strength and durability when compared to other types of joint tapes. This product contains fibers woven together, forming a strong mesh backing that prevents air pockets from forming within the seams of these drywall boards when they are joined together.
Filling these gaps with this highly adhesive joint tape allows for greater flexibility while also creating a tighter bond between the materials which reduces the risk of shrinkage over time due to contraction and expansion caused by moisture or temperature changes.
Fiberglass Mesh Joint Tape
The fiberglass mesh joint tape helps keep the drywall from cracking or chipping along the edges. This product features an interlocking fiberglass material that creates a strong grid pattern underneath its adhesive coating.
During construction or renovation, it keeps seams from losing their shape because of movement or vibration in the underlying structure. Plus, it’s flexible, so you can stretch it around corners without tearing, so your patches will stay smooth and secure for years to come.
Can You Use Duct Tape To Patch the Drywall?
Paper tape is often preferred by professionals due to its strength and ability to provide a smoother finish after it dries. Mesh drywall tape is easier to work with but may not offer the same strength and durability as paper drywall tape.
Can You Use Drywall Tape For a 3″ Hole?
Once all of these preparations have been made, you can then apply your chosen type of drywall tape firmly onto the surface of the wall to complete the repair job effectively.
Why Is Drywall Joint Tape Necessary for Patching?
Drywall joint tape provides additional reinforcement for patches on walls and ceilings that have been repaired with the joint compound. It serves several essential functions:
- It helps keep all areas of joint compound firmly in place once they have dried and prevents any cracks from appearing between joints where different pieces of sheetrock meet each other.
- And it helps improve overall aesthetic appeal by creating a much smoother transition between sections and providing an even surface that looks cleaner than when left unfinished without any reinforcement.
- It also helps protect against water damage because it acts like an extra layer that can repel moisture and prevent seepage from occurring through cracks into interior spaces beneath the repairs on walls or ceilings.
Can You Just Mud Drywall to Patch Plaster without Tape?
No, it is not recommended to apply only drywall joint compound or “drywall mud” for drywall patching without tape. Drywall and plaster have different expansion rates, which can cause the joint compound to shrink and crack as it dries, leaving gaps between the drywall sheets.
Without tape or adhesive, the joint compound won’t stay in place once it’s applied, so it’s likely to spill out of the seams once it’s applied. Using paper or mesh tape when applying joint compound will keep it in place while it dries and ensures a much better finish.
Moreover, tapes are designed to act as a moisture barrier between the drywall and plaster, which helps prevent any potential cracks due to expansion issues.
So, if you want to ensure that your drywall patching job lasts long-term, then using tape is an absolute must. Otherwise, you risk wasting time and resources due to having to repair the patchwork again and again over time.
Make Your Drywalls Perfect with Tape
Using the best tape when patching drywall is imperative for a successful outcome. When done correctly, the process is easy and straightforward. After following the steps outlined above in this blog post, you should have a smooth, repaired wall surface that looks just like new.
Before getting started, ask yourself any questions you may have. Be sure to purchase the right type of tape for your repair project, or else you could run into issues down the line. With these tips in hand, you’ll be equipped with all the information necessary to ensure that your wall repair job turns out perfectly.