Last Updated on January 11, 2023
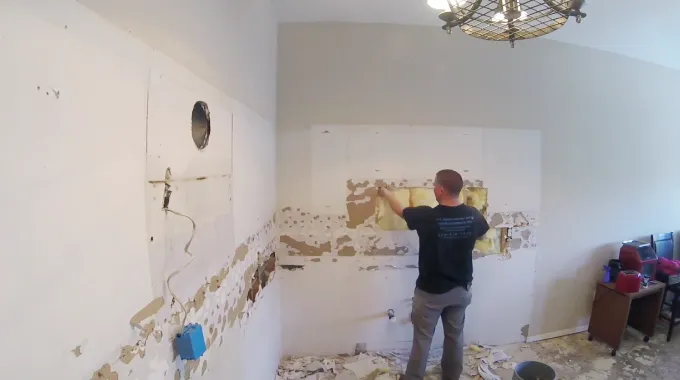
Before starting your tiling project on drywall, don’t forget the crucial step of repairing drywall first. Poorly mended drywalls could lead to broken tiles and grout lines beyond unsightly. They’ll also rack up costs in damage control.
So, have you ever wondered whether you need to repair drywall before tiling or if it is indispensable? Absolutely! Repairing drywall with drywall joint compound or spackle can make all the difference in the finish and durability of your tilework.
If you’re planning on laying tiles on the drywall, neglecting this critical process can lead to disastrous results, and no one wants that. So don’t let cracked tiles ruin your work. Take a minute to find out why a repair is essential before taking on tiling projects and the types of drywall damage.
Why Do You Need to Repair Drywall Before Tiling?

Repairing drywall before tiling is crucial because it ensures that the tiles will be adequately secured to the wall and won’t become loose or cracked over time. The followings are five compelling reasons why this is a necessary process:
Achieve a Flawless Finish
Achieving a perfect smoothness for tiling requires expert drywall repair, making it the most important first step to achieving maximum beauty. This is because a tile installation requires a perfectly smooth and even surface to look its best.
If the drywall has cracks or holes, these imperfections will be visible once the tile is installed. Also, if air pockets are present, they can cause the tiles to become uneven or cracked as they expand and contract with temperature changes, leading to an unsightly appearance and potentially expensive repairs.
Level & Even Surface
In addition to achieving a flawless finish, you should repair drywall before tiling to create a level and even surface for the tiles. Drywall that has been weakened by moisture can often dip or bow in certain areas.
Which will cause irregular surfaces when tiled over rather than having them stick flat against the wall like normal.
When this happens, you risk having your tiles shift or come loose due to these dips and bows, leading to an unprofessional-looking installation that may need frequent adjustment after being put up on the wall.
No Cracks or Holes
When repairing drywall before tiling, you must ensure there are no cracks or holes in the area you plan on tiling. Cracks or holes give moisture an entry point into the drywall, which can quickly lead to further damage, such as warping, discoloration, and mold growth.
All of these can be avoided by adequately filling any cracks or holes with joint drywall compound prior to putting down tile adhesive and laying out your tiles. Furthermore, ensure any nail pops are taken care of since they can also lead to leaks over time.
Eliminate Air Pockets
Air pockets form when excess air gets trapped between layers of materials such as plasterboard and concrete boards when installing walls (and ceilings).
These air pockets cause problems when installed over them since it affects how well adhesives stick to surfaces, resulting in poorly installed tiles that could come off after time due to a lack of secure attachment points.
To avoid this issue altogether, ensure all air pockets have been eliminated by flattening out areas that were needed before starting installation work on top of them & this will ensure everything sticks better.
Strengthen Drywall Weak Spots
It’s not uncommon for old homes or buildings to have weak spots in their drywall due to age-related wear-and-tear and general damage from everyday life (like furniture being moved around too often).
To ensure these areas are strong enough to hold up newly installed tiles, one must reinforce these weak spots beforehand. Using materials like fiberglass mesh tape, specifically designed for increasing strength without adding too much overall weight onto existing structures, is perfect when dealing with fragile older walls.
Types of Drywall Damage that Require Repair
Drywall damages can range from small blemishes to more serious structural issues. In either case, repairing drywall damage is important to preserve the integrity of the walls and protect your home from further harm.
Holes and Dents
1. Smaller Holes or Dents:
Small holes or dents in the drywall are often caused by nails, screws, or other hardware coming into contact with the wall surface. These damages may seem minor, but they must be addressed since they can lead to further damage if left unattended.
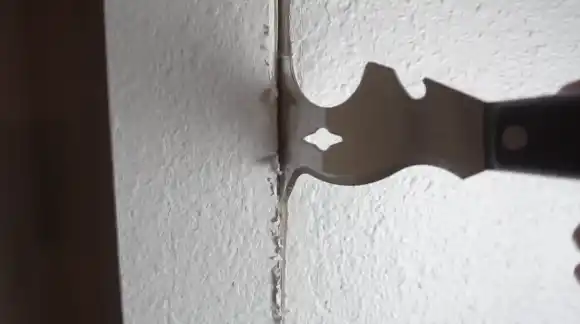
To repair these types of damages, one should remove any protruding hardware with a screwdriver or other tool and then use a putty knife to fill the hole with drywall spackle or mud compound. Afterward, sand down the area until it is flush with the wall surface and apply primer followed by paint for a complete fix.
2. Larger Holes from Accidents or Mishaps:
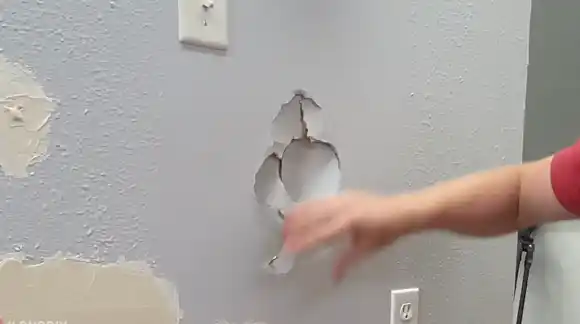
When larger holes are present in drywall, they may have been caused by accidents, such as furniture being pushed against them, or attempted repairs that went wrong such as drilling too deep into the wall surface.
These types of damages require more work than smaller ones because they usually involve cutting out sections of damaged drywall and replacing insulation and wiring that could also be damaged due to water seeping through larger holes over time.
You can use a lightweight aluminum body folding utility knife to cut away any excess material around the hole and check for any electrical wires within it before installing new insulation if necessary.
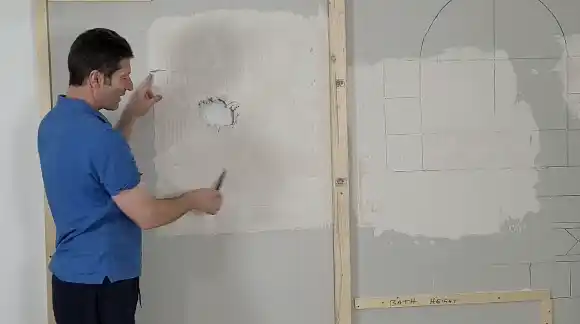
After that you should install backer boards that provide additional support for patching large holes, and then use joint compound along with mesh tape to patch up the hole completely before sanding it down and repainting it for a finished look.
Cracks in the Wall or Joints
1. Hairline Cracks and Joint Separation:
Over time, small cracks may appear in the walls of a home due to movement caused by changes in temperature or settling foundations.
Though they start as mere hairline fractures, long-term neglect can lead to bigger issues. So these crackles must be inspected and promptly repaired before any damage is done.
Start with caulk and mesh taping hairline cracks and apply joint compound. Once evenly sanded, the space should appear seamlessly integrated into its surroundings, but don’t forget to prime-coat it before tackling that final paint job for an impressive finish.
Topics of Discussion: Is it a good idea to prime drywall before tiling?
2 Substantial Cracking and Structural Damage:
More severe cracking often indicates larger underlying issues such as foundation movement, seismic activity, etc. These issues are much harder to ignore because not only do cracked surfaces need fixing, but also other potential issues behind them, like broken boards, loose nails, faulty wiring, etc.
Repairing a damaged area is more complex than it seems. Careful inspection of the surrounding space must be done first, followed by ensuring all electrical connections are secure.
Then comes filling any gaps using foam board insulation or joint compound before reinforcing and securing with screws, nails, and wood glue spackle to finish the proceedings.
This could take several hours, depending on what more serious underlying issues may reveal during the process. Finally, add that extra special touch with some painting so you can admire your handiwork in its full glory.
Can You Put Tile Directly on Non-Repair Drywall?
No, putting tile directly on unrepaired drywall is not recommended due to the risk of having an uneven surface and potential tiles cracking. Non-repair drywall often has flaws like gaps between sheetrock walls and corners, which can lead to the improper installation of tiles.
This can cause them to break during expansion or contraction resulting from changes in temperature or humidity. Also, non-repair drywall may sag or collapse over time due to the weight of the tiles.
What Can You Put on Drywall After Repair?
After repairing any holes or damages in your drywall, it is essential to apply primer before tiling. Primer is necessary for two reasons:
- It provides a better bond for adhesives applied afterward,
- It prevents mold growth due to its water-resistant properties.
Furthermore, primers can help conceal any existing blemishes on the wall surface and provide a uniform base coat before tiling.
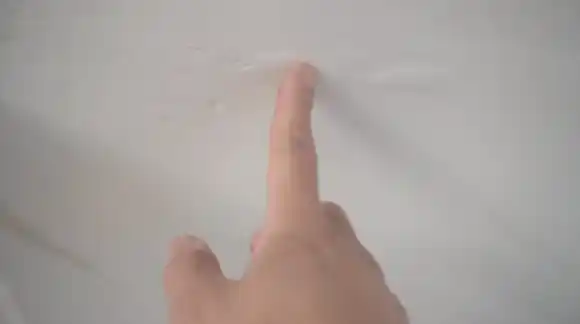
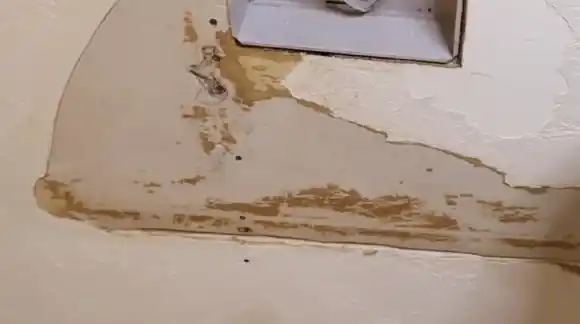
Can You Repair the Drywall After Water Damage?
It is possible to repair drywall after water damage. Still, if the area affected is larger than 1×1 foot, it is recommended that you remove that section of drywall rather than repair it, as this ensures no further damages occur in the future.
To restore water-damaged areas, remove moldy sections and thoroughly clean them with disinfectants and bleach if needed. Then cut new pieces of drywall for installation – make sure to put screws every 6 inches at the edges for extra sturdiness before covering up seams with joint compound.
For final touches, ensure a primer is applied when dry so that painting or tiling can be done successfully while providing strong adhesive properties and anti-mold protection.
Can You Put Thinset Directly on the Drywall Before Tiling?
Yes, you can put thinset mortar directly on drywall before tiling; but this should only be done if the wall has been adequately prepared beforehand through patching and sanding all uneven surfaces. Plus, applying a water-resistant primer such as a latex-based one helps create even better bonding with thinset when mixed with water later.
When applying thinset, ensure that you spread it evenly without leaving any lumps, or air bubbles beneath your tiles, as those will cause issues down the road when grouting once the tile job is finished.
Also, use a flat edge tool such as a notched trowel when spreading thinset over large areas. This will ensure no excess material gets wasted while still achieving the same thickness throughout the entire area covered by tiles later on.
Rejuvenation Tiling Project With Drywall Repair
Tiling without first repairing the underlying surface can result in serious damage down the line, from broken tiles due to an uneven surface or unsightly grout lines caused by improper prep work.
A successful DIY drywall tile project requires more than just the right materials, and it’s essential to prepare walls first to ensure a smooth, attractive finished result properly. This includes patching holes, filling gaps, and adequately sanding and cleaning the surface.
Also, if there has been water damage or other types of damage done to the wall, then repairs should be carried out before any tiling work is done. These steps will ensure that your finished product looks great and lasts for years.