Last Updated on March 21, 2023
If you’re planning a home renovation or remodeling project, tiling drywall can add the perfect finishing touch. But what if your walls are already painted? All it takes is proper preparation and installation. With these two steps in place, you’ll have no problem creating stylish drywall.
But, before you embark on your tiling project, it’s essential to understand the unique requirements for applying tile onto painted drywall. Without the right approach and considerations in mind, there could be some profound implications, so take a moment before diving into this great endeavor.
Get all the info you need on tile tiling in this post. We’ll go over possible roadblocks and steps needed for success so that when it’s time to get creative, nothing stands in your way.
How Can You Put Tile on Painted Drywall?
When upgrading your space with tile, it’s key to keep a few steps in mind. Taking the right precautions will help guarantee that you get beautiful results and long-lasting coverage on painted drywalls. Here’s all you need to do:
Step 1: Preparing Before Tile Installation
Before embarking on your tiling journey, ensure the wall you’re working with is as clean and smooth as possible. Give it a once-over to pick up any dirt or unwanted bits that can get in the way of beautiful results. The preparation steps are listed here:
Clean the Surface Thoroughly:
Before you lay that beautiful tile in your space, it’s essential to make sure the walls are spic and span. Otherwise, dust and grime could get trapped beneath. Start by using a vacuum cleaner or broom to suck up any crumbs, bits of dirt and particles. Then use a damp cloth for finishing touches.
If needed, use a mild detergent such as dishwashing liquid to provide additional cleaning power. To ensure your wall tile installation goes off without a hitch, confirm the wall is completely dry before you start.
Smooth Out Imperfections:
After thoroughly cleaning the wall, you can then inspect for any imperfections or bumps in the wall’s surface that could interfere with your desired tile pattern. These need to be taken care of prior to laying tiles by using sandpaper or any sander to create a smooth surface for your wall tiles.
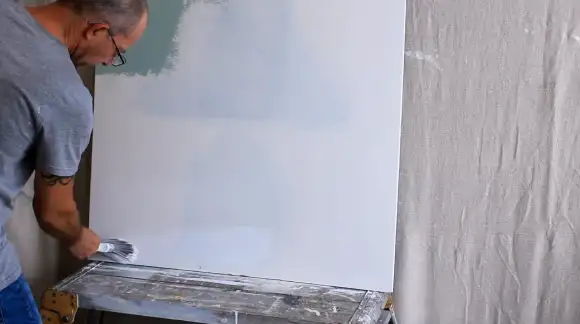
Apply Primer:
For your tiles to adhere firmly and securely onto painted drywall surfaces, you should apply primer first with a brush or roller. This will help ensure optimal adhesion between the wall and the tiles.
So you don’t have problems with slippage or tiles falling off in time due to improper adhesion caused by paint not being used correctly in this situation.
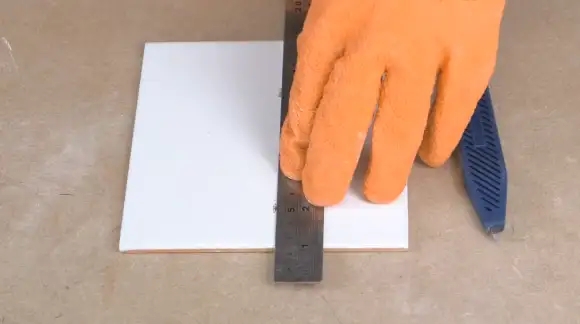
Step 2: Take the Wall’s Measure Into Account
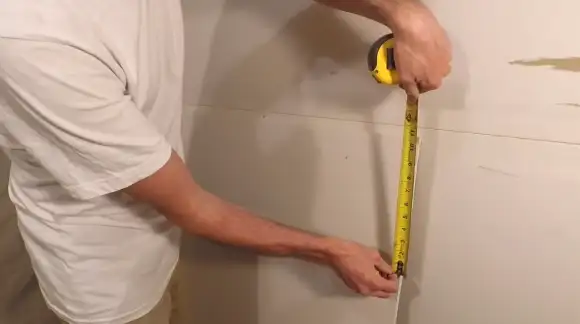
Before adding tiles to any painted drywall surface, it is important to consider the wall’s measurements. Begin by measuring the width, height, and depth of the area you plan to tile. Use a tape measure to accurately calculate these measurements to determine how many tiles you will need for your project.
Don’t forget to factor any lumps or unevenness in the wall into your measurements. That way, you’ll have everything you need to complete the tailing project.
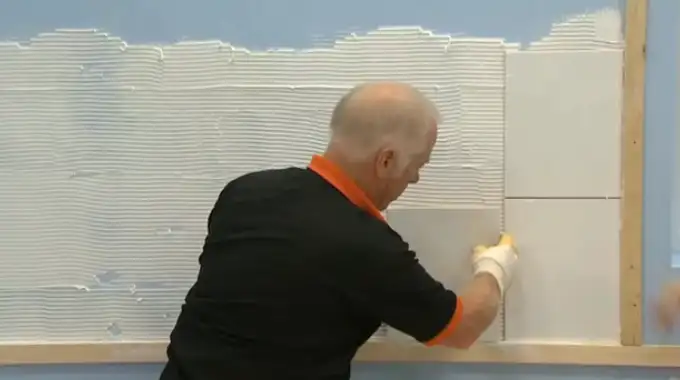
Step 3: Apply a Thin Layer of Mortar
After taking accurate measurements of the area to be tiled, it is time to prepare the drywall surface for tiling. To do this, apply a thin layer of tile mastic or thin-set mortar below a horizontal line on the wall using a grooved trowel.
Make sure that the layer is evenly spread out over the entire area and that there are no gaps or lines left behind after applying it.
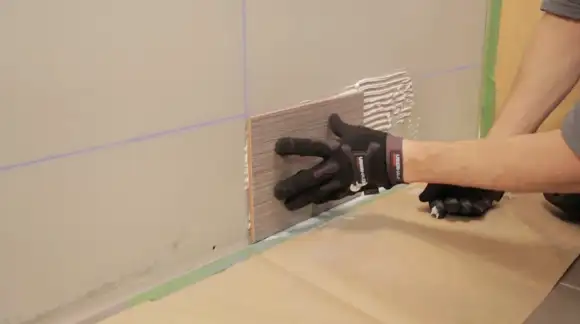
Step 4: Line up the tile edges
Once the layer of mortar is spread evenly over the wall, begin laying down tiles along the horizontal line previously created in step two. Start by lining up one tile edge with this line before adding spacers between each tile – this helps keep them equidistant from each other as they are placed on the wall.
To ensure that tile properly adheres to drywall, it is essential to apply even pressure when installing. This can be done by pressing firmly on each tile with the palms of both hands after they have been aligned and set in place.
Step 5: Scooping Out Excess Adhesive
Once all tiles are in place, it’s time to scoop out any excess adhesive that may have built up around them. This can be done using a putty knife or butter knife for smaller areas and a trowel for larger ones.
During grouting, be careful not to damage the tiles since this can lead to a sloppy finish and cracks in the grout. When done, clean off any extra adhesive with a damp cloth before moving on to the next step.
Step 6: Final Check & Touch Ups
With all excess adhesive removed, it is crucial to check all tiles before sealing them with grout. This includes ensuring all tiles are flush against one another and inspecting for any chips or holes that need repair.
As necessary, use some caulk around edges or corners where there may be gaps between tiles and walls for a smooth finish. When everything looks satisfactory and according to plan, your project is complete.
Factors to Consider When Installing Tile on Painted Drywall
Installing tiles on painted drywall requires careful consideration for a successful and long-lasting setup. Understanding all the important factors of this project can ensure your tiling looks beautiful and stands the test of time.
Among the most important are the following:
Topics of Interest: Why is Drywall Mud Important for Bathrooms?
Proper Preparation
Before you begin tiling painted drywall, make sure to properly prepare your space by following the above preparation procedure. This will help ensure a successful installation.
Choose the Right Adhesive
Selecting a strong adhesive that is appropriate for wet environments is essential when applying tiles to painted drywall. Look for an adhesive with good adhesion that is also waterproof and able to withstand movement between surfaces.
Test Tile Layout Beforehand
Before starting your project, it’s essential to lay out the tiles on the floor beforehand to ensure there will be no gaps or unleveled tiles once the tiling begins. This will also give you an idea of how much materials you’ll need for your tile installation project.
Use Proper Trowels
Using the correct trowel size will prevent air pockets from forming between them. Select a trowel with ridges that are half as deep as your tile thickness for proper adhesive coverage per square foot of wall space being covered by tile material.
Acclimate Tiles Prior To Installation
Allow new tile pieces sufficient time to adjust to their new environment (i.e., room temperature) by allowing them to sit in place for at least 24 hours before beginning. This will help reduce the possibility of problems later on down the line, such as warping or cracking due to drastic temperature changes.
Cut Tiles If Necessary
When fitting tile around obstacles such as pipes, window frames, etc., be sure that you measure twice and cut once so that you don’t end up with too much extra material left. Use only precision cutting tools like nippers or wet saws when cutting tiles for maximum accuracy during installation.
Determine the Subfloor
Prior to tiling painted drywall, it’s important to assess the subfloor and determine if it can properly support the ceramic or porcelain tiles you plan to use. The subfloor should be solid, level, and free of imperfections that could affect the tile’s adhesive bond.
Use Clips & Spacers
During installation, clips and spacers are critical components that allow you to securely secure each piece of tile onto the wall. While also providing necessary spacing between them for grout application later on in the process.
Is It Necessary to Remove Paint From Drywall Before Tiling?
Yes, it is absolutely essential to remove any paint that is present on the drywall before attempting to tile over it. This is because the bonding of the adhesive and tile will be compromised by the presence of a layer of paint between them.
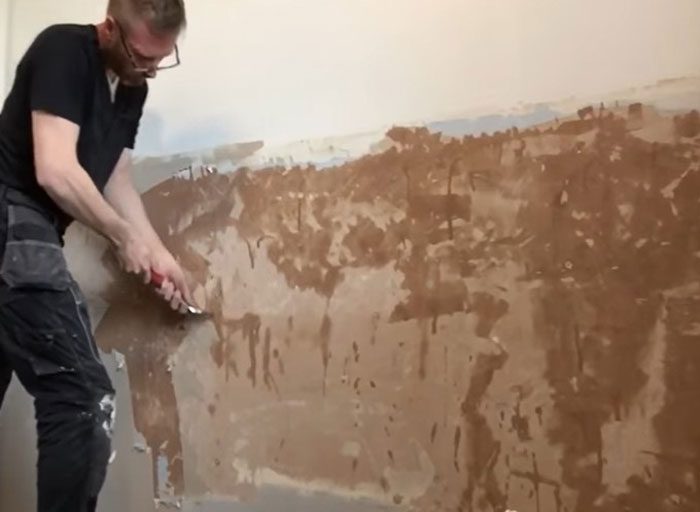
The paint may also cause problems with the evenness of the finished surface if it isn’t removed first. Removing the paint can be done using a scraper or chemical stripper, depending on how stubbornly it has adhered to the wall.
It is also beneficial to sand down any irregularities left by the removal process to ensure no bumps or dips in the surface, which could prevent proper tile adhesion.
Does Priming Drywall Before Tiling Make Sense?
Priming also provides an ultra-consistent surface texture. So adhesive application goes more smoothly than ever before, making the future of that perfect wall design even brighter.
Overall, priming the drywall is essential in preparing for the successful tile installation and will help ensure that tiles are secured properly for long-term use.
Does Thinset Stick to Painted Drywall?
Aside from that, all glossy surfaces must be removed as they will prevent proper bonding between the wall and the thinset matrix. If you feel confident that all conditions have been met, you can apply thinset mortar onto your painted drywall.
For example, pre-mixed thin-set mortar, tile & stone thin-set mortar, ceramic tile thin-set mortar, and premixed premium grout are some good quality products that can be used for this purpose.
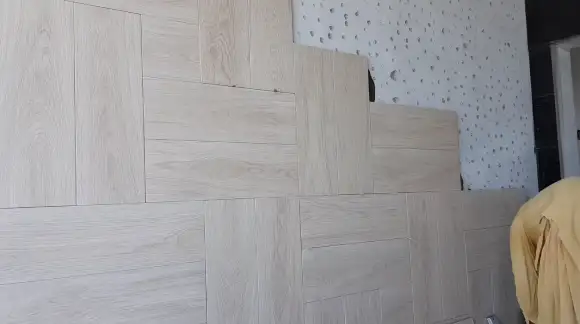
Refresh Your Home: Tile Installation on Painted Drywall
For virtually any tiling project, ensuring your electrical outlets and switches are out of harm’s way is an easily overlooked detail. Protecting them during installation will ensure no damage is done, so you’ll have the perfect finish every time.
Properly preparing and selecting the ideal adhesive & grout is key to ensuring your tiling lasts for years. Get it right now, and enjoy its beauty forever.


