Last Updated on March 21, 2023
Getting a paint job to look perfect & stay beautiful for years is all about starting with the right base, and that’s drywall. But how can you be sure it’s ready? For painting pros & DIYers alike, being able to easily determine when your drywall has prepared itself for its next transformation is an essential skill.
Before you jump on the brush and roll, be sure to carefully check your drywall mud is completely dry. Look out for any cracking along seams or bumps in the surface that could dampen results. A quick water test will also tell if everything’s good with humidity levels. Use a hygrometer, just in case.
Make these few steps part of your pre-paint routine so you’re guaranteed an even more beautiful finish when done. It’s essential to properly prime, caulk, and sand before applying any color for the perfect finish.
Here we provide all the tips and tricks to ensure that when it comes time to start painting, your walls are completely ready-to-go, with no exceptions.
How to Know When Drywall is Ready for Paint: Complete Discussion
Painting drywall can be tricky, leading to disappointing results if you jump the gun. To ensure your project goes smoothly, some clues will tell when it’s time to start priming and painting.
From inspecting the wall surface for any damage or inconsistencies all the way down to measuring humidity levels with a hygrometer. Make sure these signs line up before getting out your paintbrush.
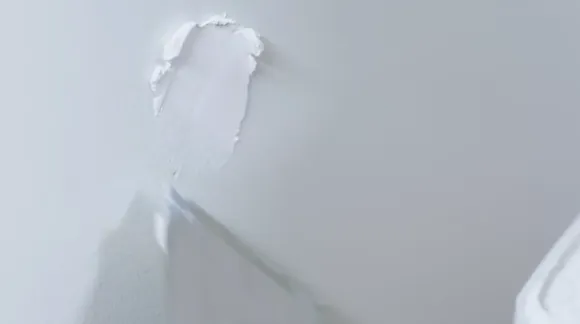
No Cracking Along the Seams:
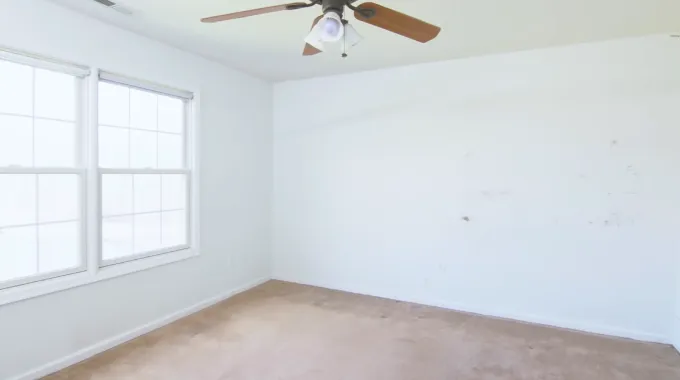
When inspecting your drywall, it’s important to look out for any signs of curing on the surface. These can include cracking along the seams of the panels or any warping or discoloration on the surface. Additionally, look out for any signs of damage such as dents or holes that need to be filled in prior to painting.
If any of these signs are present, additional time may be needed before painting as they could indicate that the panel hasn’t dried completely or has experienced a moisture problem during installation.
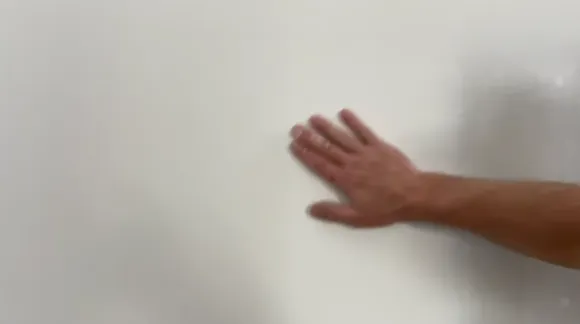
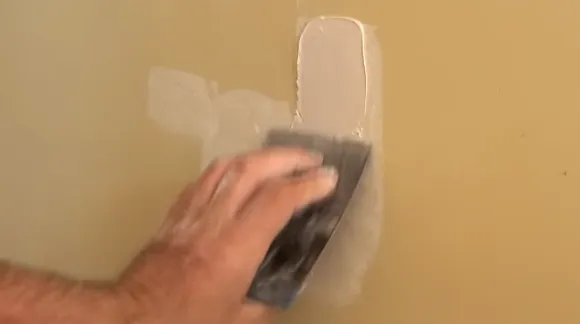
Feeling The Surface Texture to Determine If It Is Suitable For Painting
When determining if your drywall is ready for paint, it’s important to feel its surface texture to make sure it is suitable for painting. The ideal surface should be smooth with no bubbles or other imperfections present on its surface.
If there are bubbles or an uneven texture present, then more time needs to be spent prepping the wall before applying paint so that it is smooth and even before you start painting.
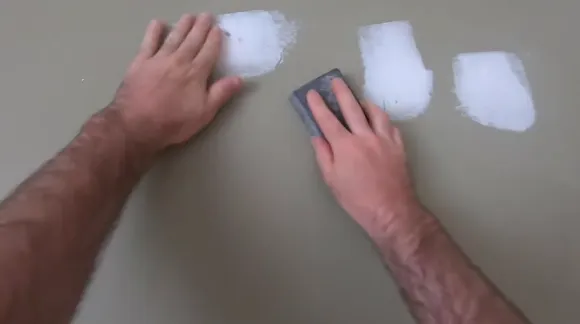
Checking for Dryness By Performing a Water Test
It’s also important to check if your drywall mud is completely dried by performing a water test prior to painting it. To do this, simply apply a few drops of water onto various spots on your wall and wait 10 minutes without touching it.
If after 10 minutes, the water absorbs into the wall, then it means that your drywall has been completely dried while if beads up on its surface then additional time will be needed until it has completed drying out before continuing with painting.
Measuring Humidity Levels with a Hygrometer
Humidity levels are extremely important when it comes to painting walls. If humidity is too high, your wall may take longer than usual to dry and the paint could experience adhesion issues over time due being in an environment with persistent dampness.
A hygrometer can help you measure precisely how much moisture is present so that your project can be completed as intended from start to finish. The optimal range should be 50-65%, creating an ideal environment for perfect adhesion in preparation of painting later on.
Why Knowing When Drywall is Ready for Paint is Necessary?
Drywall preparation is key to achieving a long-lasting, flawless finish. Knowing just the right time to paint can help reduce damage and save on costly repairs caused by improper prepping, making sure your project not only looks great today but will stand strong tomorrow.
Ensuring Paint Sticks to Drywall
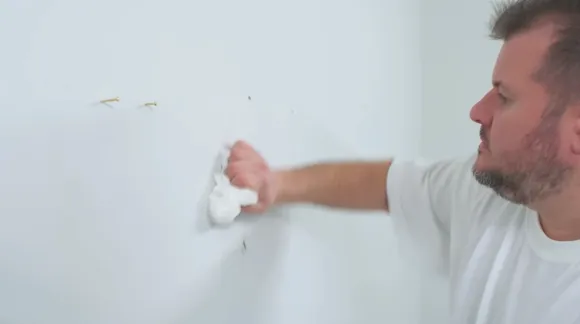
It’s important to make sure that paint sticks well to the drywall and doesn’t peel away over time because of poor coat adhesion. Before painting on your drywall, make sure that it’s completely free from any dust or dirt particles by giving it a thorough cleaning with a damp cloth or sponge.
Avoiding Damage Affected by Temperature Changes
Drywall can expand and contract due to changes in temperature which can lead to cracks if not taken into consideration before painting. To avoid such damage from occurring in your home, make sure the humidity level is correct throughout all stages of painting.
Too high and condensation may form leading to water damage while too low will cause cracking down the line as mentioned earlier. Use paints and primers specifically designed for high temperature climates which are more flexible than regular paints and primers.
Ensuring Quality Finish To The Paint Job
Having a smooth finish on your walls requires careful preparation prior to painting. Otherwise, you’ll end up with an uneven surface despite all your hard work.
Start by repairing any existing imperfections like holes or dents with putty or spackle. Then sand them down until they’re smooth before applying primer on the walls. Always use quality brushes when painting that have soft bristles, so you don’t leave brush marks behind
Saving Money On Redoing Projects
Making sure that your drywall is fully ready for paint can save you both time and money in the long run as inadequate preparation can lead to costly repairs and redoing projects down the road.
Even something as small as spending an extra hour priming up your wall prior to painting could save you hundreds of dollars in future repairs due to chipping or peeling from weather conditions if not taken care of beforehand!
How Do You Prepare Fresh Drywall for Painting?
Before painting fresh drywall, you must ensure that all surfaces are properly prepared. This involves repairing any defects in the wall, filling in cracks and holes with joint compound, sanding the surface to create a smooth finish, and applying primer before painting.
Materials Needed for Preparation
1. Drop Cloth or Plastic Sheet
2. Joint Compound
3. Sandpaper or Sanding Sponge
4. Putty Knife and a Taping Knife
5. Primer/Paint
6. Stiff-bristle Brush and Dry Rags
Steps for Preparing the Wall for Painting
Step 1: Cover Floors and Furnishings with Drop Cloth or Plastic Sheet:
It is important to protect floors, furniture, and other items from dust created during the preparation of the wall for painting. Cover the floor with drop cloths or plastic sheets beneath where you will be working. Tape down the edges to ensure everything remains covered while you work.
Step 2: Fill in All Cracks, Holes, and Imperfections with Joint Compound:
Mix up a batch of joint compounds according to instructions on the packaging. Use a putty knife or trowel to fill in any cracks, holes, or imperfections on the drywall surface.
Step 3: Apply 3 Coats of Joint Compound:
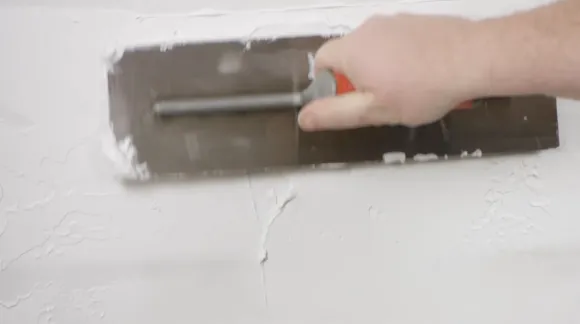
Once the initial layer of the joint compound has dried completely, add two additional layers of the joint compound over it. Apply thin layers instead of thick coats since this leads to smoother results overall.
Smooth each layer out as much as possible before allowing each coat to dry fully before applying another one. After all three coats are applied and dried thoroughly, lightly sand the area with a fine-grit sandpaper until it is smooth to the touch.
Step 4: Apply Primer to Wall and Allow it To Dry Fully:
Before you begin painting your wall, you must first apply primer to ensure even coverage by protecting against uneven absorption of paint into the wall surface. The primer should be applied in either a roller or sprayer format depending on what type of primer you are using and how large of an area you are covering.
Allow primer ample time to dry fully prior to continuing onto step 5.
Step 5: Lightly Sand Primed Areas Before Applying Paint:
Use a fine-grit sandpaper to lightly sand down any areas that were primed prior to applying paint in order to make sure there are no lumps or bumps that could affect the finish once painted over them. Also, take this opportunity to wipe away any dust particles left behind from sanding earlier too.
Can You Paint Straight onto Drywall?
Painting directly on drywall may seem tempting, but you should think twice. Without applying drywall mud and primer to the wall first, your paint won’t stick properly, resulting in a patchy appearance with flaking colors down the line.
What Happens If You Don’t Prime Drywall Before Painting?
If you don’t prime your drywall before painting, you are likely to experience several issues. Without primer, you may find that the paint has trouble sticking to the wall, resulting in bubbling or peeling after just a few days or weeks of being on the wall.
A lack of primer can create problems with adhesion between coats of paint that can cause streaking or flaking as well as poor coverage overall. Primer helps seal the surface of the drywall which ensures better adhesion for all future coats of paint, giving you better results and longer lasting protection from wear and tear.
Can You Paint Straight onto Drywall?
What Happens If You Don’t Prime Drywall Before Painting?
A lack of primer can create problems with adhesion between coats of paint that can cause streaking or flaking as well as poor coverage overall. Primer helps seal the surface of the drywall which ensures better adhesion for all future coats of paint, giving you better results and longer lasting protection from wear and tear.
Can You Paint Directly on Drywall Texture?
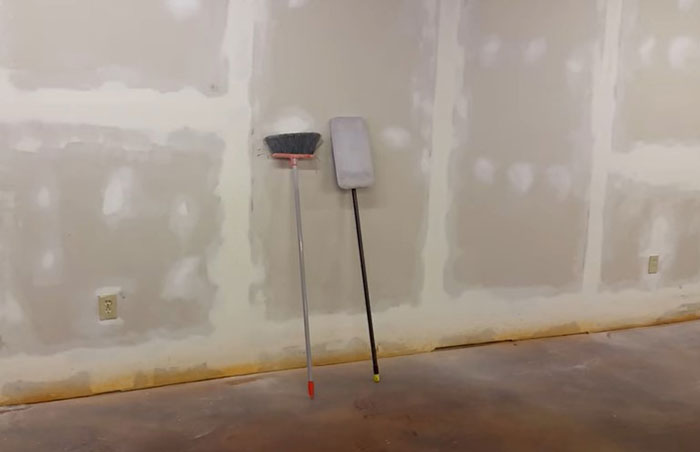
How Long Does Drywall Have to Sit Before Painting?
After this period of time, the walls should be wiped down with a damp cloth to remove any dust or residue from sanding that may interfere with the paint adhesion.
Do Painters Fix Drywall Before Painting?
Proper surface preparation also includes cleaning the walls of any dust or dirt that may have accumulated over time. After completing these necessary repairs and cleanings, the painter will then prime the walls before finally applying a coat of paint.
Can You Paint Drywall with Paint and Primer in One?
All you need is one coat of paint with built-in priming properties! Just make sure you choose an appropriate quality level depending on what kind of durability you’re looking for in your finished product.
Some paints with primer are specifically formulated as a single-coat solution while other higher-quality options can require multiple coats for optimal results.
Achieve a Professional-Looking Paint Finish on Your Drywall
Knowing how to check for cracking along drywall seams, smoothness of surface, absence of bubbles or other imperfections, and performing a water test are all key steps in determining whether your drywall is ready.
The use of a hygrometer helps ensure that the optimal conditions are met before applying primer or paint. When all of these steps are taken into consideration, you can be certain that your project will result in crisp lines and even coverage that lasts.