Last Updated on September 16, 2023
Shiplap installation can transform any room into a cozy and stylish space, adding character and warmth to your walls. But before you embark on this exciting DIY project, measure your wall accurately to ensure a seamless installation.
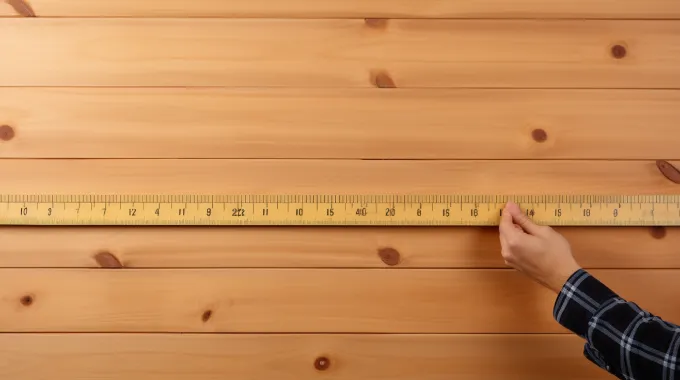
To determine the dimensions for shiplap placement on your wall, begin by measuring the width and height of your wall using a tape measure.
Next, calculate the total square footage by multiplying the width and height measurements.
Using the square footage, determine what size and coverage of shiplap you want.
In this DIY guide, we’ll discuss how to measure shiplap for accurate installation. Also, we will share what factors to consider when measuring and what are the most common plank sizes available.
How to Measure for Shiplap Installation on Your Wall: DIY Guide

For an accurate calculation, you must follow some steps to ensure a successful shiplap installation:
- Step 1: Measure the width and height of your wall
- Step 2: Calculate the total square footage of the wall
- Step 3: Determine shiplap board size and coverage
- Step 4: Calculate the number of boards needed
Step 1: Measure the Width and Height of Your Wall
Grab your tape measure and measure the width of your wall from one corner to the opposite corner along the bottom. Record this measurement in inches, as it will be crucial when purchasing the correct amount of shiplap.
Now, determine the height of your wall by measuring from the floor to the ceiling. Remember that floors and ceilings might not always be perfectly level, so taking multiple height measurements at various points is recommended.
Step 2: Calculate the Square Footage of the Wall
Once you have your wall’s width and height measurements, multiply them to determine the full square footage of the wall. For example, your wall measures 12 feet wide and 10 feet tall.
Multiply these numbers: 12 x 10 = 120 square feet. This means you will need approximately 120 square feet of shiplap to cover the entire wall surface.
This calculation only accounts for one side of the wall. If you plan to cover all four walls in a room, calculate each wall separately and add the total square footage needed.
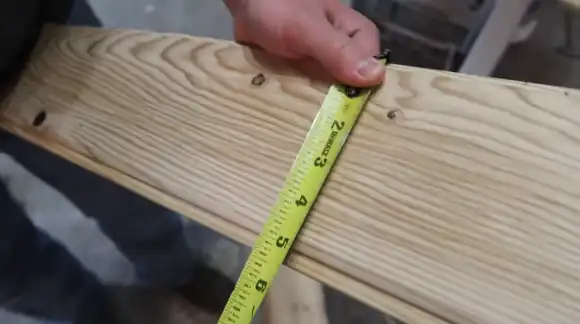
Step 3: Determine Shiplap Board Size and Coverage
Let’s figure out the size of shiplap boards you’ll need and how much wall surface they will cover. If you’ve chosen 5-inch (0.42-foot) wide by 12-foot longboards, this will cover 5 square feet for each shiplap plank.
Step 4: Calculate the Number of Boards Needed
To accurately determine the number of planks needed, divide the overall square footage of the wall by the coverage per board (Number of boards needed = Total square footage ÷ Coverage per board). Let’s say you have a wall with a total square footage of 80.
If each shiplap board covers 5 square feet, calculate the number of needed boards by dividing the number of boards needed = 80 square feet ÷ 5 square feet per board = 16 boards.
Always remember to round up to ensure that you have enough material. In this case, you would need approximately 16 to 17 boards to cover your wall completely.
What to Consider When Measuring for Shiplap?
There are a few key things to keep in mind when measuring for shiplap:
1. Plank Coverage
Knowing the square footage coverage of each shiplap plank helps determine the number of planks required to cover the wall. This information is crucial in accurately estimating your project and ensuring you have enough materials.
Once you know this value, divide the overall square footage of your wall by the coverage per plank to determine how many planks are needed.
2. Waste and Extra Material
By purchasing more shiplap material, you can account for waste and mistakes during your project. Having extra material on hand is always a good idea, especially when working with shiplap.
This way, if you accidentally cut a piece too short or damaged during installation, you can find a replacement. Having some extra shiplap also allows you to account for any unforeseen circumstances or errors in your calculations.
3. Vertical or Horizontal Installation
Now, it’s time to consider whether you want to install the planks vertically or horizontally. This decision will affect your space’s aesthetic and the length of planks you need.
Installing shiplap vertically can create an illusion of height and make your walls appear taller. It can also add a sense of elegance and sophistication to a room.
Alternatively, installing a shiplap horizontally can create a more traditional or rustic look, adding visual interest and texture to your walls.
4. Openings and Obstacles
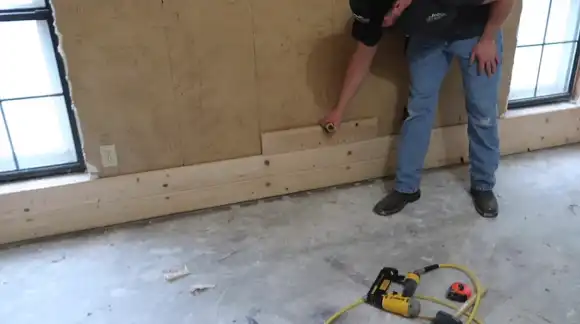
To ensure a proper installation, take note of any doors, windows, electrical outlets, or other obstacles on the wall that may require adjustments. Measure accurately and plan when installing shiplap around these openings.
5. Spacing and Layout
When installing a shiplap, deciding the spacing between the planks for a traditional or different look is important.
Traditional shiplap often features a small gap between the boards, typically achieved using spacers like nickels. This creates a distinct and classic aesthetic that allows for the expansion and contraction of the wood due to temperature changes.
However, if you aim for a more modern or contemporary feel, you can butt the boards together without any spacing.
What are the most available plank sizes for shiplap?
The most available shiplap plank sizes are 5” x 8′, 5” x 12′, 5” x 16′, 7” x 8′, 7” x 12′, and 7” x 16′. These sizes offer a range of options to suit different project needs.
Smaller planks, like the 5” x 8′ and the 7” x 8′, are ideal for smaller spaces or accent walls. The larger planks, such as the 5” x 16′ and the impressive size 7” x 16′, are perfect for larger areas like living rooms or expansive ceilings.
How do I decide where to put the shiplap according to sizes?
To determine where to place the shiplap, consider the areas that could benefit from added texture or coverage. Shiplap is a versatile material that can transform any space with its rustic charm.
One way to decide where to install the shiplap is by identifying accent walls that need a focal point. These walls can be in your living room, bedroom, or even hallway. Another option is shiplap as wainscoting, creating a stylish and functional dining room or bathroom element.
The 5 ½-inch shiplap adds depth and texture to your space, making it look longer and more expansive. Conversely, the wider 7 ¼-inch shiplap is ideal for covering large areas such as accent walls or long hallways.
Accurately Measure and Install Shiplap for a Beautiful and Seamless Wall Look
Measuring for shiplap installation on your home wall is a crucial step in achieving a beautiful and seamless look. You can ensure a successful shiplap project by considering plank sizes, dimensions, and the desired location.
Taking accurate measurements and carefully planning the placement of your shiplap will result in a professional finish that enhances the aesthetic appeal of any space. Also, purchase a few extra boards to account for any mistakes or damaged pieces during installation.
With careful planning and precise measurements, your shiplap installation project will surely be rewarding, adding charm and character to your living space. So, grab your tools and get ready to transform your walls with this timeless design trend.


