Last Updated on January 10, 2023
Taking apart a hammer drill may seem like an intimidating venture, but it’s totally doable. Even for seasoned DIY pros, success with this task comes from patient focus and following the right procedure.
Don’t let a stuck bit bring your drilling project to an unexpected halt. Just grab that trusty chuck key, and you’ll be back up in running no time. But don’t worry if one of these doesn’t feel like the right tool for the job. Some hammer drills come equipped with their own handy-dandy system made especially for taking on those stubborn bits quickly & precisely.
In this post, find out how you can get rid of it in no time flat and keep your workflow chugging along.
Steps on How to Remove Bit From Hammer Drill
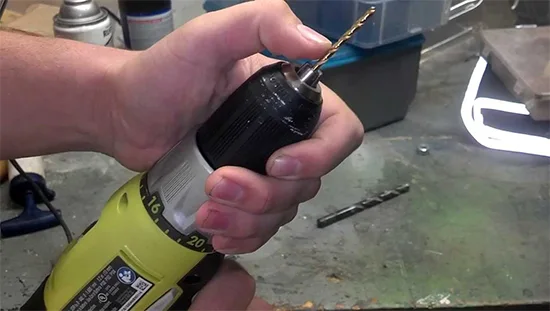
If you’re ready to switch up your drill bit, you’ve got two main options: keyless chuck or keyed chuck. Just keep in mind that following the correct procedure.
Removing Drill Bits: Keyless Chuck
Step 1: Determine the Direction of the Drill
When attempting to remove a bit from a hammer drill, it is important to first determine the direction in which the drill is rotating. Hammer drills usually have a selector switch to choose between clockwise and counterclockwise rotation.
If the switch is set to clockwise, then the direction must be changed to counterclockwise before attempting to remove the bit. To make this change, simply push the direction selector all the way to the right. This is usually located at the top of the drill near the trigger, but it may be in different places depending on the model.
Step 2: Apply Gentle Pressure to the Trigger
Once you have determined that the drill is in counterclockwise mode and ready for use, your next step should be to apply gentle pressure on its trigger. Doing so will activate the jaws of the chuck and allow you to begin loosening or removing bits from it.
Even so, it’s essential not to press down too hard on either button or lever, as doing so could damage them over time. Furthermore, applying too much pressure could potentially cause an injury if your hands were not correctly positioned while operating the tool.
Step 3: Insert and Tighten the New Bit
The next step in removing bits from rotary hammer drills requires inserting and tightening a new bit into place. To do this safely, hold onto both sides of the chuck tightly with one hand while squeezing gently on its trigger with your other hand.
You hear an audible clicking sound indicating that it has closed completely around whatever material you had inserted into it. Once this happens and your new bit is firmly secured inside the chuck. Release your grip gradually until both buttons or levers are free again before continuing with any further drilling operations.
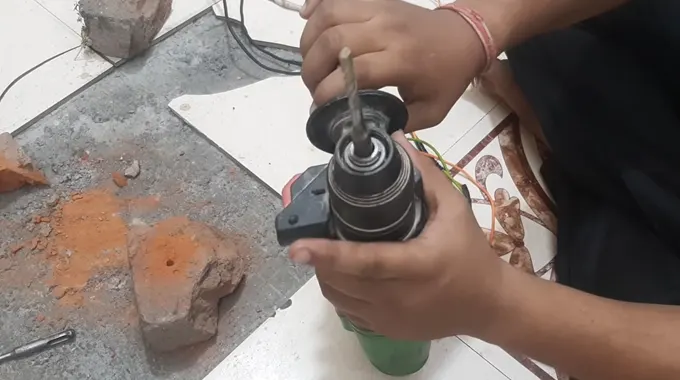
Removing Drill Bits: Keyed Chuck
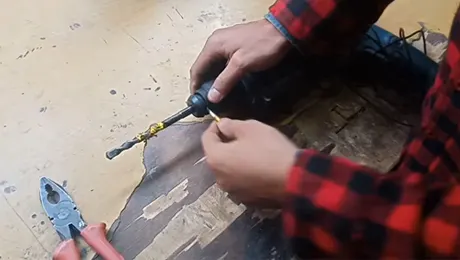
Step 1: Unplug the Tool and Put the Wrench in It
When removing bits from a hammer drill, begin by unplugging the tool. This will help prevent any accidental electrocution or other serious harm due to electric shock. Once unplugged, you should locate the wrench or pliers that came with the drill and put it into the keyed chuck of the drill.
A keyed chuck is designed specifically for use with wrenches, which allows users to tighten and loosen bits while using a hammer drill. Don’t accidentally bump against a keyed chuck’s trigger or on-switch when inserting a wrench into a keyed chuck.
Step 2: Twist the Key to Open the Chuck
After you have inserted and secured the wrench into place, you should twist the chuck counterclockwise until it loosens up enough for you to open up the chuck. The chuck is what holds your masonry bit securely in place during use, so it is important that you twist it all of the way open before attempting to remove your bit.
Some chucks may require more force than others, depending on how tight they are set. If this is true for yours, then apply additional pressure until you feel resistance give way and hear an audible click when twisted all of the way open.
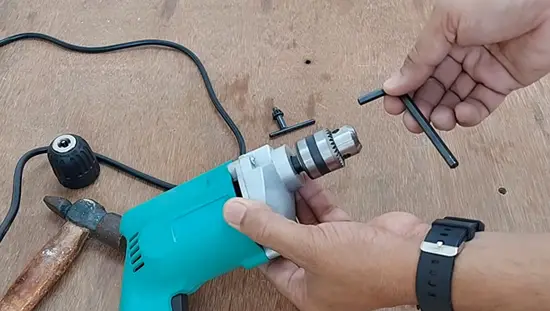
Step 3: Remove and Replace Bits
Now that you have loosened up your hammer drill’s chuck, you can now begin removing or replacing any bits as needed. If you are just removing them for cleaning or storage purposes, simply pull out the bit with your hands and set it aside carefully on a flat surface away from any moving parts of your tool.
This will help prevent potential damage or accidental injuries when working with these tools later on down the line. Make sure to align its edges correctly within the chuck before tightening everything back up again.
Point 4: Securely Tighten Back Up
If all goes according to plan here and your new twist drill fits securely into place within the chuck of your hammer drill. Make sure to tighten everything back up again with either another quarter turn (for keyed chucks) or two full rotations (for keyless chucks).
By doing this, you will ensure that nothing slips out when using your power tool going forward. After retightening everything and double-checking for proper fitment once more (just in case).
What’s The Point of Removing a Hammer Drill Bit?
Removing a hammer drill bit is necessary when you need something more suited for the job. Whether it’s larger or smaller, swapping in a different-sized bit can make all the difference in getting through whatever material stands between your project and completion.
Aside from that, removing a worn-out or broken drill bit before attempting to drill into hard materials can reduce wear and tear on your hammer drill. This will help avoid any potential damage from using an old bit that can’t handle the job.
Another purpose for removing a bit is to clean it after use so that dirt and debris don’t get trapped in the tool’s internal mechanisms. This will help keep your rotary hammer drill working properly longer and make sure it drills properly every time you need to use it.
Also, removing a bit allows you access to lubricate or sharpen it if necessary, helping to extend its life even further.
Check Out: Are air hammer chisels sharpenable?
What are Common Mistakes Made When Removing Bits From Hammer Drills?
The most common mistake people make with hammer drills is not locking the drill chuck securely. If the chuck is not locked firmly in place, then there can be an increased risk of stripping the teeth on both your hand tools and your drill bit itself.
Then, it’s important to ensure that you are properly gripping onto the shank of your bit before attempting removal, as this will help keep your hands stable while applying force. Mistakes are also made with hammer drill bits, not paying attention to which direction they were inserted to ensure proper orientation upon re-installation.
Bits can also become stuck in place due to rust or other factors and may suddenly break free when force is applied, sending metal fragments into the face area. As well, not unplugging the power cord before attempting removal can lead to electrocution if contact with live wires occurs during extraction.
Possibly a Good Match: Should I grease my Bosch Hammer Drill?
Do You Need to Grease the Hammer Drill to Remove It?
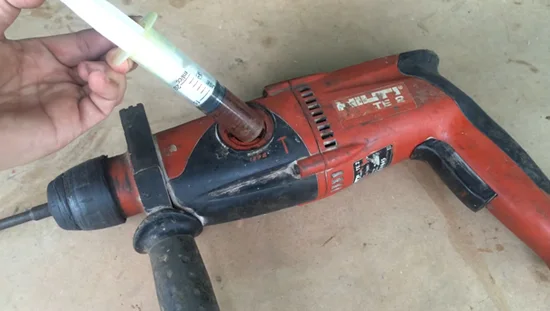
If you use a hammer drill casually, there’s no need to be constantly oiling it up. Hammer drills can do their job without any extra lubrication – so don’t go overboard. But if you want your drill bits in top form for the long haul, it’s a good idea to lube up those bit shanks after each one is replaced.
The purpose of greasing a hammer drill is to reduce wear and tear on the bit shank that can be caused by friction. This is important because it helps to extend the life of the bit, as well as provide smoother operation while hammer drilling.
When maintaining a hammer drill, the best lubricant to use is a multi-purpose grease. This type of grease is designed to protect against rust, corrosion, and friction when applied regularly.
Unlocking the Power of a Hammer Drill: Tips for Safely Removing Bits
Hammer drill bit removal doesn’t have to be a complicated task as long as you have a basic understanding of the type of bit being used and take the necessary precautions. Avoiding the common mistakes mentioned above are key to preventing potential damage both to yourself and your tool.
Furthermore, if you find yourself stuck with a bit that won’t come off easily, try to follow the above procedure to remove it safely. And after you’ve removed the bit, make sure to lubricate it and replace it. With these simple steps in mind and some patience, you’ll have no problem removing bits from your hammer drill.


