Last Updated on July 27, 2023
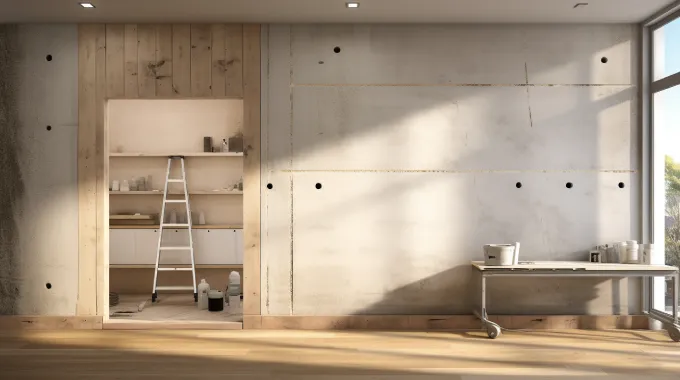
Ready to transform your dull house into a fashionable and attractive home by covering those outdated plastered walls with drywall? No need for redundant questions like “can I really drywall over plaster?”. Go ahead and do the makeover magic with the plasterboard.
Plasterboard drywall is an easy, speedy solution that can transform any space. It will cost you less in the long run and will give you improved insulation from heat or sound. Plus, with minimal disruption, get your perfect home, all while looking great.
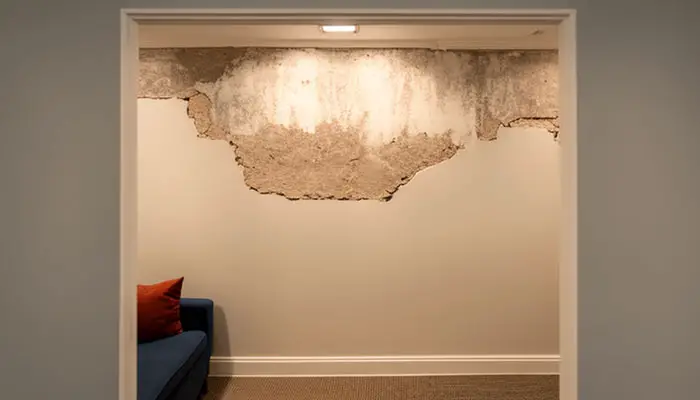
Before you begin, take a minute and look out for potential damage in existing plaster walls as well as any moisture or structural issues that could lead to costly problems.
Here we’ll help prevent headaches down the road by discussing what kind of drywall is best suited for upgrading those plaster walls and exploring the pros & cons of going with drywall over plaster.
Can You Drywall Over Plaster: What Kind?
When considering the type of drywall to use for plaster, the most common option is the blue board. Blue board is a special type of plasterboard that is designed to accept a plaster finish coat.
This type of drywall comes with specially treated paper on one side and a white face on the other. The treated paper helps to create a strong bond with the plaster when it is applied.
Blue board drywall is relatively easy to install and requires less treatment beyond taping and mudding for joint edges. The treated paper surface reduces the need for sanding because it helps create a more uniform finish after the application of plaster.
This makes the job easier for finishers as well as less time consuming. Additionally, the blue board offers excellent sound control properties making it ideal for use in both residential and commercial applications such as hospitals and schools, where acoustic performance plays an important role in creating comfortable environments.
The thickness of the blue board can range from 12.5mm or even higher depending on its intended application, such as walls or ceilings that will receive heavier finishes like stucco or mortar coatings.
Thicker boards are typically used in buildings with higher fire rating requirements, while thinner boards can be used in non-load bearing partitions or walls like those found inside closets or hallways.
It’s important to note that even though thicker boards provide added support for heavier finishes, they also add considerable weight onto ceilings or exterior walls, so installation should only be done by experienced professionals who understand how to properly secure them into place.
Advantages of Drywalling Over Plaster Walls
Drywalling has become an increasingly popular option for wall installation due to its numerous advantages over conventional plaster walls. Though plaster walls have been in existence for centuries, drywalling offers a wide range of benefits that make it a superior choice for many projects.
1. Cost-Effectiveness:
Drywalling over plaster walls is cost-effective because they are typically cheaper than plaster walls due to their simpler construction process and the availability of ready-made components and supplies.
Installing drywall requires fewer tools compared to plastering. The labor costs associated with installing drywall tend to be lower as well, as less skill is needed to complete the job correctly.
Additionally, drywall can often be painted without primer or other prep work, which saves both time and money on materials and labor costs. All these factors contribute to making drywalling one of the most cost-effective options when it comes to wall installations.
2. Decreased Noise Pollution:

Since drywalls provide better soundproofing than plastered walls do due to their denser material composition which helps absorb sound waves more effectively. This makes them ideal for anyone looking to reduce voices or loud noises coming from outside.
3. Moisture Resistant:
Another positive feature of drywall is its resistance to moisture and mold growth. The porous nature of the paper prevents moisture from seeping into the wallboard core and condensation forming, which can cause mildew or mold growth that can lead to health hazards.
This makes it ideal for wet rooms such as showers or laundry rooms where dampness often occurs. Plus, proper installation techniques like taping seams and applying caulk along edges can further minimize water damage when using drywall in these areas.
4. Energy Efficiency:
Drywall can make a real difference to your pocket when it comes to energy costs. Its solid structure and insulation mean air stays in the home, helping you save money on heating and cooling bills.
5. Faster Installation Process:
Installing drywall on top of an existing plastered wall can help save both time and money when completing remodeling projects due to its fast installation process.
Plastered walls can require multiple layers for a premium finish, but drywalls are the perfect time-saving and cost-efficient solution. With just one layer of the drywall sheet, you can achieve great results.
6. Easier Maintenance:
Get the ease of maintenance that comes with drywall because, let’s face it, life happens. Cleaning and repairs become a breeze on drywalls compared to plaster surfaces.
If a drywall surface becomes damaged or stained, it can often be quickly repaired with common household items such as spackle paste or sandpaper. Once installed correctly, there’s no need for additional treatments or maintenance that you would have had to do with plaster walls.
7. Easy To Cut Holes:
Repairing drywall is a straightforward way to make quick work of home renovations. You don’t have to worry about damaging what lies underneath, as all that’s needed are some basic tools like screw guns or saws. Plus, creating openings for windows and plumbing fixtures has never been easier.
8. Easy To Add Texture:
Adding texture is also much easier when working with drywalls rather than trying out different techniques when using plaster instead!
With a few simple tools such as trowels or sponges combined with some joint compound, one can easily create different levels of textures onto their surfaces while still achieving professional results without spending too much time or effort!
9. Improved Fire Resistance:
Using drywall on existing plaster walls improves fire resistance. It has been treated with special fire retardant chemicals that help reduce the risk of fire spreading within the building or damage being caused by smoke and other combustion products from fires.
Fire doesn’t stand a chance against the drywall. It’s rated for resisting and controlling flames for up to 30 minutes, so you can rest easy knowing your home is safe. This makes it a great choice for installing in homes where open flame sources may be present such as a fireplace or wood-burning stove.
Disadvantages of Drywalling Over Plaster Walls
Installing drywall on plaster walls is a popular way to update outdated interior walls, but it can be hard to match the decor, and there may be potential airborne health risks.
1. Difficulty in Matching Existing Decor:
Drywalling over an existing plaster wall can make it hard to perfectly match the wall’s original decor. This is especially true if the wall has elaborate moldings or paneling that are difficult to replicate with drywall.
Even if you try to replicate them as best as possible, they may not look exactly the same due to differences in color, texture, and other details. Since drywall is much lighter than traditional plaster, it tends to sag more easily and can create unsightly ridges or bulges on the surface of the wall.
2. Potential Health Problems:
Drywalling over an existing plaster wall also increases health risks due to the presence of airborne particles created during installation. These particles are generated when sawing materials like wood and plaster and drilling holes for nails or screws.
If the drywall panel is not correctly sealed, airborne particles can become trapped between drywall layers, creating potential health risks such as respiratory issues or allergies due to dust mites or mold buildup
These tiny pieces of dust then become aerosolized and linger in the air until they eventually settle down on furniture and other surfaces or are inhaled by humans and animals.
What to Check Before Applying New Drywall Over Old Plaster Walls?
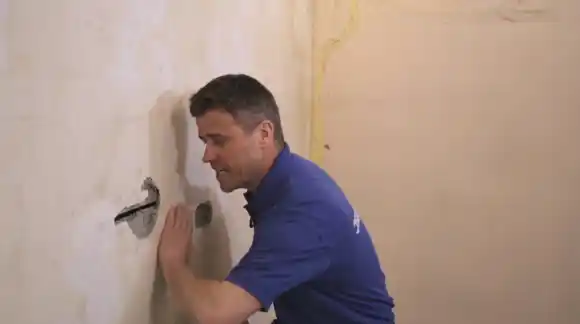
Before applying new drywall to an existing plaster wall, it is important to check various aspects of the existing wall for stability.
Inspecting the existing condition of the plaster and lath, verifying structural integrity, checking for damages and moisture levels, and addressing any issues found are all essential steps before beginning a drywall installation over an old plaster wall.
1. Verifying Stability:
Before applying new drywall over an old plaster wall, you should verify its structural integrity. To do this, tap lightly along the length of the wall with a hammer or other hard object. Pay attention to how much movement occurs when tapping different parts.
If there is significant oiliness or cracking noises from certain areas, it may indicate weak spots in the wall’s structure that need to be addressed before proceeding further. Additionally, look for signs of crumbling mortar between layers or cracks in the surface that can signify underlying problems with the wall’s foundation.
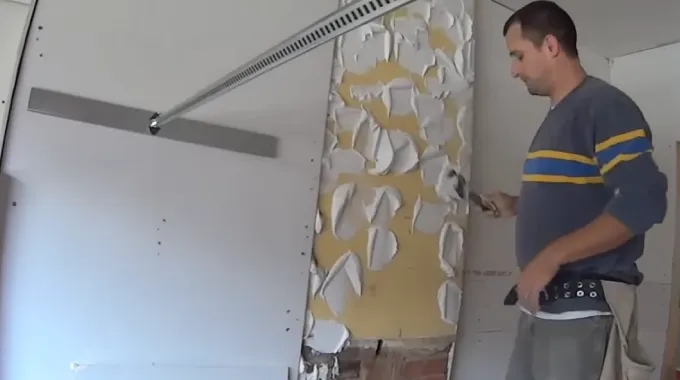
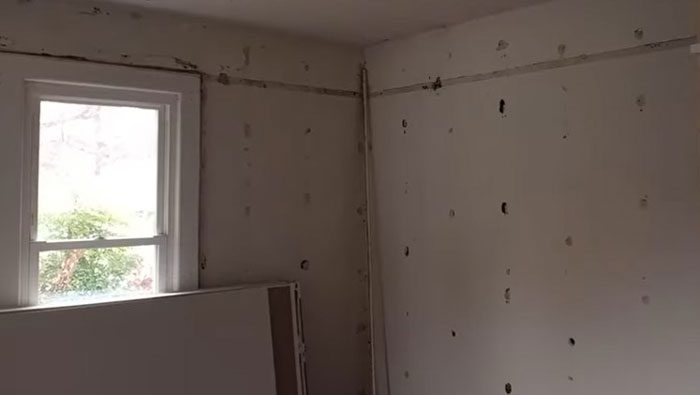
2. Remove Old Plaster & Lath:
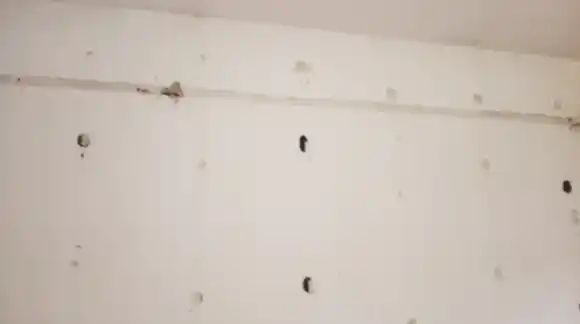
Once stability has been established, any existing plaster and lath need to be removed in order to make way for the new drywall. Start by removing trim boards along the edges so that access is possible behind them.
Then use a pry bar or chisel tool to carefully tear away chunks at a time until all of it has been removed. Make sure not to damage surrounding surfaces while doing this; wear protective glasses as well since particles will likely fly as pieces are being pulled away.
3. Check and Address Damages & Moisture Issues:
After the old plaster and lath have been completely taken out of the area, inspect all surfaces thoroughly for potential damages like water stains or holes from nails or screws used in past repairs.
The condition of these items can have an effect on how well the new drywall will adhere when applied, so find them first and determine what needs attention before continuing with the installation process.
With a hygrometer, you can easily check the humidity levels of walls before installing new ones. If there’s too much due to leaky pipes or bad ventilation, take care of it right away. Otherwise, mold might form and cause dangerous health hazards down the road after all that hard work is done.
Steps on Installing Drywall Over Plaster Walls
Step 1: Gather Supplies and Tools
Before beginning the drywall installation, calculate the amount of material needed based on your room measurements to determine how many pieces of furring strips, drywall sheets, and screws/nails you will need for the job.
Materials Needed for Drywalling over Plaster Walls at a glance:
1. Furring strips
2. Drywall sheets and screws
3. Utility knife, measuring tape, and level
Step 2: Measuring and Installing the Furring Strips
Once all of your supplies have been gathered, it’s time to start measuring and installing your furring strips.
Measure out distances along the wall where you want each strip of furring placed. These should be evenly spaced apart across the entire wall surface at approximately 16 inches apart from each other.
Mark these spots using a pencil so that you know exactly where each strip needs to go later on when attaching them permanently. When screwing or nailing them into place, they must remain level for the best results, so use a level tool during installation if necessary.
Once all of your furring strips have been successfully installed, double-check that they are correctly aligned before continuing with any further steps required for drywalling over plaster walls.
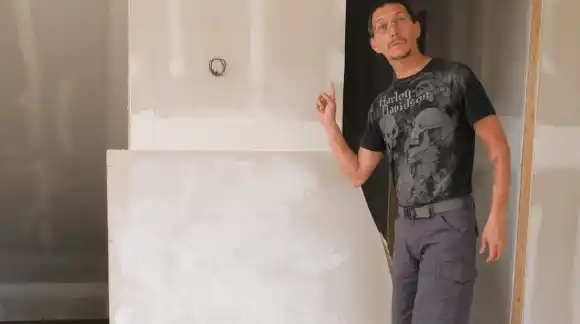
Step 3: Hanging the Drywall Sheets onto the Furring Strips
Once the furring strips are installed, it’s now time to hang the drywall sheets onto them.
Begin by cutting any necessary pieces of drywall that need trimming in order to fit around room obstacles such as windows or doors. Place each sheet of drywall horizontally onto its respective furring strip and fasten with screws appropriately.
Use a level tool to make sure that each sheetrock is properly hung across the entire wall surface for consistent spacing and evenness throughout.
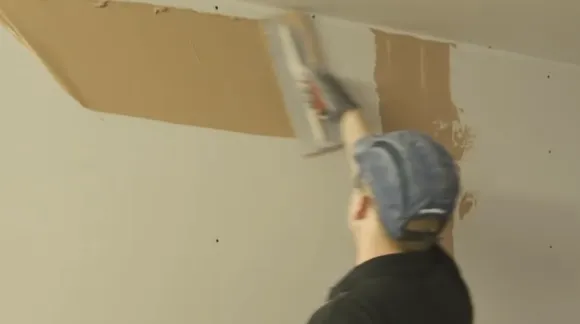
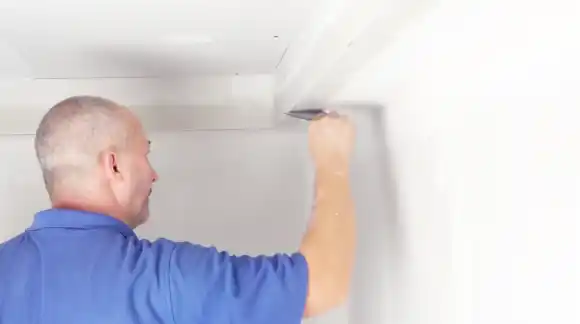
Step 4: Taping and Mudding Joints Between Tiles
Before taping, every joint between tiles should be filled with a layer of mud or compound. This helps create an even surface that allows for a seamless appearance when the tape is added. The mud should be smoothed out with a trowel to ensure a flat surface and then allowed to dry fully before sanding for a smooth finish.
Once the mud has been allowed enough time to dry, apply tape along the sides of the joints in order to provide extra support. This ensures that any movement in the tiles won’t loosen them from their positions and also helps prevent gaps from appearing in grout lines over time.
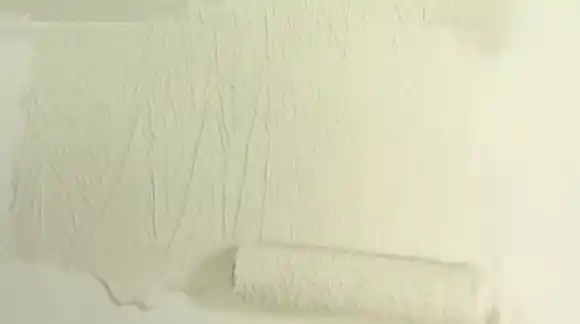
Step 5: Finishing Touches With Paint or Wallpaper
Once your tiles are properly set and all of your joints have been filled and sealed, it’s time to move onto the finishing touches. Clean up any excess dust that may have come from sanding your joints. If any imperfections remain after cleaning and drying, you can cover them up with an additional layer of mud.
After that has dried, it’s time to add some color! You can choose either paint or wallpaper for your walls. Just make sure you apply primer first, so it goes on evenly and lasts longer. With that last coat of paint or patterned wallpaper applied, your tiling project is complete.
Are Your Walls Drywall or Plaster?
To identify which material your walls are made from, push a small pin into the wall and then observe what happens. If the pin easily goes through the wall with no signs of resistance, chances are that you have drywall on your hands.
On the other hand, if it takes some effort and there is visible resistance when pushing the pin in, then you likely have plaster walls.
Can you Put Drywall over Horsehair Plaster?
Yes, you can put drywall over horsehair plaster, but you must ensure that the underlying lath is firmly affixed and in good condition as any gaps between old lath and new drywall will create an ideal environment for mold growth.
Although traditional methods such as adhesive or screws are possible, an innovative dot and dab technique may be better suited for areas with horsehair plaster due to its superior gripping power and flexibility.
Will Drywall Screws Go Through Plaster?
Drywall screws may go through plaster depending on how thick the plaster is. For securely holding items to drywall and plaster surfaces, nothing penetrates quite like a 1-1/4 inch drywall screw.
With its deep threaded shank designed for denser walls, it’s the ideal choice for older homes with thick plastered walls that require extra grip.
Is It Cheaper to Repair Plaster or Replace it with Drywall?
It is typically cheaper to repair plaster walls than to replace them with drywall. Plaster walls are often more expensive due to the complexity of their construction, as well as the fact that they require a special skill set for installation and repair.
Drywall is easier and quicker to install and repair, making it less expensive overall. The cost of repairing plaster walls also depends on the severity of the damage, as major repairs may require replacing large sections or even rebuilding an entire wall from scratch.
Are Plaster Walls Stronger Than Drywall?
Plaster walls are generally stronger than drywall because they are thicker, harder, and denser than drywall. High-end plaster walls can be up to three times thicker than regular drywall due to their multi-layered construction which makes them highly resistant to damage.

Modernize Any Space With Efficient, Cost-Effective Drywalling Over Plaster Walls
Drywalling over plaster requires patience and attention to detail in order to achieve a seamless finish. It can be a great way to modernize any space while offering numerous benefits in terms of cost savings and energy efficiency.
However, you should take the necessary steps before proceeding with the project in order to ensure success. This includes verifying stability by removing old plaster and lath as well as checking for damages or moisture levels before putting drywall over old plaster walls.
Once everything has been addressed and resolved, you can begin installing your new drywall over existing plaster walls with confidence.