Last Updated on March 21, 2023
Painting is an art, and preparing your canvas (drywall) is essential. Have you ever asked yourself how many coats of primer you need to ensure a masterpiece? Even though you only ever need one coat of primer, there are exceptions to this rule. Now the question is, how many coats of primer do you need?
Depending on the color and condition of the walls, it might be necessary to apply two or even more coats of primer for optimal coverage. Now paint, and primer combinations are available, making it easier than ever to get your walls prepped and ready for a fresh coat of paint.
This post will give you everything you need to know about preparing and applying primer. From what supplies are essential for the job, how you need to prepare your area before painting begins, even down to the steps on exactly how many coats of primer should go onto each surface. No detail will remain untouched.
How Do You Apply Two Coats of Primer to New Drywall?
Applying primer to new drywall can seem daunting, but it doesn’t have to be. The following steps will give your walls a smooth and effortless finish.
You’ll find everything in this step-by-step guide, from surface preparation to adding two coats of the perfect primer. With just a few simple tricks up your sleeve, getting flawless results on even the newest wall is easier than ever before:
Step 01: Necessary Supplies for Preparation and Application
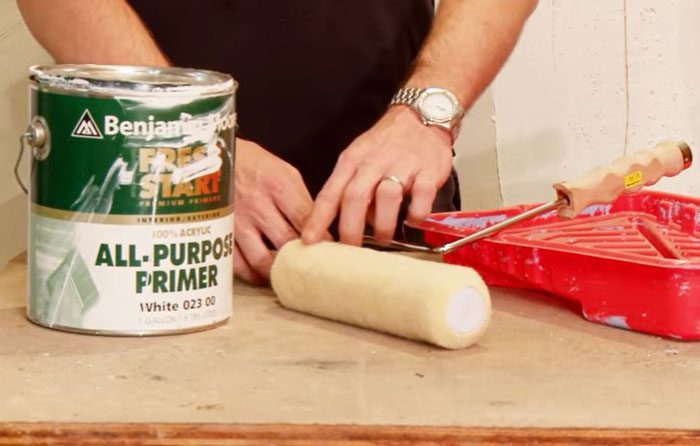
When preparing to paint any surface, it is important to have the right supplies and materials for the job. For painting drywall, the most common materials are drywall joint compound, primer, paintbrush, or roller applicator with covers, pans, trays, stirring/mixing sticks and drop cloths, sandpaper, sponges, and rags.
- A drywall joint compound is necessary for filling any cracks or holes in the wall before painting. It can create a smooth finish that will hold up better under the weight of primer and paint.
- The primer should be chosen according to the product’s desired color and finish. There are many different types of primers available at hardware stores.
- Paint Brushes or rollers must also be chosen according to what paint will be used. Synthetic brushes work best with latex paints, while natural bristle brushes are ideal for oil-based paints.
- Pans, trays, and other covering items are needed to contain spills or splashes during painting.
- Drop cloths should always be laid down beneath the area being painted on as well.
- Before applying primer, sandpaper should then be used to lightly sand down any dried joint compound to create a smooth surface.
- Sponges and rags are needed to clean up any mistakes during the application process.
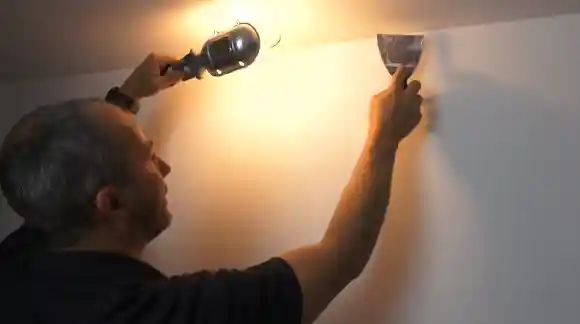
Step 02: Properly Prepare the Area to Be Painted
Armed with all the tools and supplies, it’s time to prep your painting surface for a transformation. Kick-off by filling large gaps or holes in the wall using a joint compound, as previously mentioned. Thus you may need multiple layers if there are particularly complex cracks or holes. After that’s done, get ready to paint.
Once all of these areas have been filled in, it is important that they are allowed enough time (at least 24 hours) to dry before sanding them down with sandpaper. This ensures that no areas remain rough after applying primer or paint.
After everything has dried, use a damp cloth or wet rag to wipe away any dust or debris from the walls before applying primer. This helps create an even surface that will make it easier for primer and paint application later on, as well as help keep air bubbles away during the application process.
Step 03: Applying First Coat of Primer to New Drywall
Before applying the first coat of primer to new drywall, selecting the correct type of primer is crucial. There are primers specifically designed for new drywall that help create a smoother surface for paint. The walls must also be clean and free of any imperfections before the first coat can be applied.
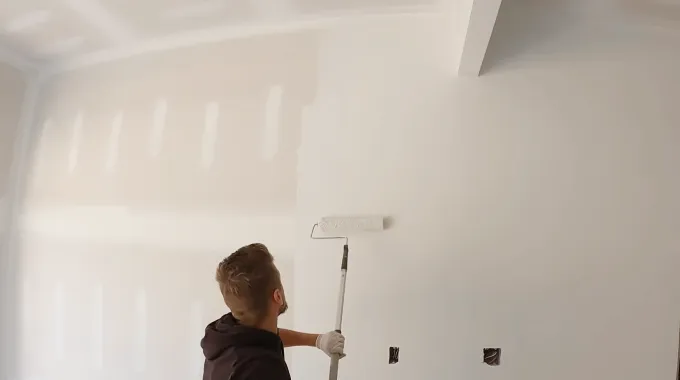
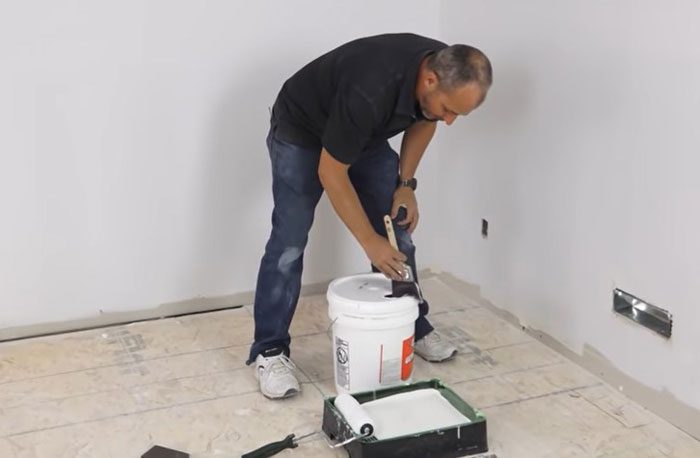
Once you have selected your primer and prepared the wall properly, you can apply the first coat. Begin by pouring the primer into a tray or pan, making it much easier to handle when using a brush or roller.
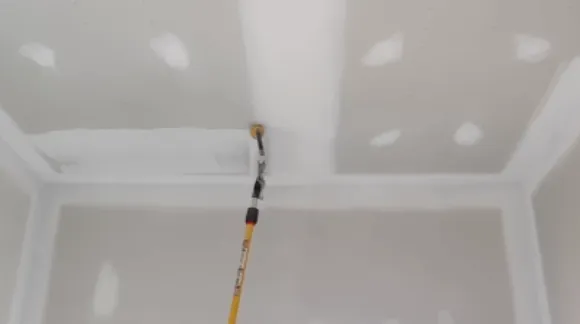
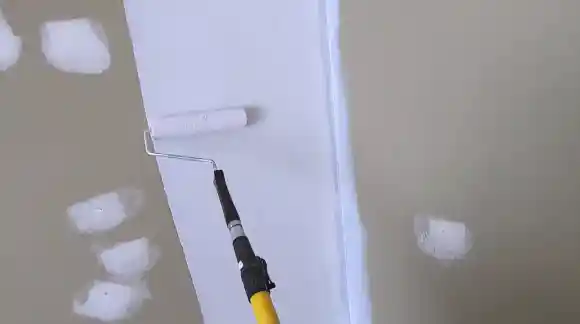
Start at the top corner of the wall and paint downward in even strokes, making sure to overlap all areas as you go along. Doing so will ensure an even distribution of paint on the wall surface.
And use a sandpaper sponge along corners where straight lines may be challenging to apply. This will give your walls a more professional finish. After completing one side of your drywall, let it sit for roughly 30 minutes before applying your second coat.
Step 04: Applying Second Coat of Primer to New Drywall
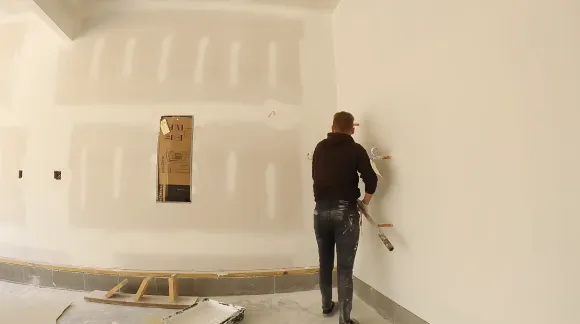
Once the first coat has dried completely, you can apply your second primer layer over the new drywall. Before doing so, measure how much primer you will need for each part of your walls, depending on size and shape.
Once that’s done, begin painting your second layer in an overlapping motion as you did with your first coat. Make sure not to cover up any areas that were fully painted previously because this could lead to an uneven finish and drips after drying.
To ensure uniform coverage, use a sandpaper sponge along corners and crevices that may be hard to reach with a regular paint brush or roller. When finished with the painting, leave it overnight or until dry before touching up any areas needed or adding more coats if necessary.
With two coats applied correctly, you can rest assured knowing that your walls have been sealed sufficiently against moisture and dust accumulation while maintaining their aesthetic appeal.
Step 05: Cleanup
After applying two coats of primer to the new drywall, it is important to clean up the area properly. It is essential to ensure that the job was done correctly and that all materials used in the project have been stored away or disposed of safely.
When cleaning up from two coats of primer, it is important to use a rag or sponge dipped in warm water mixed with a mild soap solution. This will help remove any excess primer that may have spilled onto surfaces outside the drywall area.
Then, all supplies used should be placed back into the original storage containers for future projects. The remaining cans should also be stored away from direct sunlight or sources of heat to prevent any damage from occurring.
To dispose safely of any waste created from the project, leftover paints and primers must be sealed securely and separated based on their chemical composition before being taken to a local hazardous waste disposal facility.
These facilities are specifically designed to handle hazardous materials such as paint and primer safely and efficiently without causing harm to humans or the environment. And when disposing of these materials, ensure empty cans are completely dry and cleaned out thoroughly before handing them over.
Overall, following proper cleanup techniques after applying two coats of primer can help protect people’s health and safety and preserve the environment around us by reducing our waste output.
Some primer ideas for drywall are as follows:
Exterior Paint and Primer in One
Applying a coat of paint and primer in one to new drywall is a great choice for an exterior project. This product provides excellent protection against the elements while providing a professional-looking finish.
It is easy to apply and has excellent adhesion properties, ensuring a long-lasting paint job. The two coats of primer are designed to provide superior coverage and will fill any small imperfections in the drywall.
Drywall Primer & Sealer for Interior
When tackling a new drywall interior project, this is an ideal choice. This product can be applied quickly and easily without sacrificing performance due to its low VOC content. And the two coats of primer provide excellent protection against moisture damage and other wall imperfections such as nicotine stains or smoke damage.
It also ensures that the topcoat adheres properly to the surface by providing an even bonding layer between the wall and the paint layer.
Waterborne Bonding Primer
It is an effective solution for applying two coats of primer on new drywall projects. This product’s water base formula offers superior adhesion capabilities to traditional oil-based formulas, further enhancing its durability over time.
Furthermore, this product dries quickly so that you won’t have long wait times between priming and painting layers. And it acts as both a sealant and binder that enhances topcoat performance, easily protecting your walls from mildew growth or other environmental elements.
How Do I Know If I Need Two Coats of Primer?
Two coats of primer are typically recommended when painting new drywall. The first coat of primer will help to seal the drywall and prevent absorption that could cause uneven paint application. And it provides a better surface for the topcoat of paint to adhere to, resulting in better quality coverage and durability.
In some instances, such as if you’re painting over a colored wall, two coats of primer may be necessary to ensure full coverage and an even color finish. You can test this by applying a single coat of primer and then see how many coats of paint are needed for complete coverage.
If the second coat of paint still reveals the base color, then you should apply a second coat of primer before proceeding with a third coat of paint.
Should I Sand In Between Primer Coats?
Sanding between coats of primer is typically not necessary when painting new drywall. A good quality primer should be able to adhere appropriately without needing any additional abrasion or smoothing. Sanding between coats may be helpful if small imperfections, such as bumps or holes, need leveling out but aren’t normally required.
Despite this, it’s always best to follow your particular brand/type of primer’s instructions just to ensure you don’t miss any important tips. Their product experts may provide advice regarding the proper application processes and techniques.
How Thick Should My Primer Coat Be For Drywall?
The ideal thickness for a primer coat on new drywall should be around 50 microns (1/20th inch). This thin layer is enough for proper adhesion and coverage while ensuring subsequent layers.
Topcoats can also bond securely without being compromised by an overly thick coating which can lead to cracking over time due to too much movement under pressure from daily use and wear and tear.
Applying more than 50 microns may result in an uneven finish or bubbling, which could require more effort during the sanding process before applying final touches like topcoats or sealing waxes, etcetera.
Unlock Professional Level Painting Results with Two Coats of Primer
One coat of quality paint primer is usually enough when it comes to prepping and painting a new drywall surface. But there may be cases where two coats are required for optimal results.
When deciding whether or not to apply two coats of primer, consider the type and color of paint you’re using, along with any existing imperfections on the wall that need to be covered up.
And don’t forget other necessary supplies, such as sandpaper, for proper preparation before applying either one or two coats of primer. A clean surface is key for achieving an even coating of paint with good coverage.
By following these instructions, you’ll be sure your project turns out to look its best.


