Last Updated on March 21, 2023
Before you can truly transform your drywall into a masterpiece, you have to do the prep work. Putting primer on your drywall will ensure that all the beautiful brush strokes really stick and create an even smoother and stronger bond than just painting.
Preparing drywall for primer requires gathering supplies and taking care of some initial steps. You’ll need to remove anything around or on the surface that might get in the way. Check for any possible defects, sand them if necessary, and wipe away any lingering particles. Tape off all the areas you won’t be priming, then apply primer.
When done correctly and carefully, these steps will ensure your paint job lasts longer and looks its best. We’ll walk through each step in detail so that you can successfully prepare your drywall for primer application.
How to Prep Drywall for Primer: DIY Steps
Achieving a perfectly painted drywall surface starts with the right prep work. To ensure your final paint job looks even and flawless, it’s important to get started on the right foot by preparing for primer.
Here are some simple steps you can take to ensure proper prepping of your drywall so that when all is said and done, each coat will look glossy and smooth.
1. Gather Necessary Supplies
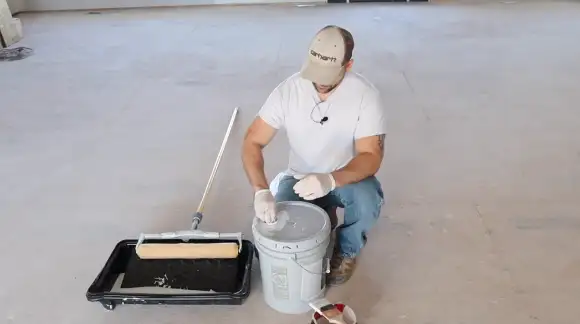
When prepping drywall for primer, grab all of the necessary supplies beforehand. This will ensure that the job can be done properly and efficiently.
Typical supplies needed include a broom, drop cloths, sandpaper, putty knife, eye protection glasses, face mask and skin protection gear, drywall compound, painter’s tape, and drywall primer.
A broom should be used to sweep away any dirt or debris from the wall before beginning to prep it.
Drop cloths should be laid down to protect the floors and surrounding areas from dust created during sanding or other work done on the wall. Sandpaper should be put onto a sanding block to help remove any imperfections in the wall surface before priming.
For more stubborn marks or holes in the drywall surface, putty knives can be used to apply drywall compounds into deep holes or scrapes to fill them in before painting.
Eye protection glasses should also be used whenever working with potentially hazardous materials such as drywall compounds or paint thinners.
A mask and skin protection gear should also be worn when doing this type of work, as there is always a risk of inhaling dangerous particles created by cutting or sanding drywall materials.
Finally, painter’s tape should be applied around any areas of trim or fixtures on the walls that need not be painted over with primer.
2. Remove All Items Around the Drywall
Before beginning to prep your drywall for primer, it is important to check that all items have been removed from around the area where you will be working.
This includes furniture, rugs, curtains, and other non-permanent items like mirrors or artwork hanging on the walls near where you are working, anything that may get in your way while prepping your wall for primer application.
Any permanent fixtures, such as light switches and outlets, must either be taped off with painter’s tape or removed, depending on what type of fixture they are connected to, before continuing preparation work on your walls.
3. Inspect the Wall for Defects
When you’ve removed all items around your workspace area, you can start inspecting your wall for defects like holes, dents, and cracks before applying any primer coats.
You should examine each part of your wall carefully using a flashlight if necessary due to low lighting conditions so you don’t overlook any potential problem areas before proceeding with priming work.
If there are indeed any issues present, then these must first be fixed using a suitable material like drywall compound. Usually sold ready-mixed at hardware stores or mixed yourself from joint compound powder bought separately (follow safety instructions when mixing).
To repair larger sections, use new drywall sheets, which can then be secured into place using joint compound and screws once properly cut into size before preparing it for painting over with primer afterward.
As soon as you’ve filled in all the affected areas with a putty knife, allow enough time for everything to dry per the manufacturer’s instructions before priming.
Once again, a thorough inspection is advised here, just double check everything has been done correctly before starting the process of priming surfaces after removing any residue left behind by filling works carried out earlier on previously important too.
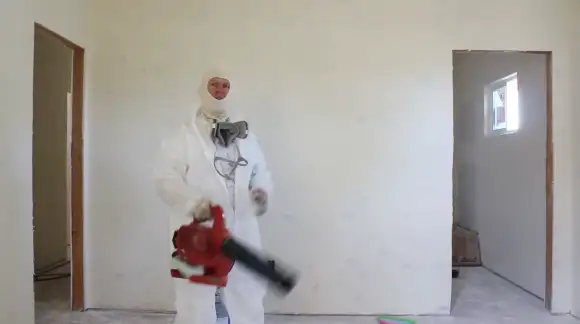
4. Sanding the Drywall to Create a Smooth Surface
Once you have inspected and fixed any imperfections on your drywall, it is time to start sanding down the surface of your wall using a sandpaper-attached pole sander.
Sanding helps create a more even finish that will be better suited for applying primer later on in this process.
When sanding down your walls, wear eye protection glasses and a face mask/skin protection due to fine dust particles created during this process which can cause respiratory problems if inhaled over time.
5. Wiping Wall Surface with a Broom
After finishing up the sanding process, now is time to clean off your walls from all remaining particles. To collect all the drywall dust, use a broom with a drop cloth on the bottom.
While sweeping across your walls multiple times until they feel smooth without leaving behind any visible patches of dust residue leftovers on them before proceeding further down into applying primer onto them afterward.
6. Vacuum Up Dust Particles

After sweeping away as much dust as possible with a broom, use a vacuum cleaner hose attachment to pick up every last particle before continuing with priming preparations.
This will help prevent air bubbles from forming under layers of primer once applied, which could lead to problems later down the line.
Such as bubbling or flaking paint surfaces due to incorrect adhesion of primers or topcoats used after preparation has been finished off successfully here today.
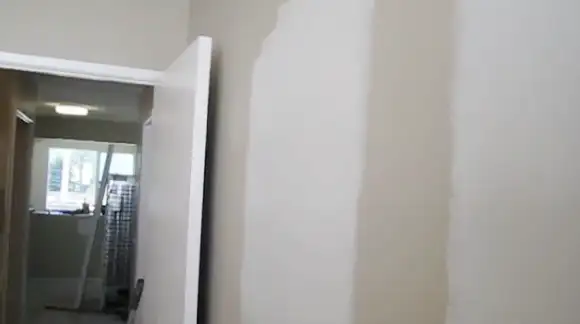
7. Masking Off Areas Not Being Primed
Once everything has been properly vacuumed, use painter’s tape to mark off areas that do not need primings, such as door frames and windows.
Doing this beforehand will prevent accidentally getting paint where unwanted, which would end up being very hard (if not impossible) to remove afterward without ruining whatever material’s underneath.
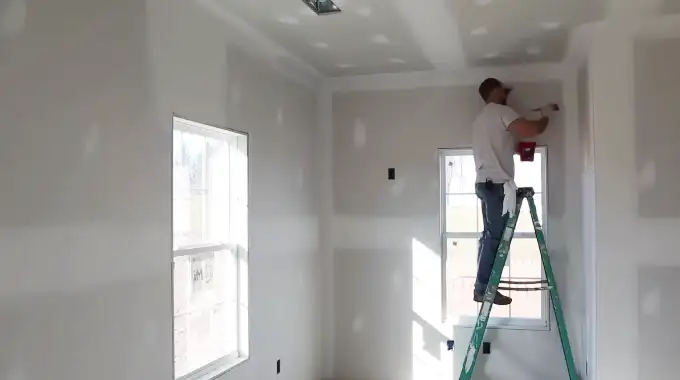
8. Applying Primer
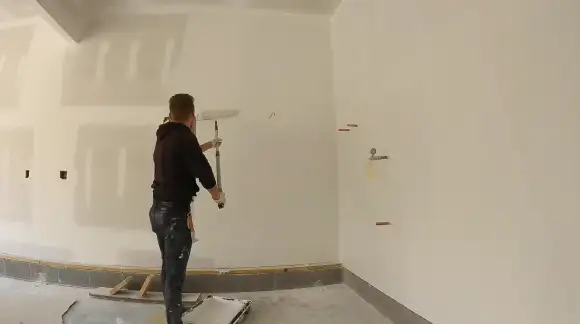
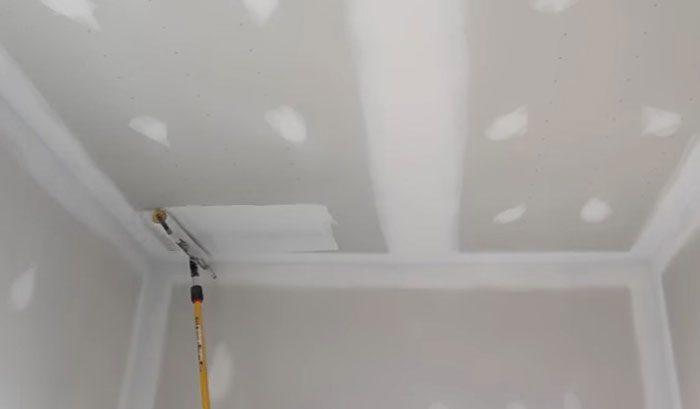
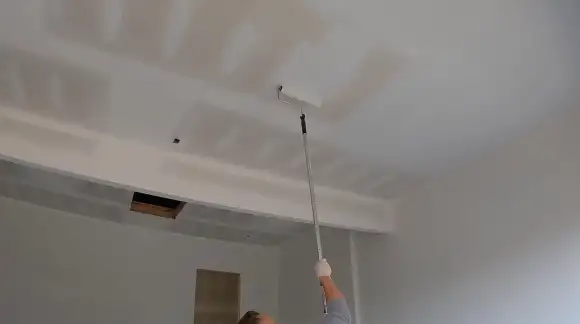
Now that all preparation steps are complete, it is time to apply primer over the top of the walls to prepare them for painting drywall properly. For best results here, use a long-handled roller brush.
Start at one corner of the room, working way across its length until the entire area has been covered evenly without leaving gaps or patches behind, which would show through eventual coatings color later on afterward.
Allow primer time recommended by the manufacturer before beginning the actual painting job proper itself afterward too.
Can You Just Prime A Drywall and Not Paint It?
While it is possible to only prime drywall without painting, it is not recommended. Primer acts as a sealant and protection layer for the wall and provides better adhesion of the topcoat of paint.
So without painting over the primer, this layer will be lost over time which increases the risk of peeling, cracking, or bubbling of the surface.
Also, leaving the primer exposed to air can cause it to deteriorate quickly due to oxidation and exposure to moisture in the environment.
It is best to use a quality water-based primer on drywall before applying any topcoat of paint for optimal results and protection.
How Long Should Drywall Mud Dry Before Priming?
It is best practice to allow your joint compound (or “mud”) to dry for 24 hours between each coat when mudding your walls and before priming them.
It is important that each coat has sufficient time to cure fully before adding another one or sanding down the surface in preparation for priming.
High humidity levels in your home environment can lengthen this drying time significantly, so ensure that everything is completely dry before beginning any additional steps in prepping your walls for priming or painting.
How Long to Let Primer Dry on Drywall Before Painting?
Latex-based primers are typically quick-drying products that take around 30 minutes up to 1 hour until they are completely touch-dry on most surfaces, including drywall surfaces.
But, depending on environmental conditions such as temperature, humidity, or surrounding airflow, this drying time can increase significantly. So it is recommended that you wait a minimum of 3 hours before attempting to apply any topcoat paint over the primer for best results.
This waiting period gives adequate time for the evaporation of all volatile solvents which allows proper adhesion between layers along with maximum durability over time.
Can You Prime a Drywall And Paint It Same Day?
While theoretically possible depending on variables such as room temperature, humidity levels, and climate in general.
Accordingly, it is not recommended that you attempt this task in one day due to potential issues caused by inadequate drying times between layers of product applied onto your walls.
Especially if using latex-based products, as mentioned earlier, due to their higher likelihood of trapping residual solvents within their makeup. It can interfere with adhesion between layers, resulting in lower durability over time due to premature deterioration from regular use or exposure to elements like rain or UV rays.
Therefore waiting at least 3 hours after applying primer onto your walls before painting them guarantees maximum adherence and longevity.
After completing the prepping stages correctly, like sanding down rough patches on joints, you can use whatever brand of paints or finishes you choose.
Get Your Drywall Protected and Beautiful
By following these detailed instructions about how to prep drywall for primer, you can ensure your home improvement project turns out great with long-lasting results.
From gathering supplies to masking off sections of the wall that don’t need priming, every step needs to be taken seriously to get a strong bond between the wall and the paint.
This will help your paint job last much longer than if it had not been properly prepped beforehand. Taking time out of your project to properly prepare drywall is well worth it.
It is important to remember that no matter how much time and effort you put into prepping your wall, it won’t show in the end if you don’t use quality products such as joint compound, drywall screws, and primer. So take your time when prepping your walls because they deserve nothing less than perfect.


