Last Updated on March 5, 2023
Ensuring that your drywall is in good condition isn’t something to be taken lightly. All types of drywall should be regularly inspected from the day it’s installed to even after years down the line.
This inspection process can help you nip any problems in the bud before they cause serious issues and threaten safety or compliance with building codes. Doing so ultimately ensures structural integrity and peace of mind.
When inspecting drywall, you’ll want to check for surface condition and interior components like joints and corners. All the way down to texture and paint issues. But it’s just as essential to reassess after some time has passed.
Look out for sagging or warping of the wallboard, cracks in decorator surfaces, plus any added water damage or stains. Let’s talk about them in detail.
Does Drywall Need to Be Inspected: Reasons
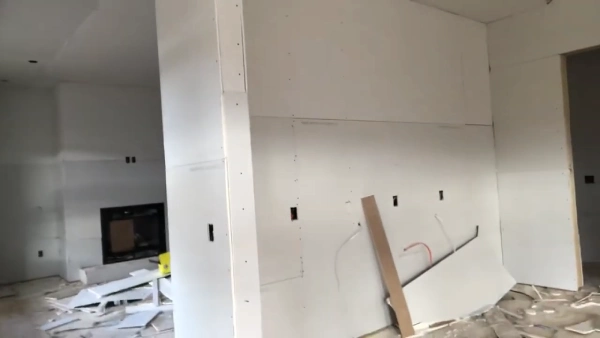
Inspecting drywall is essential for identifying any potential defects or issues that may arise early on so that they can be addressed and rectified in a timely manner.
Doing so helps to protect the integrity of the walls from degradation caused by moisture, temperature fluctuations, and other environmental factors which could have a detrimental effect over time.
By checking the condition of the drywall on a regular basis, it is also possible to make sure that local building codes are being adhered to and that all relevant safety standards are being met.
Also, this kind of home inspection will help ensure that the structural stability of the walls is maintained over time, reducing the risk of severe deterioration in the future.
It is imperative to carry out regular checks on any drywall installations to prevent any potential problems before they become more serious later down the line.
What to Inspect in Drywall Before Installing?
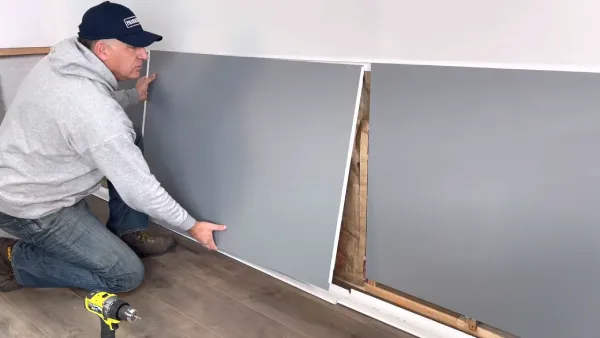
Surface Condition of the Drywall
Visual Examination: In pre drywall inspection, it is important to perform a visual check of the material’s surface for any imperfections that could potentially lead to structural issues.
Chippings, cracks, water penetration, warping, and buckling should be closely examined, as these can weaken the integrity of the drywall sheet. Also, any previously patched areas should be examined, as this could represent a weak point in the wall.
Touch-Test Evaluation: It is also necessary to perform a touch-test evaluation when inspecting drywall before installation.
Press down lightly on each sheet to ensure it’s secure and free of weak points. The material must also be completely dry and free of dampness or wetness before installation.
Measurement Tests: Before installing sheets, make sure they’re cut at uniform lengths and widths. A tape measure and carpenter’s square can be used to check for squareness between adjacent sheets and verify that they are level with one another.
Careful attention should be paid during this step as inaccurate measurements can lead to problems further down the road, such as doors not fitting properly or poor aesthetics once plastering has been completed.
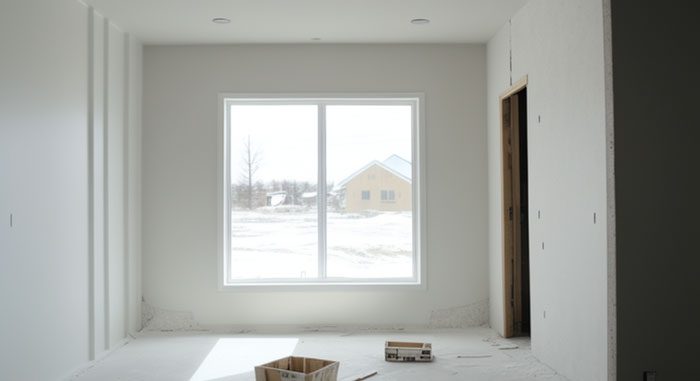
Interior Components of the Drywall
Core Materials Inspection: Before installing drywall, you must inspect the core materials to ensure they meet the safety standards and specifications set by industry professionals.
This entails looking at the gypsum core material and any backing materials used for extra strength and stability over time, such as paperboard or fiberglass mesh reinforcements.
Edge Seals Inspection: All edge seals should be inspected thoroughly before installation to ensure no missing sections that may allow moisture penetration into the dry wall’s interior components once installed.
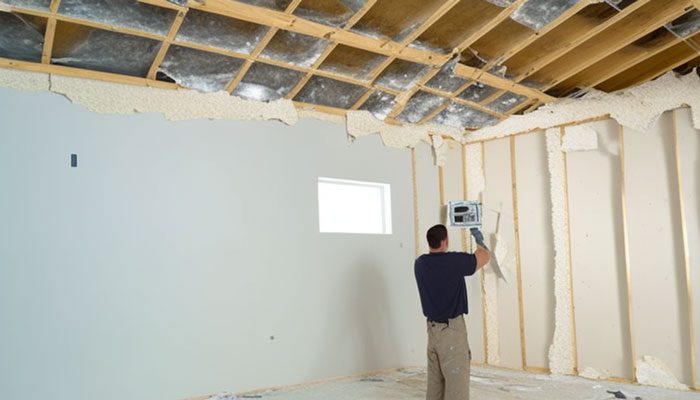
It is also essential to check that all edge seals are intact without any gaps or fraying from wear and tear over time. Also, check for excess glue along seams and corners, which could cause buckling issues when installing drywall.
Paper Face Seals Inspection: Before installing, check each sheet’s paper face seals to make sure there aren’t any missing sections, which could let moisture in.
To ensure accuracy, it is important to verify that paper face seals do not contain any blemishes caused by previous installation attempts before purchasing new sheets.
This can be done by closely inspecting them under bright lighting conditions from different angles so that even small imperfections can be detected easily.
What Should You Inspect After Installing Drywall?
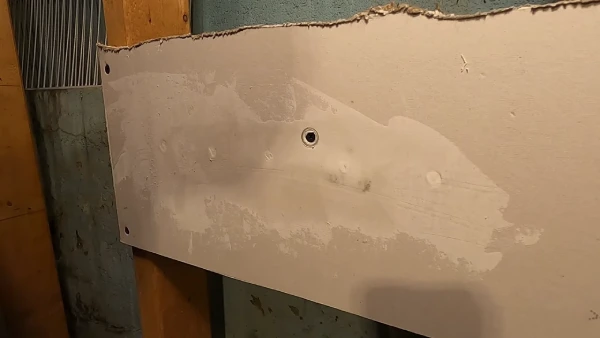
1. Joints & Corners
Once you have installed drywall, check the joints and corners to ensure that the walls are properly sealed and finished.
Look for any gaps or cracks in the corners, and ensure that each corner is flush and evenly connected. Inspect any compound or sealant used, ensuring it was applied properly with no air pockets or bulges.
2. Screws & Nails
Check that all screws and nails are firmly sunken below the surface of the drywall, so they do not stick out. Aside from that, examine if there are any popped or loose fasteners that may require resecuring or replacements.
Pay close attention to areas around screw holes and nail heads where warping may have occurred due to incorrect installation.
3. Sheet Size & Fitment
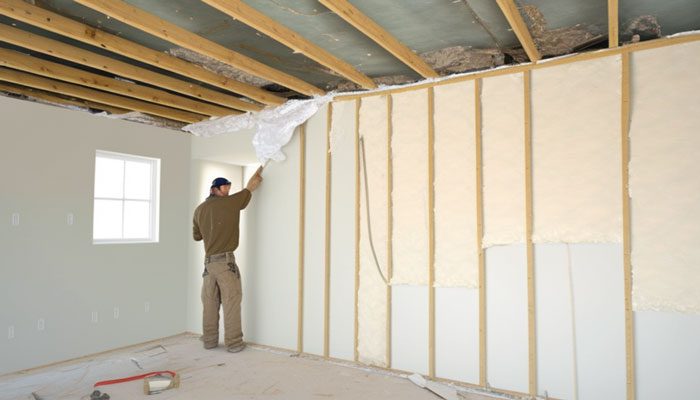
When inspecting sheet size and fitment after installing drywall, it is important to ensure that all panels meet industry standards with regard to their overall length and width.
Take note of any areas where multiple panels meet. Ensure there is a proper overlap and gap between them for seamless integration. It is also beneficial to view each panel’s edge from multiple angles to detect any unevenness in its shape or size.
4. Texture & Paint
Inspecting texture and paint on a drywall installation requires paying close attention to every surface for imperfections. Wavy lines, blotches, bubbles, cracks, pockmarks, and air pockets could indicate poor workmanship during application.
Also, examine each edge closely for smooth transitions from one-panel surface to another with no apparent blemishes present on any part of the wallboard itself.
5. Misalignment Issues
Inspect your entire space once finished installing your drywall for any misalignment issues that may have occurred during installation.
Such as mismatched edges between two panels or unevenly cut corners, which could result in an overall unappealing aesthetic once everything has been painted over later on down the line.
Be particularly aware of potential problems in high-traffic areas like doorways where misaligned panels can quickly become obvious if not addressed properly during installation.
If necessary, shim out problem spots with additional strips of drywall or plaster before moving forward with further work, such as painting or staining.
What Should Be Inspected In Drywall After A Long Period Of Time?
1. Signs of Sagging and Warping
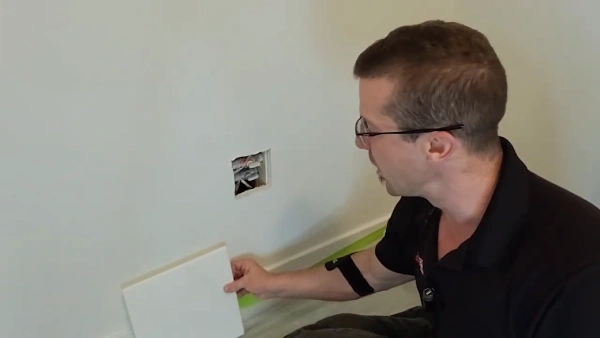
When inspecting drywall after a long period, it is important to check for signs of sagging and warping. Warping can occur due to humidity changes, moisture deterioration, foundation issues, or other causes.
Visual inspection should be done to check for any bowing or buckling in the drywall that may indicate warping. Additionally, the edges of the drywall should be checked to see if they are no longer flush with the wall’s surface.
This could signify that the drywall is either sagging or warped due to some type of structural issue.
2. Cracks, Nails, and Screws
After an extended period, it is essential to check for cracks in the drywall that may have developed over time from normal contraction and expansion due to changes in temperature or humidity levels.
It is important to examine the nail and screw placement carefully as well since these can become loose over time which could lead to further cracking or deterioration.
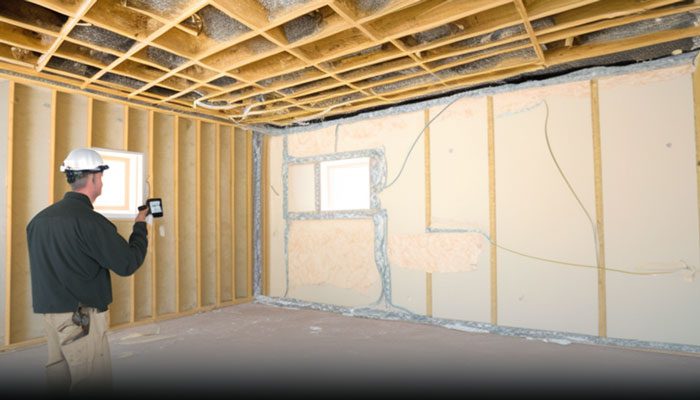
To ensure proper coverage and adhesion, joint compound areas should also be thoroughly inspected for any signs of separation or deterioration.
3. Water Damage and Stains
When examining drywall after a long time, check for any signs of water damage. Any discoloration or staining on walls could indicate moisture intrusion, so this should also be carefully evaluated during an inspection.
If any areas appear darker than usual, they should be tested with a moisture meter before repairs are made to determine how much water has been absorbed into the material.
4. Dust, Asbestos, and Other Contaminants
Drywall inspections after a long time should also include testing for dust accumulation which may indicate poor ventilation that would need addressing.
Then, asbestos contamination must be tested especially if older components were used during construction or renovation work, to guarantee that occupants will remain safe from potential exposure risks.
Some other contaminants, such as mold spores, can also be assessed during inspections if necessary by taking samples from affected sections for further testing in a laboratory setting if required.
How Often Should You Inspect The Drywall?
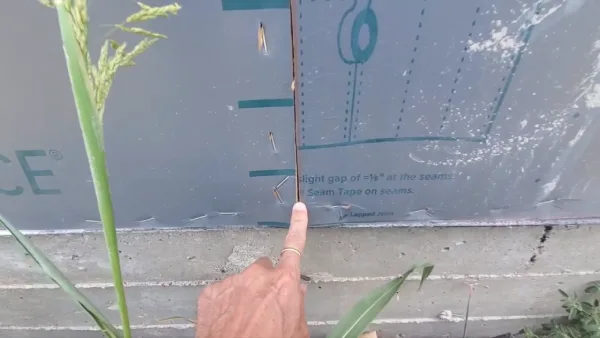
The frequency of inspection for drywall depends heavily on the environment and usage. For instance, in a home setting, drywall should be visually inspected after installation and periodically after that, at least twice a year, to check for mold or moisture penetration.
In commercial settings, where walls are subject to higher levels of wear and tear, more frequent inspections are recommended. It is essential to look for any signs of structural instability or deterioration that could potentially worsen over time and lead to costly repairs.
Don’t forget that you inspect windows and other areas that may collect moisture regularly. If any renovations are done in your home or business, it is important to inspect the drywall after to ensure that all areas have been properly filled and finished.
What Are the Basic Tools Used to Inspect the Drywall?
When inspecting drywall, there are several basic tools that can help make the process easier and more efficient. A tape measure can be used to measure distances between studs and other structural elements.
You can use a level to see if the walls are straight. A stud finder tool helps locate studs behind walls and ceilings when necessary. Flashlights or torches are essential when inspecting dark areas or tight spots inside walls.
Moisture meters detect moisture levels within walls which can indicate potential moisture deterioration before it becomes visible on the surface of the drywall.
Ladders and step stools allow people to reach higher sections of walls, while utility knives are useful for cutting away deteriorated drywall areas when necessary. Then, hammers and screwdrivers come in handy for screwing in fasteners during repairs.
Ensure Lasting Safety & Quality: Thoroughly Inspect Drywall at Every Step
Inspecting your drywall is essential for ensuring that building codes are properly followed and that your structure remains safe and secure.
You should inspect your drywall before and after installation so that any potential problems can be identified and addressed quickly before they become more serious.
For the best results, inspect everything from the beginning, from preparation to ongoing maintenance, to ensure it’s safe and quality.
