Last Updated on March 19, 2023
Struggling to achieve the perfect sanding finish on your woodworking project? For smooth, delicate surfaces, traditional sandpaper may be too abrasive. Instead, why not try drywall sandpaper for a gentle but effective way of buffing and polishing your wooden masterpieces?
You can quickly achieve a smooth finish on your wood surfaces with drywall sandpaper without splintering. This cost-effective and versatile tool is excellent for removing old paint, varnish, and other coatings to give whatever project you are working on the desired look faster than with traditional methods.
When sanding, there are many nuances to keep in mind. Preparing the wood surface correctly is key to optimal adhesion, and choosing an appropriate type of drywall sandpaper to suit it will make for even better results. Finishing off with proper clean-up afterward helps give your work that professional touch.
If you’re interested, read on to find out how to use drywall sandpaper for woodworking.
How Can You Use Drywall Sandpaper On Wood?
Using drywall sandpaper on wood is a great way to create a smooth, even surface for painting and staining. It can be used on untreated and treated wood surfaces, such as laminated or pre-finished boards. To get started with using drywall sandpaper on wood, there are a few steps to follow:
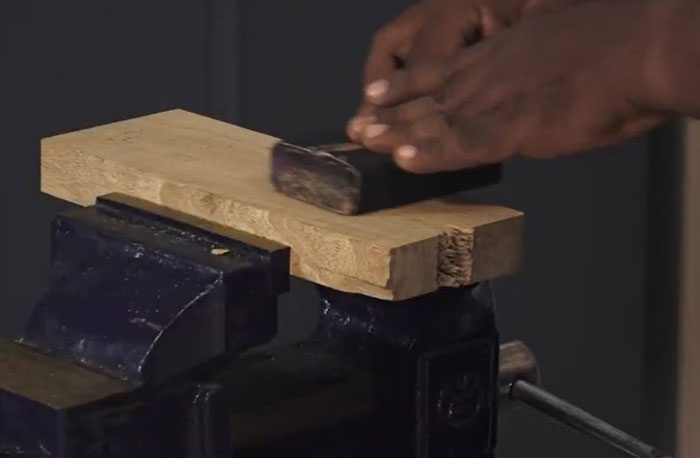
Step 01: Preparing the Wood Surface and Yourself
For wood surface: Before one can begin sanding a wood surface, first, one must prepare it. This includes removing old finishes and debris, wiping down the wood to remove dust and residue, and using a sanding block or floor sander.
All these steps are necessary for achieving an optimal outcome. Removing any old finish will allow for an even sanding across the entire wooden surface. Likewise, wiping it down with a cloth is essential to prevent dust particles from floating around during the sanding process.
Finally, sanding with a wood block or floor sander is essential to create a smooth surface before applying paint or stain.
For yourself: To keep oneself safe while prepping a wooden surface for paint or stain, it is essential to wear certain protective garments. For instance, wearing a dust mask will prevent inhaling any hazardous airborne particles generated when doing the prep work on a wooden surface.
Similarly, safety glasses or goggles should be worn at all times to protect one’s eyes from any harm that may arise due to flying debris during the preparation process.
Depending on how much sawdust will be created throughout this process, setting up either a vacuum cleaner or using a broom and dustpan is also recommended to reduce clutter afterward.
Step 02: Selecting the Right Type of Drywall Sandpaper for Wood
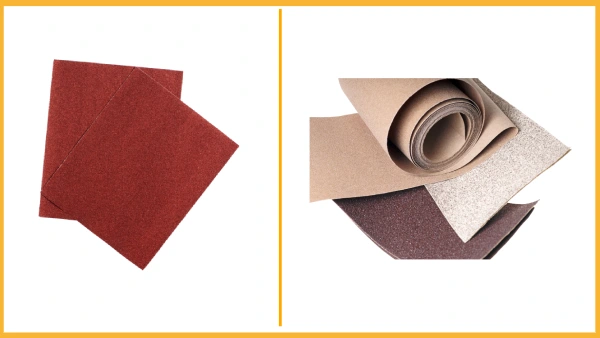
When selecting drywall sandpaper for use on wood surfaces, there are many different types and grits available depending on the job. Garnet paper, aluminum-oxide paper, and silicon-carbide sandpaper are three common types of drywall sandpaper used in construction projects.
Each type has its own advantages depending on the job at hand. Fine Grit drywall sandpaper (180 & 220), Medium Grit drywall Sandpaper (100 & 150), Coarse Grit drywall Sandpaper (80).
Fine-grit sandpapers are best used for light jobs such as removing varnish or sealer from wood surfaces. They produce fewer scratches in comparison to coarser grits but take longer time due to their smaller particle size than coarse grits.
Applying medium-grit sandpaper is often the ideal preparation before painting wood as it creates an even, smooth surface with fine scratches that can be quickly filled in. But these grits are not designed for large material removal and will work more slowly than coarse options when tackling heavy-duty tasks such as removing tile adhesive from concrete floors.
Coarse-grit sandpapers are the perfect tool for heavy work, such as stripping off large layers of paint. The larger pieces grind through complex substances quickly without leaving too many blemishes. But be careful. If used with excessive force, it can still produce ugly marks, which will require additional effort to fix up.
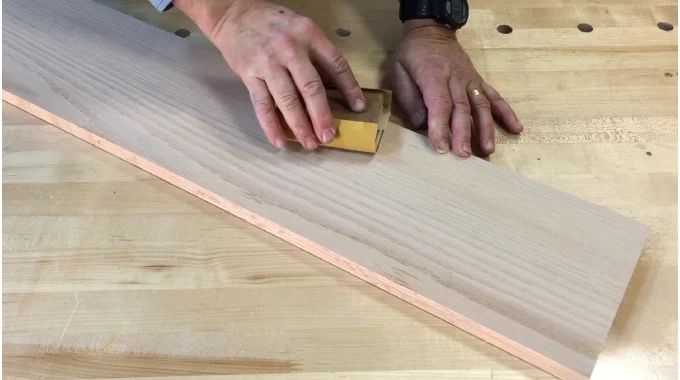
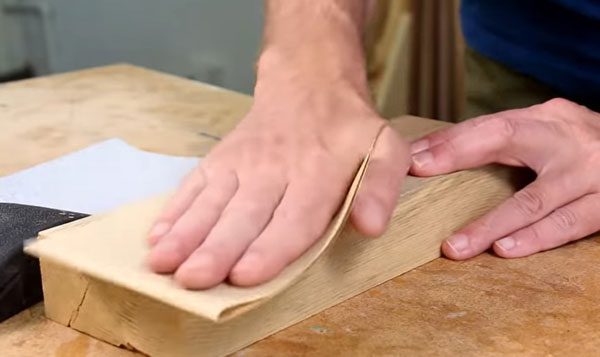
Step 03: Applying Drywall Sandpaper to Wood Surfaces
The best results are achieved by working in sectional areas, one by one, and applying firm pressure when moving back and forth.
To ensure that the surface has been adequately sanded down, it is vital to inspect each section for any hard spots or bumps before moving on to the next area.
After each section has been completely sanded down, it is also essential to remove any excess dust from the surface before progressing further.
Step 04: Finishing Touch
After all sections have been evenly sanded down with the drywall sandpaper, it is time for a final inspection of the wood surface. Look over the wood for any undesirable marks or scratches that may have occurred throughout the process of sanding and make necessary adjustments as needed.
When finishing up, switch back to slow speeds and softly feather your last few strokes towards yourself with light pressure so that all surfaces have an even finish. Finally, make sure to clear away any remaining dust particles before admiring your finished work.
Step 05: Clean-up
Vacuuming any dust particles from both sides of the piece being worked on will help maintain a healthy environment for everyone around you.
Once done with that step, wiping down all surfaces using a damp cloth and allowing them to dry thoroughly before applying any sealant or paint will ensure that no dirt or dust remains stuck on your work.
Also, disposing of used sheets of sandpaper properly is essential to avoid creating any messes while also preventing excess waste accumulation. Finally, removing any protective gear (such as masks or gloves) that was put on before beginning this project is necessary for safety reasons as well as hygienic ones.
Do You Have To Use Drywall Sandpaper Vs Regular Sandpaper On Wood?
The main difference between drywall sandpaper and regular sandpaper when it comes to wood is grit. Drywall needs a coarser grit of 220, while wood furniture requires a finer grit of 150.
When undertaking a drywall project, it is vital to use the correct type of sandpaper. For this purpose, you should opt for a medium-grade 220-grit sandpaper, as anything coarser than that could cause damage to your walls.
On the other hand, when sanding down wood furniture such as tables and chairs, you will want to use a slightly less abrasive 150-grit sandpaper which can help create the desired smooth finish without scratching the surface.
Before doing so, it is recommended to start with a sanding belt for removing any existing paint or varnish layers and then switch to finer sandpaper once you have revealed the raw wood underneath.
Sand wood with these drywall sandpaper ideas:
Multipurpose Sandpaper Sheets
These sandpaper sheets are made from high-quality materials and are specially designed to suit various sanding tasks. They come in a range of grits, from extra-coarse to extra-fine, so you can choose the right one for your needs. The sheets are durable, strong, and long lasting, making them perfect for use on wood, metal, and other surfaces.
150 Grit Drywall Sandpaper Sheets
These sandpaper sheets are designed specifically to smooth out drywall surfaces and can be used on wood. They feature a 150-grit rating, ideal for getting an even finish on walls and ceilings. The sheets are incredibly robust, so they won’t tear or fray easily during use. They also feature anti-clogging technology to ensure that your job goes smoothly.
Coarse Medium Fine Grit Sanding Block
This sanding block is great for achieving that perfect finish on various wood or drywall surfaces. It features coarse, medium, and fine grit levels to help you achieve the results you need quickly and easily. The block is lightweight yet sturdy and is resistant to tearing or fraying during use. Plus, it’s easy to clean after use with just soap and water.
Washable and Reusable Sanding Block
This sanding block is both washable and reusable. It is perfect if you only require occasional use. Made from sturdy materials that won’t tear or fray while in use, this block offers superior control over other types of sanders. Plus, it’s easy to clean with just soap and water after each task.
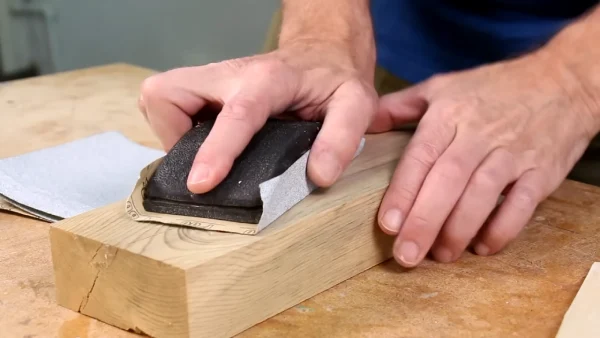
What Is the Fastest Way to Sand Wood with Drywall Sandpaper By Hand?

Sanding wood by hand can be an arduous task, but if done correctly, it can be completed quickly and efficiently with minimal effort. When using drywall sandpaper, it is best to use an appropriate grit size depending on how much material needs to be removed from the surface of the wood.
Once these parameters are established, it is essential not to press too hard or move too fast, as this may result in minor swirl marks that can take more time and energy to remove later on.
An alternative would be using a random orbit sander which helps reduce laboriousness while providing outstanding results in no time.
Does It Matter What Sandpaper You Use On Wood for Painting?
When preparing wood surfaces for painting, they must be adequately prepared beforehand to ensure top-quality results in both appearance and longevity of your paint job. In this regard choosing the right type of sandpaper can make all the difference between success and failure.
The ideal choice for paint preparation is usually 120-grit, followed by 150-grit. This will help remove small imperfections and provide just enough texture for optimal adhesion of your chosen coating material, such as primer or actual paint product.
It is also advisable not to go beyond 150-grit since finer grades tend to provide too smooth of a surface, allowing moisture penetration over time which could eventually cause paint lifting or blistering off from affected areas.
Effortlessly Smooth Wood Projects with Drywall Sandpaper
Achieve a perfectly smooth, sanded finish in no time with the best drywall sandpaper for your wood project. Carefully consider the coarseness and grit size when selecting paper to prevent splintering when applying paint or stain. Make sure to apply it properly too. That’s key to getting impeccable results every time.
Whether you are a pro or just getting started, following these tips guarantees stunning success. Let’s get going on those fantastic creations and have some fun while we’re at it.


