Last Updated on March 18, 2023
If you’re a DIY enthusiast looking to improve the quality of your paint job, wet sanding with an orbital sander is becoming increasingly popular. All you need is a corded orbital sander and a bit of know-how. This sanding technique removes scratches and imperfections more effectively than dry sanding for an incredible finish that looks professional every time.
While wet sanding on your orbital sander can be a great way to get that perfect finish, you’d better watch out. Electricity and water don’t play nicely together, so if you’re not careful, disasters like electrocution could occur.
Not only that, but even the slightest mistake during this process might ruin your results. Before getting started, there is definitely something to keep in mind.
Let’s get down to the details and examine how wet sanding works, uncovering both the benefits and any mistakes along the way.
How Can You Wet Sand With An Orbital Sander?
Though sanding may seem intimidating initially, orbital sander wet sanding is quite easy and can quickly make even the roughest surfaces look as good as new. Here’s the step-by-step process:
Step 1: Prepping the Surface for Wet Sanding
Before you begin wet sanding, be sure to properly prepare the surface first. This includes removing any debris or excess materials from the area, such as dust, dirt, paint chips, or wood shavings.
Aside from that, ensure that you work in a well-lit area free of any potential hazards. These steps will help ensure your wet sanding project goes off without a hitch.
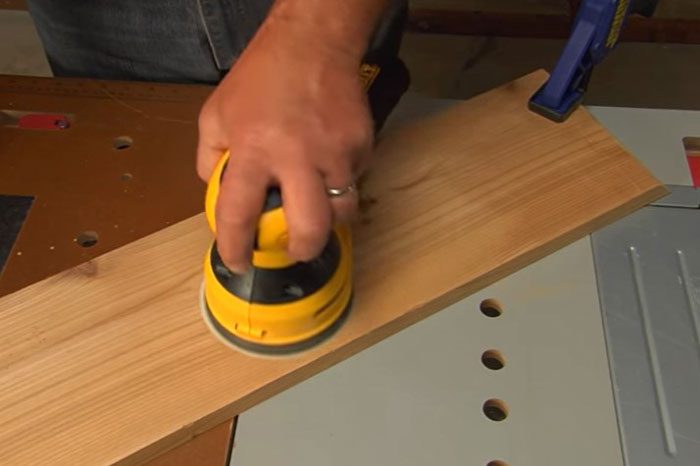
Step 2: Secure Workpiece Firmly
To prevent accidents while you’re sanding and ensure that your workpiece remains steady throughout the process. It is crucial to firmly secure the workpiece before beginning.
This also involves taping down the edges with masking tape if desired (although this step is optional). So you don’t have to constantly adjust your workpiece after each pass of the sander, so you’ll be able to sand steadily and save time.
Step 3: Select Appropriate Grit
The next step is selecting an appropriate grit size for your project. Generally speaking, it’s best to start out with something between 600-1200 sandpaper grit, as this will provide good results without being too abrasive.
Of course, this may vary depending on what kind of material you’re working with and what look you’re trying to achieve. So feel free to experiment until you find something that works best for your needs.
Step 4: Soak Sanding Discs/Papers in Clean Water
Before orbital wet sanding, be sure to fill up a large container. Once your container is full and steady enough for use, submerge several pieces of abrasive disc/paper into the clean water until each one is fully immersed.
Ensure all excess debris has been removed from each disc/paper before removing them from their soaking solution in preparation for work. You can also use spray bottles to mist the sandpaper with water as it runs over your workpiece, but this is optional but recommended.
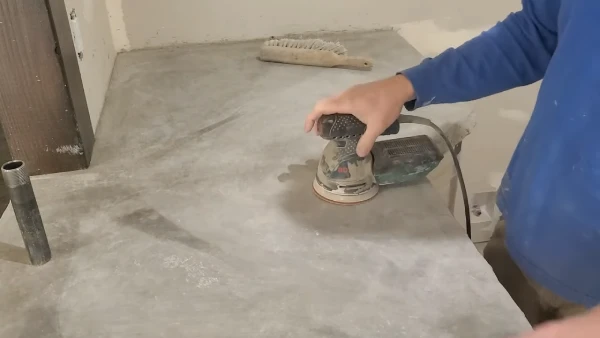
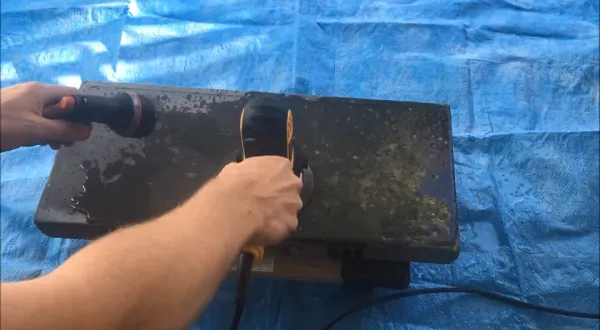
Step 5: Start Sanding Process
Now that everything is ready, begin wet sanding by starting at the upper corner on your workpiece and slowly progressing downward in overlapping motions until you cover the entire surface area evenly. This will help to ensure that your sandpaper doesn’t skip any areas and provides an even finish across the entire surface.
Adjust speed settings on your orbital sander as needed depending on how aggressively or mildly you want the outcome to finish. Likewise, ensure that you keep constant contact with the workpiece while you are sanding. This will help to avoid leaving any unsightly gouges on the surface after finishing.
Step 6: Re-Check Sanded Areas
Finally, after completing all necessary steps above have been done correctly and efficiently. Go back over each area that was just previously worked upon via wet sanding operations on a final inspection lap around.
Check for any rough patches that may require some extra finishing touches still. If found, then simply repeat steps 1 through 5 again if needed until desired results are finally achieved.
Wet-Sanding Considerations When Operating an Orbital Sander
To ensure that the wet sanding process is done properly and efficiently, there are some considerations to bear in mind when wet sanding. Here we’ll go over some of those considerations:
Wear Appropriate Protective Gear: When using an orbital sander, wearing protective gear such as long pants, closed-toe shoes, goggles, face masks, and ear plugs can help minimize exposure to airborne dust particles. Further, never operate any power tool without reading all safety instructions first.
Avoid Too Much Pressure: When using an orbital sander for wet sanding, it is very important to not apply too much pressure when pressing down on the tool. Also, remember to keep your movements slow and steady without jerking or stopping abruptly while operating this type of power tool.
Be Mindful When Dealing With Corners: It’s easy to accidentally gouge into corners when using an orbital sander. Use caution when maneuvering around tight spaces to avoid damaging surfaces unnecessarily. You may also want to consider switching from an orbital sander to hand tools for working around corners for more precision control.
Make Sure You Use Enough Water: While wet sanding with the orbital sander, it’s essential to use enough water so that the surface stays lubricated throughout the entire process. Too little water can cause scratches or swirl marks due to excessive friction between the paper and the workpiece.
Avoid Over-Sanding: When using an orbital sander, it’s easy to overdo it and end up taking off too much material from your project. This can cause irreversible damage to wood surfaces. Monitor the process closely and make sure to stop as soon as you’ve achieved the desired outcome.
Wet Sanding With An Orbital Sander: What Are the Mistakes?
There are several mistakes that you should avoid to get the best results. Here’s what people do wrong when wet sanding:

Not Using Coarse Enough Sandpaper: For wet sanding, it is essential to use coarse enough sandpaper. If the paper is too fine, it won’t be able to remove enough material for a good finish. Conversely, if it is too coarse, you risk damaging the surface as well.
Not Keeping the Surface Wet: People often forget that when wet sanding, it is important to keep the surface constantly wet throughout the process. If you let the surface dry up, it can cause scratches to the wood or whatever.
Sanding Too Aggressively: Another mistake is to sand too aggressively. This can cause the paper to clog and reduce the effectiveness of the sanding process. As well as cause deep gouges in the wood or other material you are working on.
Moving The Sander Too Quickly: Moving your orbital sander too quickly while wet sanding can cause scratches and irregularities on the finished surface of your piece. Instead, use slow, even strokes when moving the sander across your workpiece for optimal results.
Not Cleaning The Surface Afterward: Sometimes people forget that after you are done wet sanding using an orbital sander, it is crucial to clean the surface of any residue. This can help prevent dust or particles from settling into the finish and ruining your hard work.
Not Applying Finish Afterward: This is also an essential step in the process. After you have finished sanding, make sure to apply a finish (polyurethane or wax) to help protect your workpiece and make it look beautiful.
Do Orbital Sanders Have Advantages Over Wet Sanding?
Yes, orbital sanders do offer advantages over wet sanding. Here are a few of the advantages that can be gained:
- Faster and more efficient than traditional dry sand techniques.
- Greater control over the final outcome of a project.
- Lower risk of damage to the surface being sanded.
- Better accessibility to hard-to-reach areas.
- Reduced messiness and improved dust collection.
- Easy Integration into automated manufacturing processes.
- Ability to achieve perfectly smooth finishes.
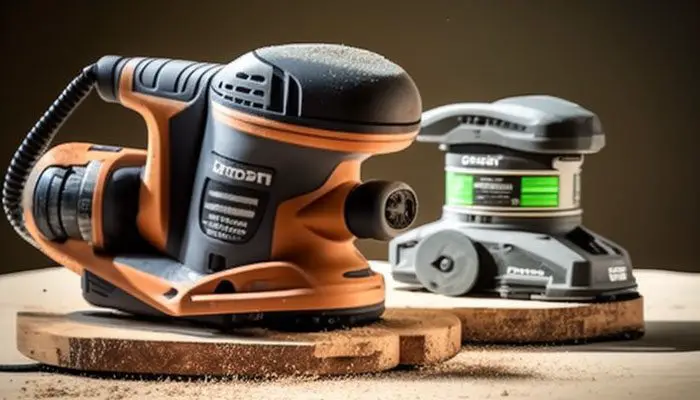
Some Recommended Orbital Sanders for Wet Sanding
Whether you’re tackling a major project or simply doing some DIY around your home, having the right tool is essential. Here are some top-notch options, so you get that smooth finish quickly.
Multi-function Variable Speed Electric Corded Orbital Sanders
Experience the power of this electric sander and make every DIY project easier than ever. With adjustable speeds up to 10,000 rpm, this sander is suitable for both right-handers and left-handers, ensuring an additional level of safety.
It operates with low noise, has low maintenance requirements, and provides high efficiency. The ergonomic loop handle offers a comfortable grip while working on different tasks such as sanding, polishing, and grinding.
Electric Palm Sander with Transparent Dust Box
This is the ultimate tool for a variety of sanding jobs. It features a powerful 300W/2.5A motor that provides up to 13,000 RPM, allowing you to tackle even tough sanding tasks quickly and efficiently. Additionally, its advanced dust collection system helps prevent clogged surfaces and prolongs the life of your sander.
The transparent dust box gives you full visibility into the amount of debris collected during use. So you can always be sure that your sander is operating at peak performance.
Mini Air Angle Orbital Sander Grinder
This orbital sander is ultra-compact, lightweight, and low vibration, making it ideal for various sanding tasks. Its 90° angle head ensures precise maneuverability in hard-to-reach areas, while its sturdy aluminum housing provides outstanding stability and durability.
It also comes with a 3-inch sanding paper disk to enhance the precision of the final product. With its low energy consumption motor, this device makes completing any project simple and efficient.
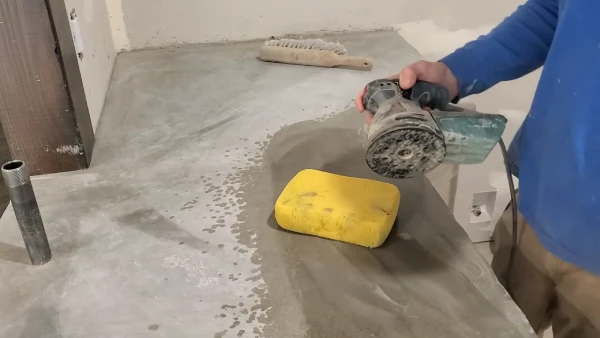
Does An Orbital Sander Need Soapy Water for Wet Sanding?
No, it is not necessary to use soapy water when using an orbital sander to sand wet. Wet sanding is a process that involves the application of lubrication, typically water, to aid in the removal of material and reduce the clogging of the abrasive surface. Soap is not required for this process as long as enough lubrication is present.
Although some people may choose to add a small amount of soap to the water to increase its lubricating properties or if they are working on materials that are especially difficult to sand. Adding soap can also help reduce dust and other particles being released into the air while sanding.
It can reduce the amount of heat build-up that occurs from friction between the abrasive surface and the material being worked on. So it’s up to you whether to use soapy water or not. But if you do, there is no harm in doing so.
Conquer Wet Sanding with the Right Tools and Knowledge
Although wet sanding can seem daunting, after all, when you have the right information, it isn’t as hard as you may think. Using an orbital sander instead of manually sanding, you can accomplish the job much faster and more efficiently. As you sand wet with an orbital sander, those above considerations must be considered.
Aside from that, taking the time to read up on how to use the tool properly will help ensure that your project turns out well without any issues or mistakes. With just some simple changes and tips from this blog post, you’ll be able to master the art of wet sanding in no time easily.


