Last Updated on March 29, 2023
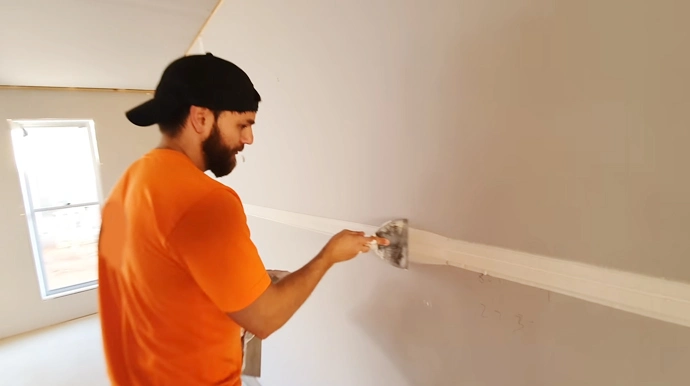
Drywall taping and mudding is often the unsung hero of revamping your space, giving it that smooth, seamless finish both inside and out. With specialized drywall tape for joints, plus joint compound (or “mud” as some call it), you can give any room in your home a makeover.
If you equip yourself with the right knowledge and supplies, taping and mudding drywall can be an easy task accomplished in just two to three days. Of course, your timeline may shift depending on factors like room size, temperature, or humidity, so don’t forget these key variables.
Stick around till the end for tips that’ll help make sure mudding goes as smoothly and quickly as possible.
How Long does it Take to Tape and Mud Drywall: Determine the Exact Time
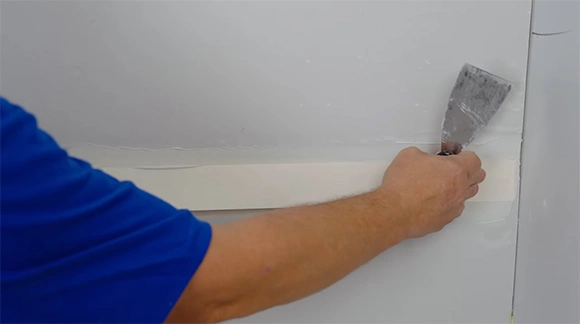
Taping and mudding drywall require patience and time. It generally takes 2 – 3 days for a full coat of mud to dry before sanding, and further coats can be applied. There are various factors that influence the drying time, such as HVAC, temperature, rain, and high humidity.
However, with proper knowledge about how these conditions affect drying times, one can plan accordingly and still get their project completed in a timely manner without compromising quality workmanship.
In some cases, manufacturers try to cut down this time by taking shortcuts which can reduce the drying time to 12 hours. Filling in screw holes and minor indentations typically takes 2 hours to dry, while skim coats will dry much faster within 15 to 20 minutes.
Factors That Influence Timeline for Taping and Mudding Drywall
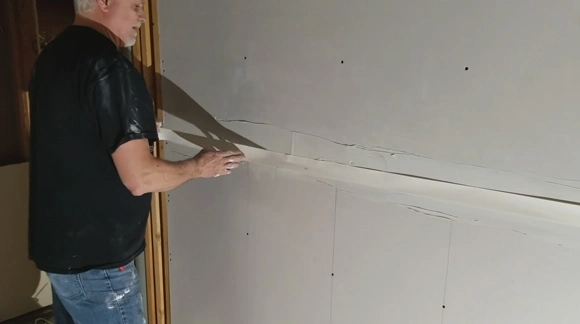
For a successful taping and mudding project, it is important to understand all the factors or variables that could affect the drying times.
1. Skill Level of Crews
The skill level of the crews working on taping and mudding drywall can have a significant impact on the timeline for completing these tasks. Single workers may take longer to complete the same amount of work than experienced, multiple-person crews.
On the other hand, experienced workers understand how to quickly and effectively complete these tasks, while new workers may not be able to move through the project as efficiently.
2. Type of Wall Surface
The type of wall surface can also influence the duration of taping and mudding drywall. Smooth walls are typically easier to work with due to their uniformity in texture, resulting in less prep work being required prior to the beginning application of tape or mud on the surface.
On the other hand, textured walls require extra preparation before any applications occur, which adds time to a project’s overall timeline. These processes include filling holes left by nails and screws for mounting objects to the wall surface and addressing any irregularities in texture that could prevent adhesive backing from sticking properly.
3. Climate Conditions
Climate conditions play an important role in taping and mudding drywall projects. High levels of humidity or precipitation can cause issues with adhesive backing sticking properly or mud drying too slowly or unevenly on surfaces.
If temperatures are extremely cold, drying time for mud applications will be significantly slowed down compared to room temperatures. Hot temperatures can cause adhesives used in tape backings not to stick properly unless they are given enough time to set first before affixing them onto surfaces.
4. HVAC System Availability
The availability of an HVAC system should be taken into account prior to starting any taping or mudding project. In order to prevent the tape from sticking to wall surfaces and mud from drying too slowly or unevenly throughout the application process, air conditioning or heating systems should be operated during this period.
In the wrong hands, these issues can add a lot of time to a project.
How do You Speed Up Your Drywall Mud Drying Time
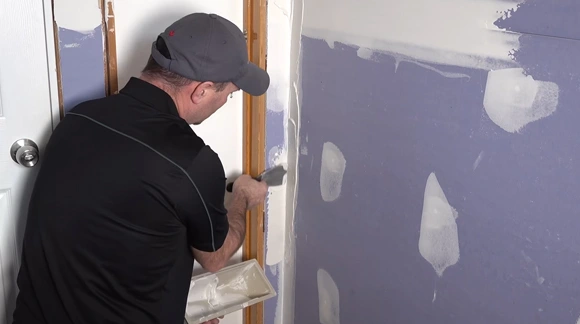
1. Applying Thinner Coats:
When hanging drywall mud, it is important to apply thinner coats and layer them in order to ensure a faster drying time. Thin coats of mud are easier to spread and work with, which will also help keep the overall weight of the mud down.
These coats will prevent cracks or lines from forming as the mud dries. Note that thinning out the mud can lead to an uneven spread, so make sure to use a trowel or spatula to even out each coat before applying the next one.
Additionally, using a fan when applying a thin coat will help speed up drying time by circulating air around the area and evaporating the water molecules within the mud more quickly.
2. Develop Drywall Hanging Skills:
One of the best ways to speed up drywall mud drying time is by developing your skills when it comes to hanging drywall. A lack of experience can lead to thicker coats of mud being applied or incorrect angles when hanging drywall sheets.
This knowledge gap can lead to longer drying times as well as poor adhesion between sheets and other components like screws and nails. Practicing proper technique is key for any successful drywall project.
Make sure you have all the necessary tools before starting a project, and take your time in order to learn proper techniques for each step in your drywall installation process, including cutting, measuring, marking, drilling holes, and sanding after mudding.
3. Increase Room Temperature:
Increasing room temperature provides an ideal environment for fast-drying drywall mud, as warm air holds more moisture than cold air does. Be careful not to increase the temperature too much, as this may cause new or existing drywall to warp or crack due to heat expansion.
Before beginning a project, consider increasing the room temperature slightly (for example 2-6 degrees Celsius, depending on ambient temperature).
4. Reduce Humidity in The Air:
Reduced indoor humidity speeds up drying time for drywall mudded areas because less moisture must be evaporated before drying occurs. It allows mud-filled drywall seams and joints to set and harden much faster than usual over different climates with higher relative humidity outside or indoors, respectively.
To reduce indoor humidity levels efficiently, you could use dehumidifiers. Areas such as basements or attics tend to be naturally damp due to the common dampness, particularly if they have been unventilated for some time.
Open windows/doors periodically throughout the day to let fresh outside air flow into the room and evaporate trapped moisture. If the relative outdoor temperature isn’t too hot, it should still be effective enough to speed up mudding projects indoors.
5. Increase Air Circulation:
With less air circulation it can take longer for your drywall mud to completely set and can even lead to issues like bubbling or cracking once it has dried. In order to prevent this from happening, setting up one or two fans in a room can help circulate air better which will ultimately help your drywall mud harden faster.
Relevant Article To Read: Things to know about drywall mud knives
6. Apply Hot Mud:
Applying hot mud when covering large areas is another great way of speeding up drying times for drywall projects. Hot mudding involves pre-mixing your compound with warm water prior to application and then applying it while still warm on walls or ceilings instead of waiting for it to cool down naturally before application.
This hot temperature causes it to start curing faster than normal temperature muds which helps decrease overall project completion times significantly when undertaking large jobs like entire remodeling rooms at once.
Can You Mud and Tape Drywall in One Day?
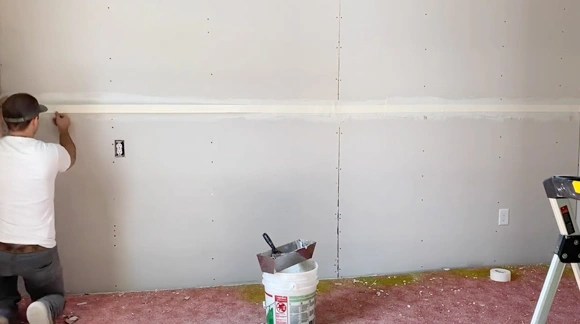
No, it is not possible to complete the process of taping and mudding drywall in one day. It usually takes two to three days to complete a quality job. The time required depends on the size of the area being taped and mudded as well as the level of skill of the person doing the job.
Taping requires precision in order to create a smooth surface, so if done too quickly, mistakes can be made which will take more time to fix. Mudding also requires time for proper application and drying before feathering out the edges.
Do You Tape First or Mud First?
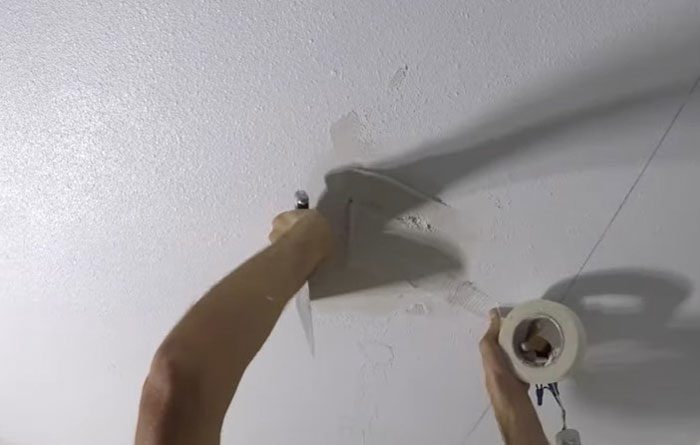
It is recommended that you apply a layer of mud before taping. This process will help ensure that all seams are properly sealed and make it easier for you to achieve a smooth finish once you start taping. Your initial layer of mud is thick enough so that it won’t collapse when you apply pressure with your drywall paper tape.
What is the Next Step after Taping Drywall?
The next step after taping is to apply a small amount of compound over each nail or screw head and smooth the surface using either a putty knife or sandpaper. This step will help cover any imperfections left by the nails or screws and create a more uniform look across the wall surface.
After the mud has dried, another coat of joint compound may be applied if necessary and sanded down until all imperfections have been removed from within the seams between sheets of paper drywall tape.
How Warm Does It Have to Be To Mud and Tape Drywall?
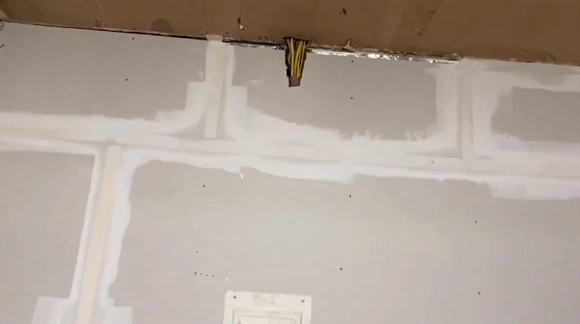
Mudding and taping should not be done at temperatures lower than 50ºF (10ºC). This temperature ensures that any joint compounds used will properly adhere to surfaces as well as cure correctly for an optimal finish result.
If temperatures are too cold, curing times can be significantly longer than normal, which can lead to an uneven drying process creating an unsatisfactory end product.
Is Taping and Mudding Drywall Hard?
Taping and mudding drywall is not a hard task but requires the right techniques, tools, and patience to achieve a professional-looking finish. It is important to take your time when taping, as rushing can lead to improperly taped joints or messier looking results.
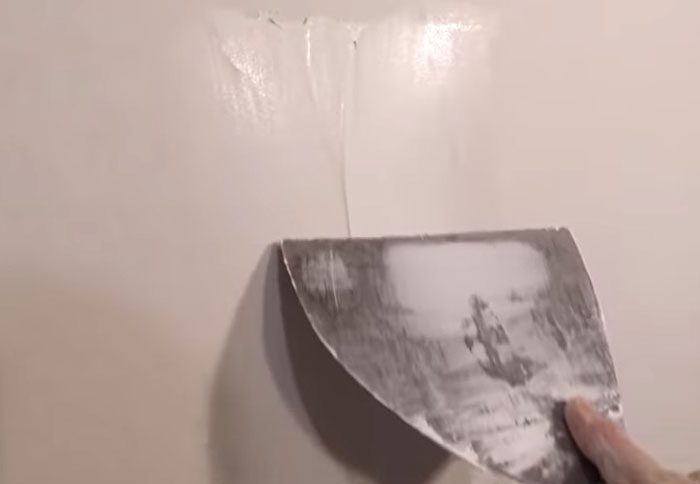
As for mudding, you have to be precise in order to fill any gaps completely and ensure that the surface is smooth and even. This process is also time-consuming since each layer of mud needs to be sanded down before applying the next one.
All in all, if done correctly, taping and mudding drywall will give great results, but it does require effort and patience on your part.
What Should You Not Do When Mudding Drywall?
When mudding drywall, you should make sure that you don’t use too much pressure while smoothing out each layer of mud, as this can cause dents or marks on the wall which will have to be sanded off afterward.
Take care not to leave any excess mud behind on the wall as this may cause cracking over time. Avoid overworking each layer of mud. If left for too long, mud may shrink or crack when it dries. So it’s essential to let each layer set after applying it before moving forward with the next one.
How Long Does It Take to Mud Drywall A 12×12 Room?
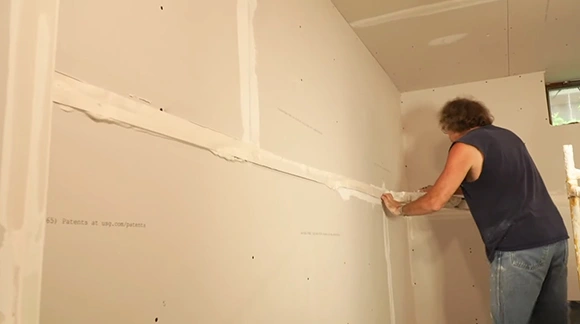
Installing drywall in a 12’ x 12’ room can take up to three days, typically split into two days of installation and one day of taping and mudding. Depending on factors such as one’s experience or expertise in this area, as well as other variables such as humidity levels or available tools and equipment, this process may be completed more quickly or may take an extra day.
The process involves measuring the walls, cutting the appropriate length and width of drywall for each wall, attaching screws to secure the drywall, taping the seams of the drywall with joint tape, and then applying multiple layers of drywall mud over all seams.
Taping requires smoothing out the mud using both a wide knife and a finishing tool so that all of the seams are completely sealed. Once that has been completed each layer needs time to dry before further layers can be applied which can add additional time to the entire process.
How Much does it Cost to Have Someone Tape and Mud Drywall?
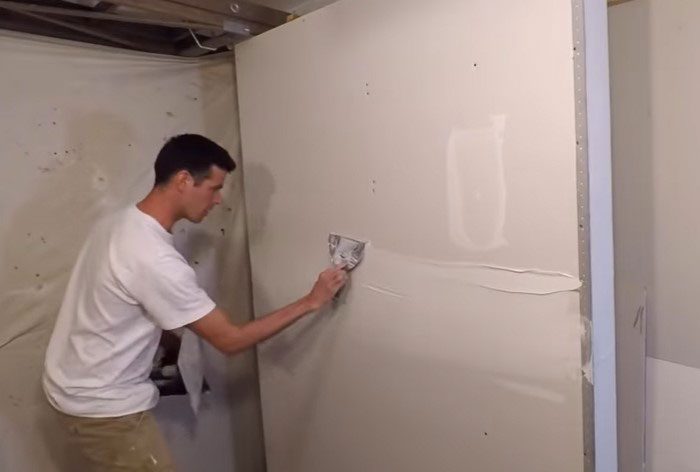
The cost of having someone tape and mud drywall can vary depending on the region, size of the job, and complexity of the project. On average, professional contractors typically charge between $0.35 to $1.10 per square foot for labor costs alone. This includes applying joint compounds to seams, taping them with joint tape, and applying a finishing coat to give the wall a smooth finish.
How Much Does it Cost to Mud and Tape a 10×10 room?
The cost for drywall mud and taping a 10’x10’ room can vary depending on the quality of materials used. Generally speaking, the cost for this type of job will be anywhere from $35 to $110.
How Much Does it Cost to Mud and Tape an 11’ x 11’ room?
The price for drywalling an 11’x11’ room is typically calculated by square footage, with a range from $0.35 to $1.10 per square foot. This means that for an 11’x11’ room, you can expect to pay between approximately $38.50-$121.
How Much Does it Cost to Mud and Tape a 12’ x 12’ room?
The average cost of drywall mud and taping a 12’ x 12’ room ranges from $0.35-$1.10 per square foot, which equates to around $42-$132 total for the project.
Speed Up Your Home Improvement Tasks with Quick-Drying Drywall Mud
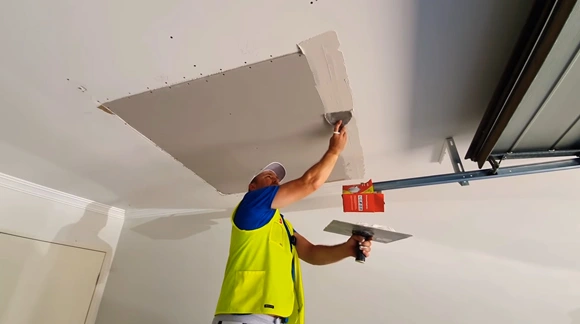
Taping and mudding drywall can take anywhere from 2-3 days, depending on various factors, such as whether multiple coats are needed or if you use a quick drying mud option.
Taking into account all these factors can help give you an accurate timeline so that your project is completed on time without sacrificing quality. You can save time in the long run by using fans or quick-drying joint compounds.
With proper preparation and knowledge of what needs to be done, taping and mudding your drywall will be quick and easy.
