Last Updated on March 5, 2023
Properly assembling your drywall lift is essential for ensuring a safe and successful project. Incorrect assembly can lead to unsatisfactory results and put you at risk of getting hurt. So take the time now to make sure it’s built with care.
Between confusing instructions and tedious assembly, a drywall lift can seem like an intimidating project. But don’t be deterred. The assembly of your drywall lift can be completed by adding vertical tracks at the top and bottom, then installing outer arms and lifting platforms.
Then again, staying focused throughout the assembly will prevent rookie mistakes from hindering your progress. So read on and get ready to assemble your drywall lift.
How to Assemble a Drywall Lift: In Steps
Assembling a drywall lift is an easy and straightforward process, but it requires careful attention to detail to ensure that the lift functions properly. Here’s how you do it:
Step 1: Unpacking the Parts and Assembling the Frame Components
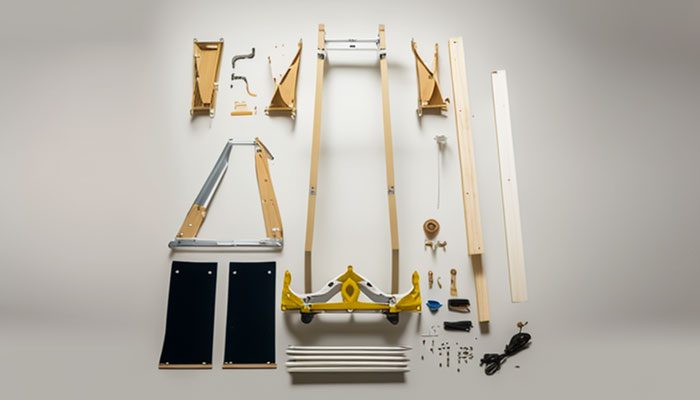
Begin by unpacking all parts from the box and spreading them out on a flat surface. Set the base on the floor, ensuring that it rests securely on its casters. To attach the slide yoke ring, hold onto both of the forward legs and swing them outward.
Hold down the ring until it snaps into place on the bottom of the slide tube. Pay extra attention while doing this step. Failure to attach these pieces properly can cause issues further down in the assembly process.
Step 2: Adding Vertical Tracks at the Top and Bottom
Once you have firmly set up your frame components, it’s time to attach your vertical tracks at both the top and the bottom by using supplied screws. To ensure that your tracks remain balanced once fully assembled, use a leveler tool to check for levelness before tightening any screws.
Push each track firmly against its corresponding support piece before securing it with screws. Keep them as flush as possible before tightening them down completely so they are secure before continuing with assembly.
Step 3: Installing Outer Arms and Lifting Platforms
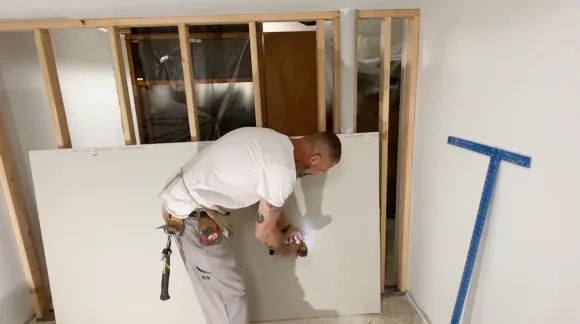
Start by positioning two outer arms onto both sides of vertical tracks. Ensure that they are securely mounted before proceeding further. Next, insert lifting platforms onto each arm by sliding them into place.
You must have enough room around you when lifting heavy items to be able to maneuver properly. Before you set up the bracket support structure, secure the arms to the platform with the screws provided.
Step 4: Setting Up Bracket Support Structure
Slide bracket support structure onto vertical tracks at the top of the unit before continuing on with the installation process. Support brackets should be installed carefully in each corner and fastened tightly with the provided nuts or bolts.
Following the installation of all four corners, fasten balance weight bars to the lower portion of the frame structure with adjustable height.
Step 5: Fastening Balance Weight Bars
Attach the balance weight bars to the bottom of the frame structure using the bolts that are provided. Line them up properly along the edges so that there is no interference when lifting heavy items.
Verify that all of the bars on the drywall lift are secure before you begin testing it. If any of the parts are loose, it could cause the lift to break or not work correctly.
Step 6: Securing Pulley System Mechanism
Now it’s time to secure the pulley system mechanism, which allows for smooth raising & lowering motion when operated correctly. Attach the pulley system mechanism onto one side of the lifting platform via supplied hardware such as screws & nuts, and adjust the screw.
Your pulley system mechanism should now function successfully once you have completed the installation process.
Step 7: Mounting Wheels on Base Supports
In order to move drywall lift easily from one job site to another, it requires wheels mounted on the base. So it can be easily rolled away with no problems encountered later on during the usage process. Firstly mount the wheel’s base supports.
If necessary, adjust wheel height levels according to the user’s preferences (i..e lower or higher )before proceeding further with steps ahead. Having successfully mounted the wheels, they should now be ready for use.
Step 8: Finishing Touches Before Operating Your Lift
The last part is ensuring everything is ready before using the drywall lift. This includes ensuring all the bolts and screws are tight and that all the other parts (like pulleys and mechanisms) are working properly too.
Also, inspect any exposed wiring, if applicable, for safety reasons after installation is completed correctly.
What Does a Drywall Roll Lifter Do?

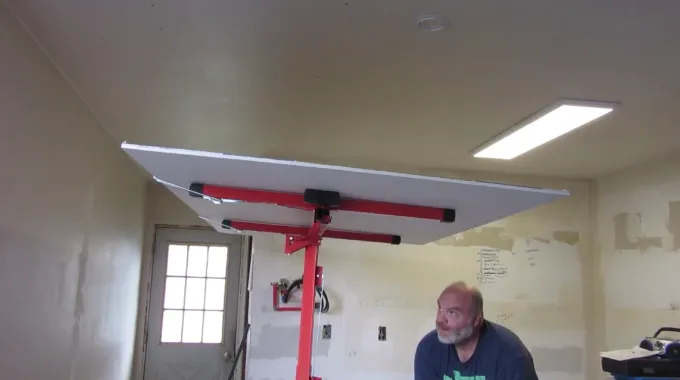
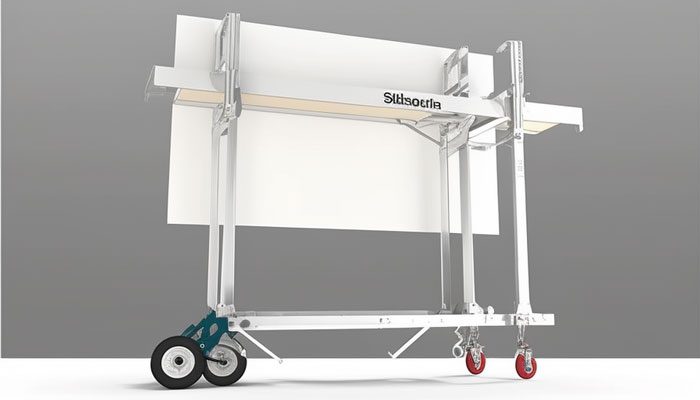
A drywall roll lifter is a specialty tool used to lift large, heavy drywall sheets into place during installation. It features a hand crank that allows users to easily raise and lower the drywall sheet with minimal effort. The roll lifter can be adjusted to fit different sizes and shapes of sheetrock, making it extremely versatile for any project.
Aside from that, the roll lifter makes it easier for one person to maneuver the sheet into place without having to enlist help from another person. This saves time and energy and can make any drywall project much faster and smoother than if done by hand.
Besides that, the roll lifter ensures that there is less risk of injury or damage due to lifting such a large, heavy item. During long installations, it makes drywall panel alignment easier and reduces fatigue by lifting and lowering multiple sheets at once.
How Many Sheets Can a Drywall Lift Handle?
The amount of drywall that a drywall lift can hold depends largely on the size and capacity of the lift itself. Generally speaking, most industrial-grade drywall lifts are capable of lifting up to full-sized 4’x8′ sheets of 5/8″ thick gypsum board at once.
Aside from that, the thickness and weight of the drywall panel can also affect how many sheets a single drywall lift can handle. For example, if you have heavier panels such as 1/2″ thick boards, then your lift may be limited to carrying a single sheet.
It’s important to always check the specifications for your particular model when considering how much weight it can safely carry.
How Much Weight A Drywall Lift Is Capable of Lifting?
Drywall lifts are designed to handle large amounts of weight and typically support up to 150 pounds per lift arm. To ensure maximum safety though, it is recommended that you never exceed 75 percent of this amount when loading multiple sheets onto a single arm.
The exact carrying capacity will vary depending on the type and model of the lift being used but generally speaking, most lifts are rated for up to 150 pounds per arm when fully loaded. Putting too much weight on your drywall lifter could cause severe damage or even collapse if you overload it.
Always make sure you adhere to the manufacturer’s guidelines regarding load capacity when using any type of lifting equipment.
What’s the Correct Way to Release a Drywall Lift’s Brake?
When setting up your drywall panel lift, ensure you get the brake release just right. Start by holding onto the wheel and brake arm of the winch assembly in a firm position. Then, rotate the wheel forward while lifting up on that same brake arm.
As a result, the drywall panel hoist can be safely moved and adjusted once the brake is released. It is important to note that this should not be done with excessive force as it can cause damage to the components of the lift.
Also, when re-engaging the brake, double-check that it has locked into place securely before continuing with your work.
Does Drywall Lift Fit In a Car?
It is possible to fit a drywall lift in a car. A drywall lift consists of three parts: the base, boom arm, and handle. Generally, these components are designed to pack together for easy storage and transport. This makes them ideal for taking in a midsize car and using it on different job sites.
Depending on the model of your drywall lift, you may be able to use some of the larger parts as leverage when stowing it away into your trunk or backseat area. The smaller components will usually fit nicely within any available nooks or crannies in your car.
Achieve Perfect Wall Placement with a Drywall Lift
We hope this blog post has provided you with some valuable insights on correctly assembling a drywall lift so that you can get your project done quickly and safely. Don’t forget to double-check each step thoroughly before moving on to the next for the best results every time.
A drywall lift can be an invaluable tool for achieving perfect wall placement. So what are you waiting for? Get your hands on the best drywall lift today and start creating beautiful walls.


