Last Updated on January 23, 2023
If you’re looking to spruce up your room but don’t want the hassle of a full drywall replacement, why not consider adding some extra layers? Installing new drywall over existing walls is one of the most cost-effective and simple solutions for updating a space.
Installing an extra layer of drywall can be a smart choice for many reasons. It boosts soundproofing and insulation, adds strength to the wall, and covers up any previous damage or imperfections. Plus, you may even save money in comparison with a full replacement.
Before diving into your next project, weigh the pros and cons of installing an extra layer of drywall. Take a look at this blog post for tips on what advantages and disadvantages might come with such a decision so you can be fully informed when doing drywall renovations.
What to Consider Before Installing Drywall Over Existing Drywall?
1. Structural Issues That Should Be Addressed
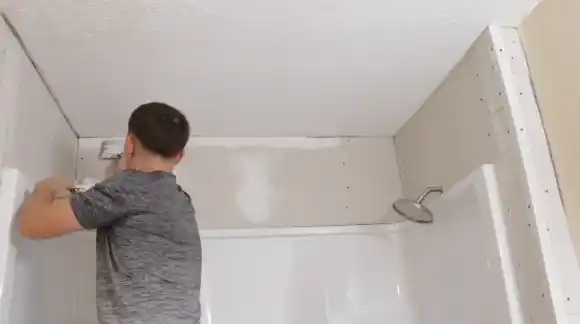
Before installing the second layer of drywall, it is important to check the structural integrity of the existing wall. The studs must be strong enough to support an additional layer of drywall and should be measured before any work begins.
You should also measure the existing drywall’s thickness and check for any warping or cracking that may have occurred over time. If there have been any changes or damage to the existing drywall, this must be addressed before a new layer of drywall can be installed.
You must also cover all electrical boxes and window or door frames. Ensure pipes are properly sealed, so they don’t puncture through the new drywall when the extra weight is added.
2. Does the Additional Layer Provide Enough Insulation?
When installing a second layer of drywall over existing drywall, you need to consider how much thickness will provide adequate insulation against temperature fluctuations in your home.
In general, adding an extra half inch of drywall will significantly improve your home’s energy efficiency by providing an additional layer of protection from both hot and cold temperatures outside.
Adding more thick layers also helps reduce sound transfer within your home and blocks out unwanted noise from other rooms or areas in your house.
3. Whether or Not It is Cost-Effective to Add a Second Layer of Drywall Over Old Drywall
The second layer of drywall can be cost-effective depending on several factors, such as quality materials, labor costs, and whether you do it yourself or hire a contractor.
Generally speaking, hiring a professional contractor will come at a much higher cost than if you choose to take on the project yourself. In certain circumstances, hiring someone may actually save you money.
For example, hiring someone might save you money in the long run if additional prep work is required prior to installation or if the project is complex. To determine which option best suits your needs and budget constraints, you must weigh all potential costs associated with each scenario.
New Drywall Installation Process over Old Drywall
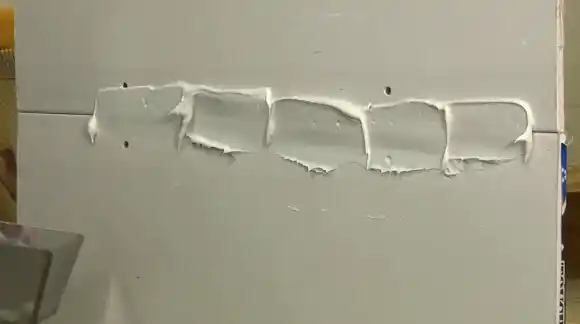
Follow these steps below to put drywall over existing drywall:
Step 1. Preparation and Tools needed:
Preparation:
Before beginning the installation process, you must prepare to assess the existing wall for any structural issues that may need to be addressed first.
This includes inspecting for any signs of moisture damage, checking for warping or bowing in the drywall, and ensuring there are no gaps or holes in the wall where air could move between the two layers of drywall.
Tools:
In order to successfully install the second layer of drywall over an existing layer, you will need a variety of specialized tools. These include:
- Ceiling drywall (5/8-inch)
- Drywall sheets (1/2-inch )
- Drywall screws (1-5/8-inch)
- Drywall nails (1-5/8-inch)
- Knife
- Screw gun
- Tape measure
- Carpenter’s pencil
- Hammer
- A rotary tool with drywall cutting bits
- Construction adhesive
- Drywall compound
Step 2. Planning:
When adding a second layer of drywall over existing drywall, it is essential to plan ahead for the project. Start by estimating how many drywall sheets will be needed for the job.
Measure the area and calculate the number of sheets required based on the size and shape of the space. When using double-layer drywall, allow for extra material as this type is thicker than regular drywall sheets.
Additionally, prepare materials such as T-braces to support any additional weight that may be added by having two layers of drywall. These braces should be placed at least every 24 inches and can be easily secured with screws or nails.
Step 3. Measuring and Cutting the Drywall:
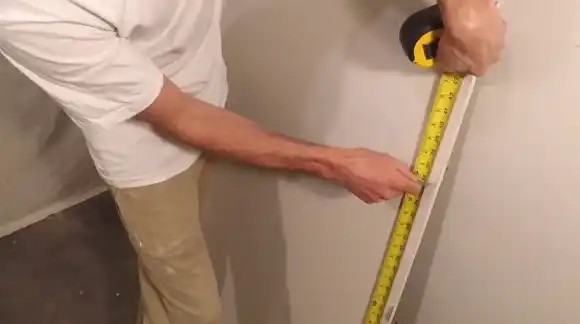
Once you have estimated how much material is needed for your project, begin measuring and cutting the new drywall to size. Using a ruler or measuring tape, mark along each edge where the cuts need to be made.
Then use a razor knife to cut along these marked lines until you reach the desired length. To separate any pieces that need to fit into tight spaces, bend one side away from its cut line until it snaps in two along its inside crease.
Using this method will ensure that all pieces of your double-layer fit snugly together without creating gaps between them. Once all pieces have been cut and fitted into place, check for secure installation before applying a joint compound or other finishing touches.
Step 4. Installing the First Drywall Section on one Wall:
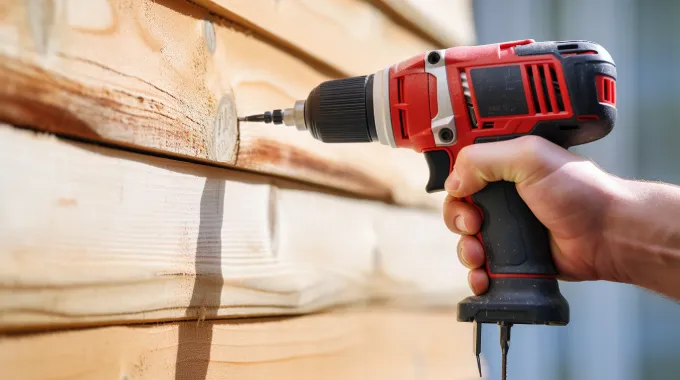
When installing the first layer of drywall, it’s important to use 1-5/8 inch nails spaced 8 inches apart. This nailing will ensure that the drywall is properly secured and won’t come loose from the walls.
It is also necessary to cut around any receptacle outlets as needed with a handheld rotary tool and drywall cutting bit. This method will help to provide a clean finish around the edges and avoid the potential damage that could occur when installing the second layer of drywall.
Once all the first layers of drywall sections have been measured and cut, they need to be installed onto walls according to their required sizes. Then, you can nail or screw the sheets into place at a 45-degree angle to prevent cracks and holes between the sheets.
Step 5. Installing the Second Layer of Drywall
Apply construction adhesive to walls before screwing or nailing them into place to install the second layer over top. This adhesive will help keep both layers tightly bonded together and decrease chances for future cracking or separation due to any shifting or movement within underlying walls.
In addition, nails and screws should be longer than usual when installing a second layer over top of an existing one. In general, add at least one inch more than you would normally use for just one sheet.
This extra length allows for better penetration into wall studs behind both layers of material and provides better security against having weak spots where pieces can become loose or separate over time.
You Might be Interested: Is it necessary to mix drywall mud?
Step 6. Cover Screw Heads Using Joint Compound:
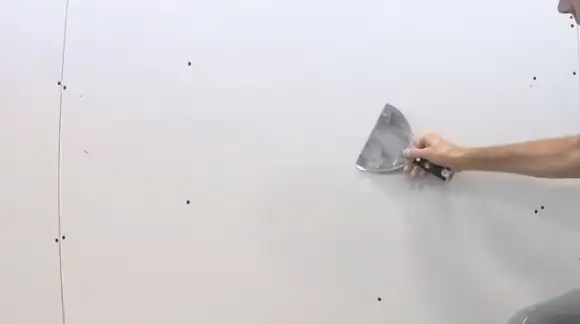
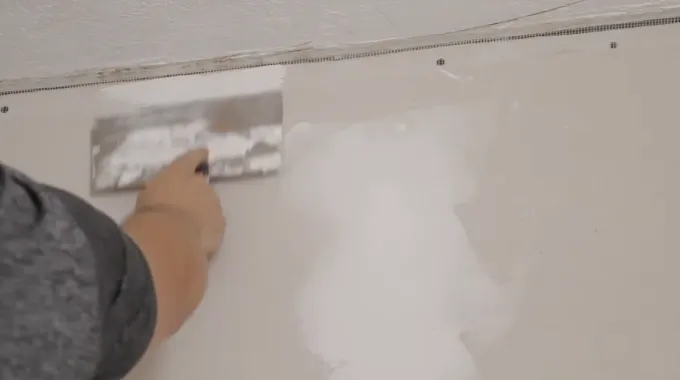
Apply a thin layer of joint compound to all surfaces, with particular attention paid to seams, corners, and screw heads. Smooth out any gaps between panels with a putty knife or trowel to create a smooth finish. Once this step has been completed, allow the joint compound to set overnight before applying sandpaper.
Topics of Discussion: Should I use a hammer to install a stripped screw?
Step 7. Applying Sandpaper and Paint:
Beginning with coarse sandpaper, such as 40-60 grit will help reduce the majority of bumps and lumps on the surface. Working up through medium 80-100 grit sandpaper should then be used in order to refine the finish and make it smoother for painting.
When finished with sanding, use a vacuum cleaner or brush attachment to remove all dust particles. Once all areas have been sanded smooth, prime with an oil-based primer, and paint.
Caveats & Considerations When Putting Drywall Over Existing Drywall
1. Weight of longer sheets may cause sag in older walls or ceilings so shorter sheets should be used in these situations
2. Joint compound may be difficult to place on older, worn areas, so consider replacing these pieces instead of just covering them up.
Benefits of Installing a Second Layer of Drywall Over Existing Drywall
1. Provide Better Soundproofing Capabilities:
Installing a second layer of drywall over the existing drywall provides better soundproofing capabilities as the double layer of drywall acts as an effective noise barrier. It reduces both airborne and impacts noise transfer.
The additional layer also helps to decrease echoes inside the room or building, dampening any reverberation that may occur.
2. Increases Fire Resistance:
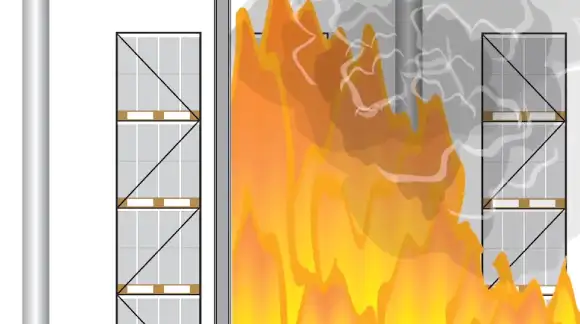
By adding an additional layer of drywall, the fire resistance of a room or building is greatly improved. This is due to an increased fire rating on the parts of the wall that are covered by the extra layer which can help slow down the spread of flames throughout in case of a fire outbreak.
3. Leads to Improved Insulation:
Installing a second layer of drywall also leads to improved insulation in terms of both thermal and acoustic properties. This second layer helps to keep heat within the room or building during colder seasons and maintains comfortable temperatures for inhabitants during summer months.
Also, this extra insulation reduces energy costs for heating and cooling systems since it has been proven to improve indoor thermal comfort at a very low cost.
Drawbacks of Putting Drywall Over Existing Drywall
1. Extra weight from two layers can negatively affect stability if proper trusses/supports were not properly implemented during installation.
2. Time-consuming process which requires more attention from professionals who are experienced in this type of field.
3. Risk factors associated with the improper installation which could lead to even more damage if mistakes are made during the process.
Do You Need a Primer over Drywall?
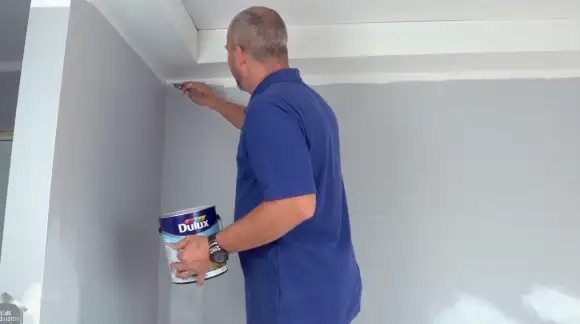
Yes, it is important to apply a coat of primer before painting drywall. Primer helps paint adhere to the wall surface and improves the appearance of the finished job by allowing the paint to go on smoothly and evenly. This step is essential for lasting results and should not be skipped.
Primer also helps block residual odors, stains, and marks from dirt, smoke, or grease, as well as provides a mildew-resistant coating.
Can Drywall be Removed without Damage?
Yes, it is possible to remove drywall without causing any damage. The key is to use caution when removing nails and screws that have been installed into the drywall. If done with care, these can be removed safely without damaging the wall underneath.
Keep in mind that if the wallboard was attached with adhesive materials like paneling, then there may still be some residue left behind after removal which could cause damage if not cleaned up properly beforehand.
How Much Does It Cost to Replace a Drywall?
On average, it can cost anywhere between $2 – $3.50 per square foot for a standard gypsum board (drywall). The cost of replacing drywall will depend on several factors, such as size, the material used, and labor costs associated with the installation process.
Therefore, if you have a 150-square-foot room that needs new drywall installed, your total cost would be around $300 – $525, depending on other factors mentioned above.
How Do You Cover Up Ruined Drywall?
One way to cover up ruined or damaged drywall is by using paintable textured wallpaper or texture paste products. These products are designed specifically to hide imperfections in walls and ceilings while adding an enhanced decorative look simultaneously.
Is it Better to Nail or Screw Drywall?
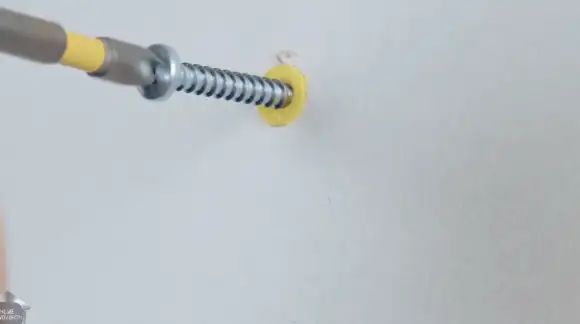
Nailing is the traditional method of attaching drywall, but screws provide a much stronger hold. Drywall nails have sharp tips that help them grip the wood behind the wall, while drywall screws have a threaded body that anchors them deeper into the wood fibers.
Screws also cost a bit more than nails, but they provide added stability and strength to your walls. The sheer holding power of the screws helps ensure that your walls stay in place even through earthquakes or extreme weather conditions.
How Many Sheets of Drywall can You Stack on Top of Each Other?
For ½” thick drywall panels, stacks should generally be limited to 10 inches in height, and up to 20 sheets can be stacked at one time. If you’re using thicker panels such as 5/8-inch or 3/4-inch models, fewer sheets can be stacked due to their greater weight.
When Should Drywall be Replaced?
Drywall replacement should generally be done when there is a hole larger than five inches in size or when cracks appear along seams between multiple pieces of wallboard. In addition to these signs of damage, you may notice that some areas become soft and spongy when pressed upon due to water damage.
Get Back the Natural Appearance by Putting Drywall over Existing Drywall
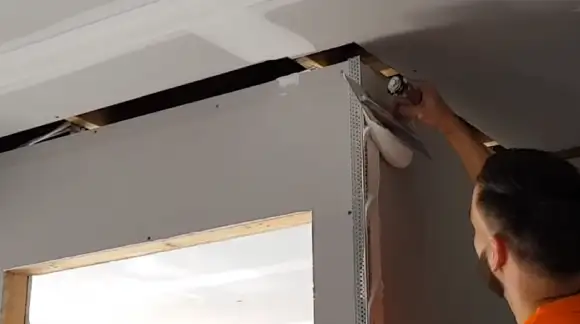
Getting back the natural appearance of your walls doesn’t need to be difficult or expensive. Putting drywall over existing drywall is an easy and cost-effective solution.
Drywalling over existing drywall can be a great way to add texture or cover up damages and blemishes on drywall ceilings or walls. However, there are potential issues with this approach, such as the difficulty of installation and the additional weight that could cause stress on the existing structure.
As with any project involving the construction or renovation of your home, it pays off to do plenty of research before starting so that you can determine what will work best for your particular needs.
Ultimately, choosing between putting new drywall over old or using another material depends on what your end goal is for the project at hand and what materials are available to you.
With all that said, this blog post has provided useful insight into why you should consider putting up another layer of drywall and how you can go about doing so safely and efficiently.
