Last Updated on March 18, 2023
With its versatility, you want to know if bringing an orbital sander into your home is the right choice for drywall. Working with an orbital sander on drywall may seem like the perfect fit, but understanding what it’s capable and not of is key.
An orbital sander is a handy tool for getting those skimmed mud joints looking their best. But using an orbital sander on raw drywall paper or unfinished skimmed mud just won’t cut it.
With a few simple tips and tricks like keeping protective eyewear on hand or making sure not to leave swirl marks behind, your DIY tasks will be completed quickly, safely, and efficiently.
We’ve taken the time to break down all of the advantages, disadvantages, and scenarios when you might use the sander. Ready? Let’s get started!
Can You Use Orbital Sander On Drywall | When
1. Sanding Patches and Rough Areas:
Orbital sanders are best used when working with patches, rough areas, or re-sanding drywalls that have already been painted. The circular motion of the sander head allows it to easily access tight corners and corners which are difficult to reach with other tools.
2. Resanding Drywall that Has Already Been Painted:
When using an orbital sander on drywall, it’s important to remember to keep the pad flat against the surface, as uneven pressure can cause damage or unwanted imperfections.

3. Skimmed Mud Joints that Have Been Properly Finished:
Skimmed mud joints with a proper finish are also suitable for orbital sanders. However, if any part of the wall hasn’t yet been filled, then it should not be sanded this way as it could result in damage or further issues down the line.
When Not To Use Orbital Sander On Drywall?
1. Onto Raw Drywall Paper:
It is important not to use an orbital sander on unfinished or raw drywall paper as this could stimulate further breakage or tear due to its delicate nature.
While some may think they can scuff or work over onto raw paper with an orbital sander, this should not be done as it could ruin your overall finish by causing damage that cannot be undone.
2. Unfinished Skimmed Mud Joint:
A skimmed mud joint that’s been filled but not yet finished shouldn’t be worked on an orbitals sander since this could spread particles around, making it harder to smooth them out later. In these cases, a regular hand sanding block is recommended instead.
Types of Orbital Sanders for Drywall Sanding Projects
When sanding drywall, it is essential to use the right tool. Several types of orbital sanders can be used for drywall projects. From electric orbital sanders to sheet sanders, this guide will help you decide which type of orbital sander is best for your drywall sanding project.
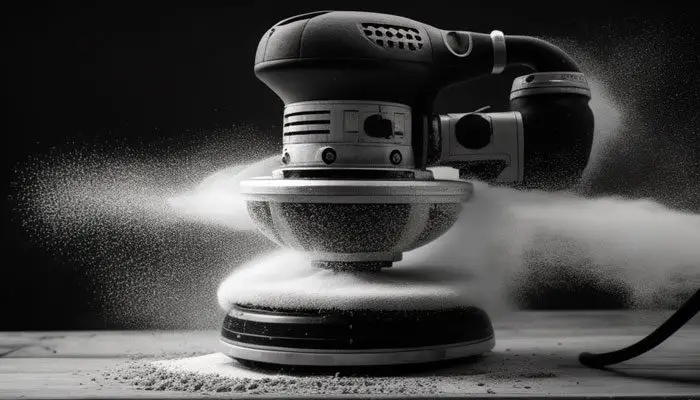
1. Electric Powered Orbital Sander:
An electric drywall sander is ideal for large drywall sanding projects because it provides higher power and performance than most other types of orbital sanders. This power tool features electric motors that allow them to quickly and easily remove material from the wall’s surface, leaving it with a smooth finish.
The motor is usually triggered by a switch or trigger located on the handle and can be adjusted to provide different levels of speed or power, depending on what is needed for the project.
Electric powered orbital sanders also tend to have larger pads than other types, which increases their ability to cover more area in less time.
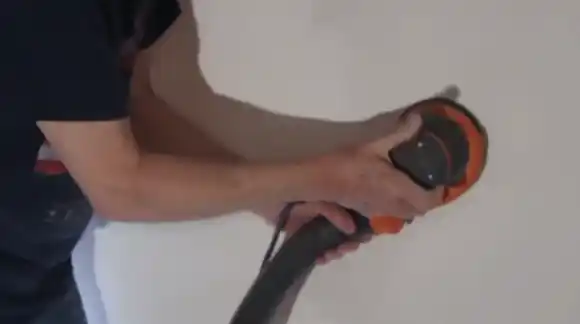
2. Cordless Orbital Sander:
Cordless orbital sanders have become increasingly popular due to their portability and ease of use. They are ideal for smaller jobs where access to an electrical outlet isn’t available or when working on scaffolding or ladders outside of commercial buildings.
These tools usually run on rechargeable lithium-ion batteries and offer an impressive amount of power for such small tools. Cordless orbital sanders are great for getting into tight spaces without worrying about being tethered by a cord or plugging into an outlet nearby.
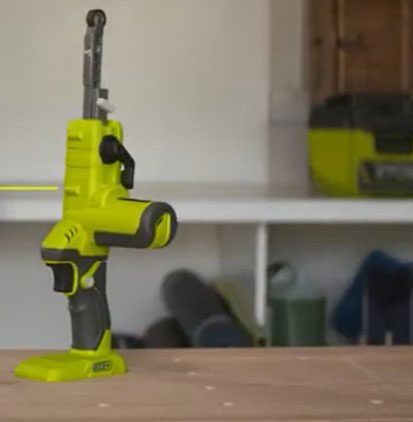
3. Drywall Pole Sander:
Professionals are turning to Pole Sanders for their drywalling projects, and it’s easy to see why. This little powerhouse boasts a long arm design, giving users greater control over the job.
Its lightweight build also means that those tackling large-scale jobs can do so without putting too much strain on arms during extended periods of use, an attractive option when efficiency is key.
4. Portable Belt Sander:
Portable belt sanders allow you to tailor your speed according to the drywall finish at hand so that with minimal effort, you can get great results in no time. However, it takes a bit of skill and savvy to set them up correctly.
Otherwise, accidents caused by kickbacks or other incidents might happen.
5. Disc Sander:
Disc Sanders has become the go-to choice for workers who need added precision in their drywall projects. They are surprisingly powerful despite being smaller than portable belt models, boasting a circular abrasive cutting surface that rotates at incredibly high speeds.
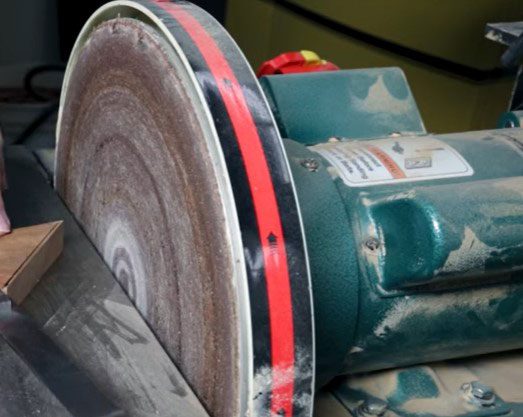
Unfortunately, they tend to be quite loud so make sure you’ve got your ear protection on when using these bad boys indoors or around enclosed spaces such as shops and garages.
6. Detail Sander:
A detail sander, also known as a corner or mouse sander, is one of the most popular options for small-scale drywall projects. Its small size makes it ideal for working in tight corners and on intricate details with greater precision than larger sanders.
It features an elongated handle that allows you to reach into tight spaces with ease while giving you added control over your work. This type of sander operates using an electric motor that vibrates a triangular-shaped pad attached to its base, which creates a more efficient sanding action than other models.
7. File Sander:
A file sander is another great choice for smaller drywall projects, such as patching holes or filling cracks in drywall surfaces.
This type of sander has a flat rectangular head with interchangeable abrasive pads which can be swapped out depending on the desired finish required from coarse to fine grades.
The flexible head design enables you to work around difficult areas with accuracy. It also provides enough power for larger tasks such as leveling out bumps or removing imperfections from walls or ceilings caused by uneven installation jobs.
A main advantage of an orbital sander like this is its maneuverability because it’s lightweight and compact. With its lightweight design and compact size, it’s perfect for reaching into tight spots without tiring out your arms and hands.
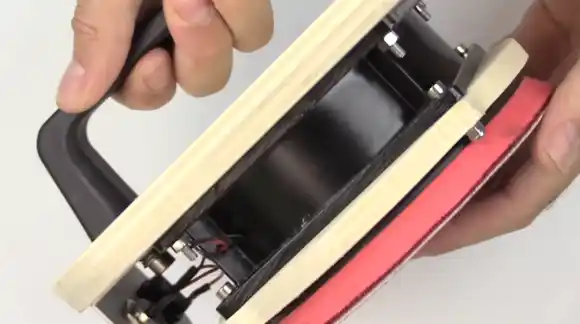
8. Sheet Sanders:
If you’re tackling a drywall project, reach for the sheet sanders. These palm sanders are lightweight and easy to maneuver, so you can say goodbye to scratch marks or swirls. Its circular motion feature gives your surface an extra smooth finish.
With the stability of an electric appliance but still small enough to fit in one hand, this all-rounder will quickly get any wall sanding job done with ease.
Advantages of Using an Orbital Sander on Drywall
An orbital sander can make the process much easier and faster while producing a smoother finish than hand sanding. Here are some of the benefits of using an orbital sander on wall surfaces:
1. Faster Sanding Times:
Using an orbital sander on drywall can save you time since it eliminates the need for manual sanding. The random orbit pattern of the motion helps reduce time by eliminating any need for back-and-forth motions that are common with manual sanding.
This type of motion also ensures that more surface area is covered, resulting in faster and more efficient sanding overall. Additionally, orbital sanders feature variable speeds, which allow users to adjust them to match their particular needs and tasks.
2. Smoother Finish:
An orbital sander produces a much smoother finish than manual hand-sanding. The random orbit pattern creates less friction between the surface and the paper abrasive, resulting in a smoother and more even finish overall.
Additionally, its triangular pad enables it to reach into corners and other tight areas with ease, further contributing to its ability to produce smooth results.
3. Less Effort Required:
This sander requires less effort than manual hand-sanding does. With its lightweight design and ergonomic handle, operating an orbital sander is comfortable and easy, even for extended periods.
With its powerful motor and variable speed settings, users can easily adjust the speed according to their particular application or task at hand. This makes it ideal for both small projects and larger ones requiring lots of sanding power in a short amount of time.
4. More Even Coverage than Hand Sanding:
Because of its random motion pattern, an orbital sander is able to evenly cover larger areas than traditional hand-sanding does, all with minimal strain on your hands or arms.
Randomness ensures that no part of the surface is neglected or left untouched. It eliminates streaks or unevenness that could happen when manually sanding a large area by hand, which makes it perfect for large surfaces like walls or ceilings.
Drawbacks to Using an Orbital Sander on Drywall
Using an orbital sander on drywall can be a great way to quickly and effectively remove old paint or wallpaper from walls and ceilings. However, there are various downsides to using an orbital sander on drywall, including difficulty reaching high walls and ceilings, risk of swirl marks, reduced accuracy, and the need for fine-sanding.
1. Can’t Always Reach High Walls and Ceilings:
Using an orbital sander isn’t always the best option for removing paint or wallpaper from high walls and ceilings. Since this type of sander is usually handheld, it can be difficult to get it into tight spaces or reach over high levels.
To properly finish these areas, you may need additional tools such as ladders or scaffolding. In addition, getting sandpaper into tight corners can also be frustrating with an orbital sander since the Circular motion makes it hard to maneuver in tight spaces.
2. Risk of Swirl mark and Damage to Wall Surface due to Circular Motion:
Its circular motion can cause swirl marks on surfaces that have been painted over before. The pressure applied by an orbital sander can even cause chunks of paint or plaster to come off the surface which could lead to costly repairs down the line.
The fast spinning action of the sanding disk also generates heat which could potentially damage delicate surfaces if left unchecked for too long.
3. Reduced Accuracy in Finishing Edges and Corners:
Due to their round shape, orbital sanders have difficulty reaching edges and corners accurately when working on a flat surface like drywall.
These spots require more precision when sanding since they are easier to miss with a circular movement since they don’t conform perfectly with the shape of the tool itself.
To avoid this issue, hand sanding or additional tools such as sanding sponges should be used in order to help reach these areas with greater accuracy.
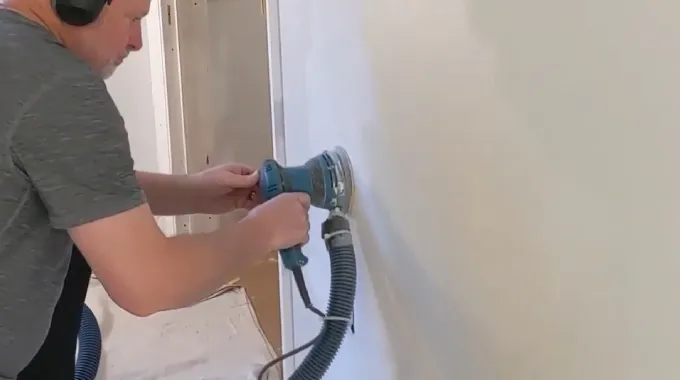
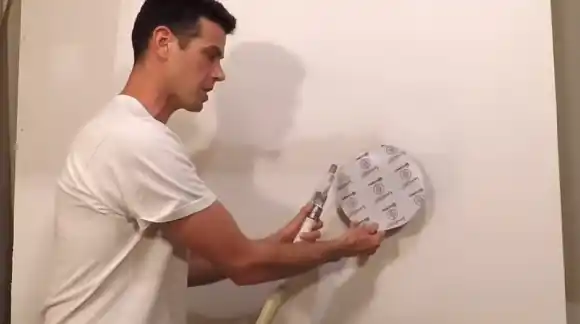
How to Use an Orbital Sander On Drywall Like a Pro?
Sanding drywall panels with an orbital sander can help you achieve a smooth, professional finish. It’s important to use the sander correctly, as improper use can cause damage to the drywall and create an uneven finish.
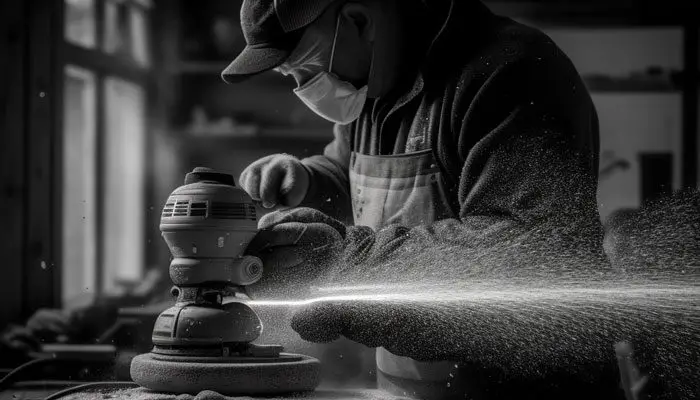
Step 1. Gather Protective Gear:
Before you start sanding, keep your project safe and secure with all the right gear. You’ll want to grab some safety glasses or goggles to protect those beautiful eyes from drywall dust particles and masks because inhaling drywall is never a good look.
Don’t forget ear protection in case the power sander gets too noisy because you don’t want ringing ears after DIY projects. And before you finish up, make sure there’s an easy clean-up plan like vacuums for sweeping away debris or a trusty broom & pan combo.
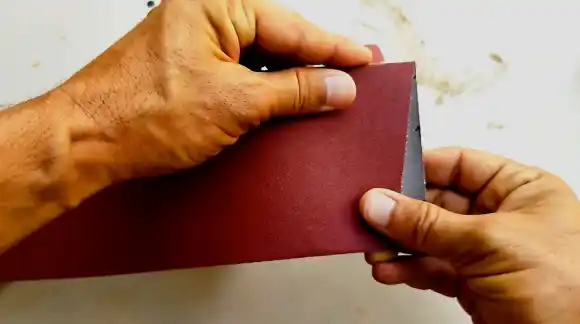
Step 2. Choose the Right Grit Size of Sandpaper:
Choosing the right grit size for your sandpaper is essential for achieving optimal results with your orbital sander. For most drywall projects, it’s best to start with 150-grit sandpaper as this will help remove any large imperfections from the surface.
Once those have been removed, you can move onto 180- or 220-grit paper which will help give a smoother finish without leaving behind too many small scratches or marks.
Step 3. Start Sanding:
To initiate the dry sanding process, connect one sheet of sandpaper to your orbital sander and turn it on at a low-speed setting until you become comfortable with it.
Then increase its speed gradually as needed while keeping pressure light across the entire area with even distribution of force so that no deep grooves or dents are created in the drywall surface due to excessive pressure applied by the sander over it.
Continue this process by moving across the entire surface in every direction without remaining at one spot too long while ensuring that no debris remains stuck within crevices between sheets so that they don’t create any unevenness when finished with the entire project.
Tips on Sanding Drywall Cleanly with an Orbital Sander
When sanding drywall with an orbital sander, it is important to take the necessary precautions to ensure a clean job. Here are some tips that will help you sand your drywall smoothly and safely.
1. Open a Window
Make sure you open a window in the room you are working in. This will not only help to provide adequate ventilation but also help to minimize dust and debris that may become airborne when sanding the screen.
2. Use a Fan and Lay down a Cloth
It is also a good idea to use a fan to reduce airborne particles further. Additionally, it may be helpful to lay down a cloth of some kind on the floor so that any particles that do become airborne have somewhere safe and easily accessible to land.
3. Select the Appropriate speed Setting
Make sure the speed setting is appropriate for the material you are working on. Typically, anywhere between 8,000-12,000 RPMs should be sufficient for most drywall projects.
3 Common Mistakes to Avoid When Using an Orbital Sander
There are 3 common mistakes that must be avoided when using an orbital sander for drywall applications.
1. Don’t Sand Too Fast or Too Slowly:
Avoid orbital sander sanding too fast or too slowly. This can cause the finish to be either over-sanded or under-sanded, which can lead to a rougher result than desired.
2. Don’t Turn on the Sander in the Air:
When using an orbital sander, avoid turning it on in the air. That can send dust particles flying that may land squarely in your eyes or face, potentially dangerous if you’re not wearing safety glasses or goggles.
3. Don’t Tilt the Sander:
Tilting causes more pressure on one side of the machine instead of both sides evenly, which could lead to inconsistent results. For maximum impact and efficiency, keep the orbital sander flat against whatever you’re sanding so that both sides have equal contact with the material.
Is an Orbital Sander Better Than a Regular Sander?
What’s The Difference Between An Orbital And A Random Orbital Sander?
The way this sander moves allows for the pressure to be spread out more evenly. It makes it work better than just an orbital sander.
Can You Sand Drywall Too Much With Orbital Sander Drywall?
Is It Worth Buying A Drywall Sander?
Discover the Benefits of Using an Orbital Sander on Drywall Projects
Although there are some drawbacks when using this particular sanding tool, these can easily be avoided by taking proper safety precautions and learning how to use the tool correctly before beginning any project.
With its many benefits and relatively straightforward operation, using an orbital sander for any kind of drywall project might just be one of the best tools in your arsenal.