Last Updated on March 22, 2023
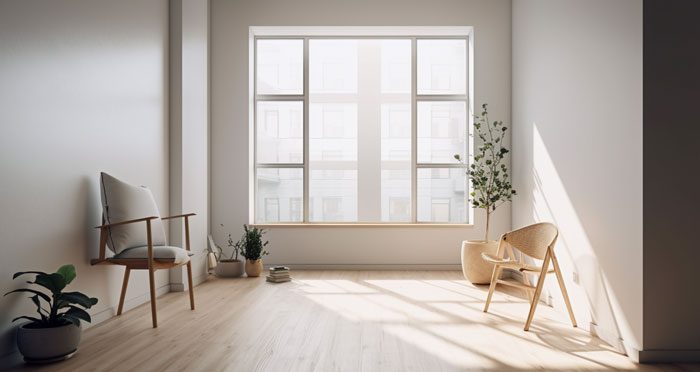
Keep your home safe from damaging moisture with a savvy sealing strategy. A drywall primer and urethane paint combo ensure the best protection against mold and water woes, making it the go-to solution for keeping unwanted visitors like mildew out of your abode.
Revitalize and protect your drywall with a simple three-step process. It all starts by filling in any crevices and gaps to smooth out the surface with drywall mud. After that, prime it for maximum coverage, and paint it for that perfect finish.
We’ll walk you through the ins and outs of how to seal drywall from moisture with a primer-urethane paint combo, plus give you some other options too. Let’s dive right in.
How to Seal Drywall from Moisture: 4 Steps
Preparation and Materials Needed
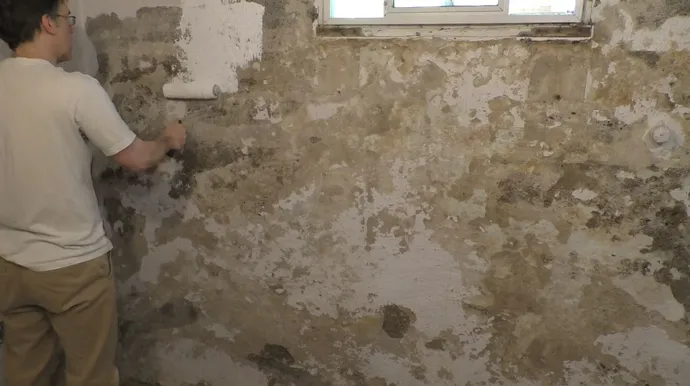
Preparing the Area and Collecting Materials: Before embarking on the journey to drywall-sealing success, ensure your work area is pristine and uncluttered. Nothing should stand between you and that smooth finish.
This includes removing any furniture, carpets, drapes, or other decorations that would be in your way while you work.
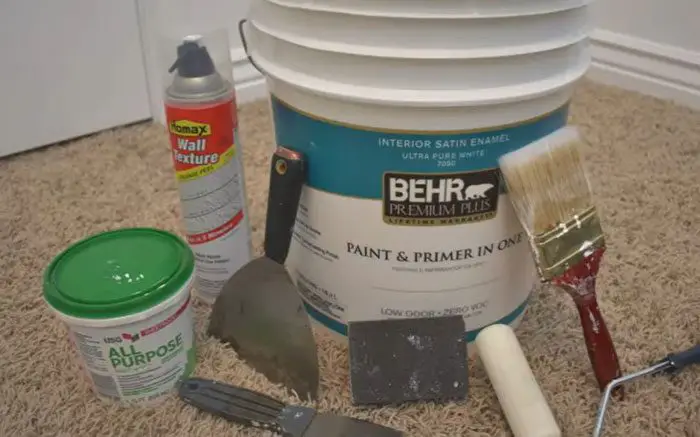
Once you’ve cleared the area of potential hazards, it is time to gather all of your supplies for sealing drywall from moisture. You will need a primer designed for use on walls with high humidity levels, a paint brush or roller, a wall putty knife, sandpaper, and joint compound.
It’s a good idea to also have some old towels and rags on hand as well to help clean up any messes you might make while working.
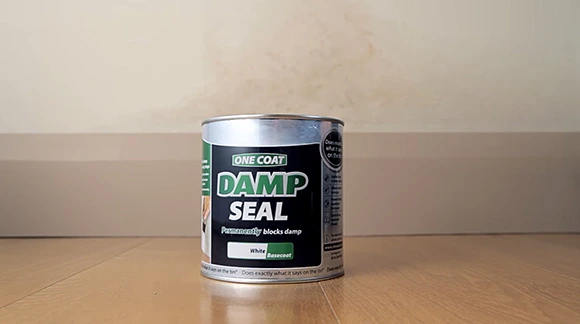
Selecting the Right Primer for Moisture Protection: When selecting the right primer for protection against moisture when sealing drywall, pay special attention to the type indicated on the label of each product you consider using.
There are sealers that are specifically formulated for use on walls located in areas with high humidity levels, and these should be used for best results when attempting to seal drywall from moisture damage.
Read through all directions thoroughly to know exactly what type of surface each product can be used on before selecting one for your project.
Filling Joints and Holes
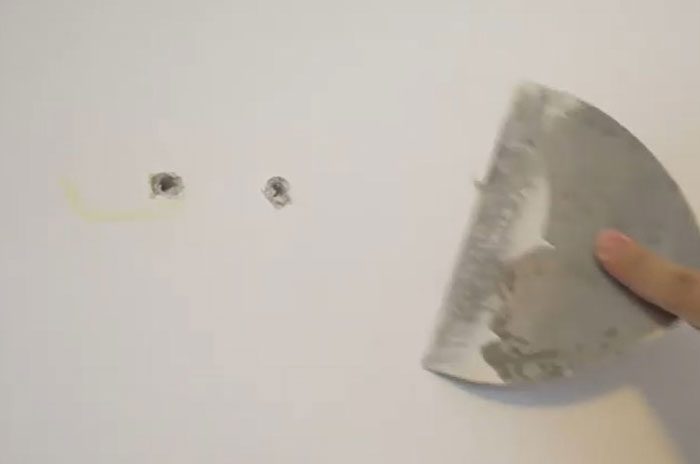
Using Joint Compound: Once you have decided which type of primer you would like to use and have gathered all needed supplies, it’s time to begin applying joint compound around any gaps between boards where they meet (also known as joints).
This step helps keep out moisture by filling any spaces where water might otherwise seep in through small crevices between boards when exposed to higher humidity levels over time.
Also, it prevents warping due to increased moisture content inside those spaces. Apply joint compound liberally across each joint using either a trowel or putty knife until smooth.
Then let dry according to instructions before sanding down any excess material with fine-grit sandpaper if necessary before painting over the top later on.
Sand Down Any Excess Material: After letting all applied joint compounds fully dry according to instructions (this could take anywhere from several hours up to several days, depending on how thickly layered).
Then, gently sand down any excess material left behind using fine-grit sandpaper until smooth again before continuing onto the priming stage.
Applying Primer to Protect Against Moisture
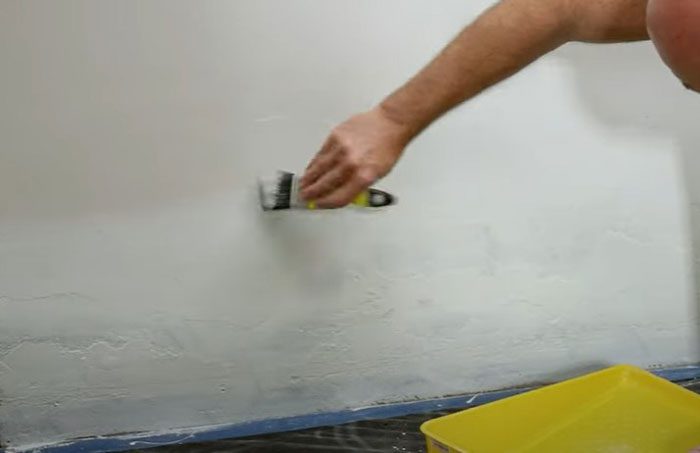
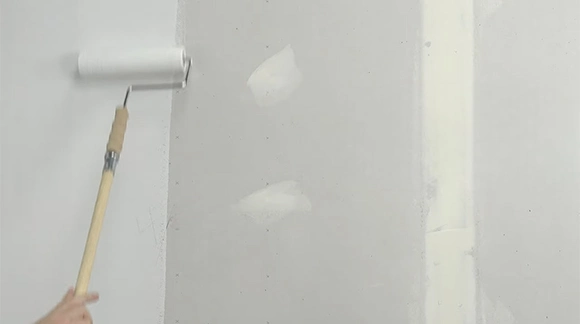
Apply an Even Coat of Primer Using a Paint Brush or Roller: To protect your drywall against moisture damage, prime it evenly over its entire surface before painting begins.
The best drywall primer acts as a protective layer against damage caused by water or other liquids seeping into its pores when exposed for long periods of time without protection from paint or another sealant product like varnish or shellac.
To do this correctly, use either a paintbrush or roller, depending upon personal preference, and start at one corner of your drywall, working slowly towards the opposite side, ensuring each section is completely covered before moving forward onto another section below it.
Let Dry Completely Before Painting: Once all areas have been covered with primer and allowed ample time for drying (usually around 24 hours).
Lightly go over each section once more using either 80-grit sandpaper attached to a block (for flat surfaces) or 220-grit sandpaper (for textured surfaces) just to make sure not to press too hard.
Afterward, use a vacuum cleaner with a brush attachment again to remove any dust particles left behind, which could potentially cause issues during the painting process if not properly eliminated beforehand.
Painting Drywall Surface
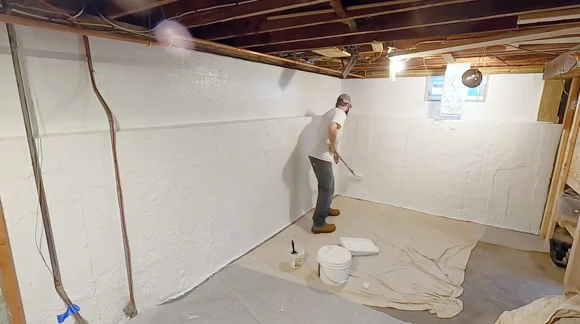
Once the priming process is complete, it’s time to paint your standard drywall surface. Urethane paint is recommended as it provides an extra layer of protection against moisture while also providing an attractive finish that will last long-term when properly applied and maintained.
Use a high-quality brush or roller for best results, ensuring even coverage across all surfaces with at least two coats of paint, allowing each layer plenty of time to dry fully before beginning another coat.
Once finished painting, inspect carefully for any missed spots or uneven layers before allowing a few days for the paint to fully cure before putting furniture back in place.
Alternative Methods for Sealing Drywall from Moisture
If you don’t want to use a combination of primer and urethane paint, there are still alternatives that can be used for sealing drywalls from moisture.
For example, wood, brick, fiberglass, plastic panels, and cement boards can all help limit water damage as well as add some additional structural stability to your walls.
But remember that these materials may not always be feasible options if you’re concerned about cost and installation timeframes.
Another alternative method is using a vapor barrier system on top of your existing drywall structure to protect it against further moisture damage.
Adding this layer over your existing wall’s structure repels water by diverting airflow or humidity away from interior surfaces where it can cause problems like peeling and crumbling plaster or mold growth.
Vapor barriers are typically composed of plastics or foil-backed paper and come with adhesive backing so they can easily stick onto already installed drywalls without needing extra fasteners or clips.
While vapor barriers provide some protection against moisture damage, they should not be relied upon as the sole source of protection against liquid damage. Because, eventually, even their protective properties will wear away with age and degradation over time.
Do I Need to Seal the Whole House’s Drywall to Protect It from Moisture?
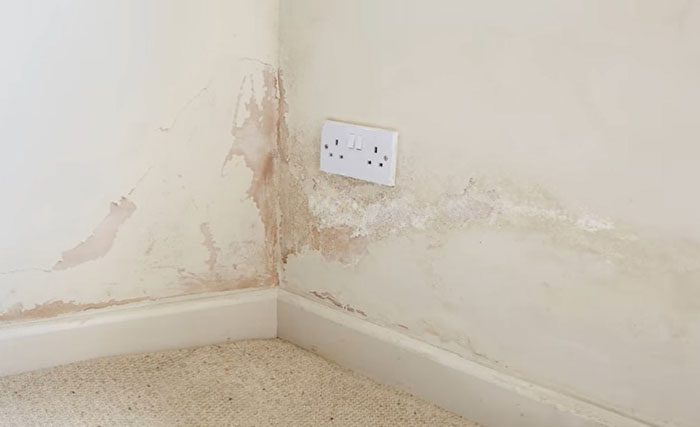
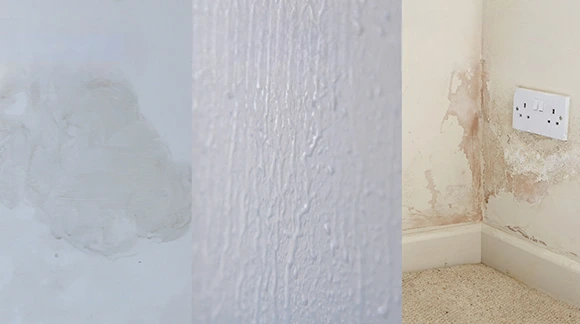
While it is not essential to waterproof the entire house’s drywall, it is highly recommended that areas where water pipes run behind, close to drains or sump holes, and in basement areas should be sealed off for protection against moisture.
This is because these areas are especially prone to water damage due to their high levels of exposure and vulnerability, as well as their difficult accessibility.
But sealing off the entire house’s drywall will create an overall protective barrier against all sources of potential water damage, ensuring that your home remains safe and secure from any exterior moisture.
How Much of the Drywall Should You Waterproof?
It is generally recommended that homeowners waterproof the entirety of their home’s drywall for maximum protection against water damage, but this may not always be feasible due to budget restrictions or accessibility issues with specific walls.
If covering all of the walls is too costly or impractical, then at a minimum, the bottom third of each wall should be sealed with waterproof drywall.
This area is especially vulnerable to moisture seepage and damage due to its proximity to floor level, where water can pool and accumulate if allowed access through unsealed walls or baseboards.
What Types of Primer Need to Use on Drywall to Prevent Moisture Damage?
Depending on the desired finish, both oil and latex-based waterproofing primers can be used to protect drywall from moisture.
When applying an oil-based primer, it is important to take extra precautions as this type of primer is more hazardous and requires more ventilation when compared to latex-based primers.
Oil-based primers are usually best for exterior surfaces or surfaces in high-humidity areas where latex-based primers may not be as durable compared to oil-based.
Latex-based primers are a better choice for interior applications due to their lower toxicity levels, faster drying time, and easier cleanup.
When selecting a primer for drywall protection from moisture, it is important to select one that specifically states on the label that it is moisture-resistant or waterproofing for it to provide adequate protection and coverage.
How Many Coats of Drywall Primer Do You Need?
Generally speaking, two coats of paint primer should be sufficient when painting over new drywall to protect it from potential moisture damage.
The first coat will help fill any small holes or cracks in the drywall surface while also creating an even base layer ready for painting, with the second coat helping create a smoother overall finish with greater color accuracy and uniformity.
A high-humidity environment, like a bathroom or kitchen, may require three coats of primer to ensure total coverage and maximum water resistance protection.
Get Moisture-free Drywall All Time
Taking all factors into consideration, using a combination of primer and urethane paint is an ideal option for effectively sealing drywall from unwanted moisture damage.
Although there are various other alternatives that you could choose from depending on your personal preferences and financial resources, this method provides optimal results with minimal effort required in terms of installation or prep time.
Also, this solution proves to be the most cost-effective option when considering long-term savings due to its highly durable nature. This keeps your walls safe from water infiltration for a long time.


