Last Updated on March 29, 2023
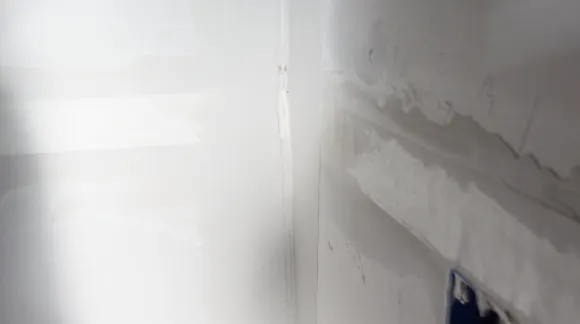
Rippling drywall tape is an issue that eventually catches up to us all, but why does this pesky phenomenon occur? Answering the question requires a lot of things to come together, so it’s tough to explain everything that goes into it.
From excessive moisture to temperature changes, several factors could lead your drywall tape to look anything less than perfect. If you’re seeing unsightly bumps and ripples on your tape, it might be time to take action with new drywall tape.
Keep reading to discover how you can obtain top-notch, ripple-free results with just some simple preventive measures.
Why Does Drywall Tape Ripple: Observations
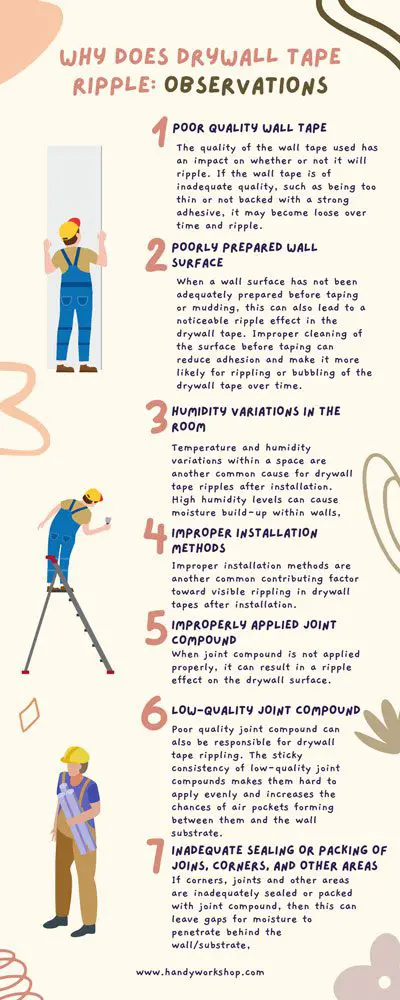
Drywall tape rippling can be an annoyance for any homeowner, as it can cause a noticeable change to the look of walls, ceilings, and other surfaces. Here are some of the most common causes of drywall tape rippling:
Poor Quality Wall Tape
The quality of the wall tape used has an impact on whether or not it will ripple. If the wall tape is of inadequate quality, such as being too thin or not backed with a strong adhesive, it may become loose over time and ripple.
It is even worse if the tape is not properly adhered to the wall in the first place, resulting in incomplete coverage and air bubbles forming underneath the tape, leading to further rippling. Also, low-quality drywall tape can also shrink over time, which can cause it to ripple and separate from the wall.
Poorly Prepared Wall Surface
When a wall surface has not been adequately prepared before taping or mudding, this can also lead to a noticeable ripple effect in the drywall tape. Improper cleaning of the surface before taping can reduce adhesion and make it more likely for rippling or bubbling of the drywall tape over time.
Also, uneven surfaces, such as areas with high ridges and low depressions, can create tension between the drywall paper and the wall surface, causing it to buckle and wrinkle over time. Similarly, if no primer or paint coating has been applied prior to taping, this too can cause bubbling and wrinkling of the drywall paper tape.
Possibly a Good Match: How Much Paint Does A Paint Sprayer Use?
Humidity Variations in the Room
Temperature and humidity variations within a space are another common cause for drywall tape ripples after installation. High humidity levels can cause moisture build-up within walls, leading to weakened adhesion between layers of joint compound and wallpaper, resulting in bubbling or wrinkles.
Conversely, extremely low moisture levels within an area can increase tension between different layers leading them to pull away from each other, causing shrinkage gaps. This can also lead to visible rippling along seams where tapes have been installed.
Improper Installation Methods
Improper installation methods are another common contributing factor toward visible rippling in drywall tapes after installation. If proper adhesion is not achieved when applying pressure between layers during installation, this weakens their bond and reduces their ability to resist outward forces.
Later downlines, such as temperature variations, could lead to some bubbling or wrinkles along seams when exposed again through further drying out within an environment over time.
Aside from that, poor sanding techniques can lead to missed contact points, causing fractures and, ultimately, buckling in the surface of seams. Over time as the compounds dry out, these weaknesses become exposed. What began with a relatively simple task can end up wreaking havoc on surfaces if not done correctly.
Relevant Article To Read: Does plywood work for stacked stones?
Improperly Applied Joint Compound
When joint compound is not applied properly, it can result in a ripple effect on the drywall surface. When too little joint compound is used, it creates air pockets beneath the tape, which leads to an uneven surface, causing ripples to appear.
Also, if the joint compound is not sanded properly or applied in too large of quantities at once, these problems can also cause ripples on the drywall tape’s surface. This is because the paper tape and joint compound form an uneven bond that does not provide adequate coverage and support for the drywall tape itself.
Low-Quality Joint Compound
Poor quality joint compound can also be responsible for drywall tape rippling. The sticky consistency of low-quality joint compounds makes them hard to apply evenly and increases the chances of air pockets forming between them and the wall substrate.
It may also have poor light diffusion properties resulting in shadows on the wall surface, which can further exacerbate any irregularities and cause issues with adhesion when applying drywall paper tape.
Inadequate Sealing or Packing of Joins, Corners, and Other Areas
If corners, joints and other areas are inadequately sealed or packed with joint compound, then this can leave gaps for moisture to penetrate behind the wall/substrate, causing damage to both it as well as any paper-based material such as drywall mesh tape.
These gaps reduce adhesion between materials, leading to weak points where water seepage can occur, leading to bubbling or wet spots on walls.
Poor sealing of joins or inside corners will also result in weakened adhesion between surfaces as well as premature peeling off of paint finishes due to lack of proper support for them. Both contributing factors towards an overall noticeable ripple across your wall’s taped surfaces.
What Are the Signs of Ripped Drywall Tape?
Be aware of the telltale signs that your tape may be ripping, so you can quickly fix it and avoid more serious issues. The following are some signs to be aware of:
- Peeling and bubbling of tape
- Loss of adhesion to the wall
- Deterioration from exposure to elements
- Visible holes or tears in the tape surface
- Discoloration and staining on the tape surface
- Long linear cracks in the drywall compound
- Uneven seams and gaps between edges
How Do You Fix Ripples In Drywall Tape?
Fixing ripples in drywall tape can seem intimidating, but with a few simple steps, it’s actually quite easy. To get started, follow these steps:
Step 1: Scrape Away Old Tape
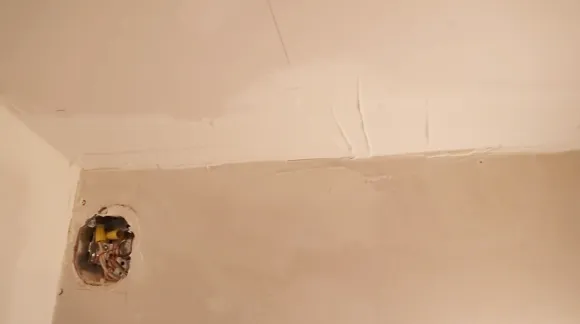
The first step in fixing any ripples in drywall tape is to remove the old, damaged tape. Using a putty knife or other similar tool, carefully scrape away the dried mud and the old mesh tape from the wall.
Use gentle pressure and take care not to damage the wall more than necessary. After removing everything, it’s time to work on sanding down any rough edges that may remain.
Step 2: Sand Edges Smooth
Sanding is an important part of fixing ripples in drywall tape as it will help ensure a level and even surface for the new drywall compound and tape to adhere to. Use a medium-grit sandpaper or sanding block, taking care to sand evenly over the entire area where the ripple is present.
Don’t press too hard with the sandpaper and only apply light pressure when necessary. Continue until all edges are smooth and free from bumps or rough spots.
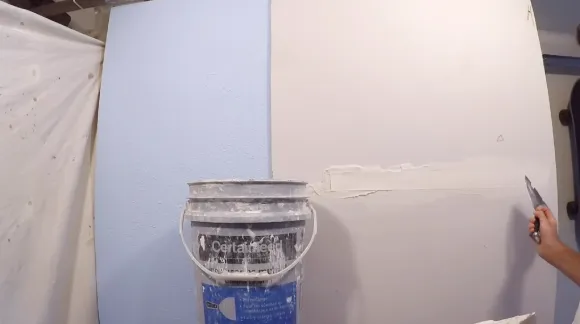
Step 3: Mix the Drywall Compound
After all of your sanding is done, mix up some drywall compound according to the manufacturer’s instructions using either water or, depending on which type of joint compound you’re using.
For example, joint compound spackle patch, lightweight all purpose joint compound ready mixed, interior/exterior spackling compound are some good choices.
Make sure that your mixture isn’t too wet. If it is, then it won’t hold onto the wall properly and could cause problems later on down the line when applying new drywall tape over it.
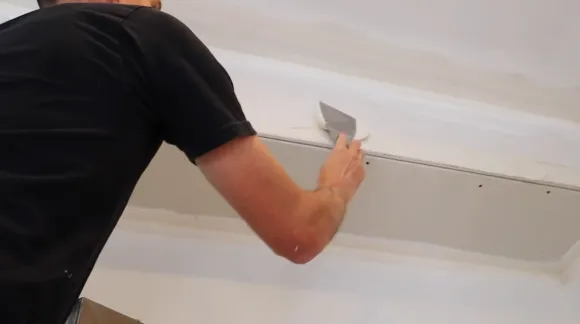
Step 4: Apply a Layer of Drywall Compound
After your joint compound has been mixed up properly, use your putty knife to apply an even layer of joint compound over the places you scraped away old tape earlier. Taking care not to spread it out too thin could cause future problems with keeping it in place effectively later on.
Step 5: Cut And Piece of New Tape to Fit
Once you’ve applied your joint compound, cut off a piece of drywall tape that is long enough to cover all of the areas where you applied the joint compound.
Earlier, while leaving 1 inch (2 cm) extra at each end. This extra length ensures that when you press down on it with a roller tool later on, you won’t get air bubbles or ripples underneath it because of uneven pressure distribution.
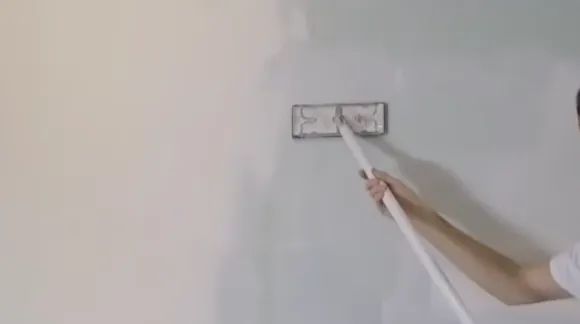
Step 6: Apply Joint Compound Over Drywall Tape
After your new paper joint tape is in place over the top of your dried layer of joint compound from earlier, use another fresh batch of drywall joint compound from earlier and spread an even layer over the top using a putty knife again.
Sprinkling joint compound over your wall joints is essential to creating a seamless, bubble-free surface. It acts like an adhesive between the paper drywall tape and whatever lies beneath it, giving smoother results for future decorating projects.
Can You Re-Tape Over Ripple Drywall Tape?
No, it is not advisable to re-tape over the tape that ripples. Doing so could lead to an uneven surface and potentially cause more damage than good.
Removing the existing rippled drywall tape and retaping is the better option for ensuring a smooth, consistent finish. If you choose to re-tape, it’s important to ensure that the original area is completely filled in with joint compound and smooth before applying the new tape.
The old seams should also be sanded down as much as possible before applying any new materials. This helps reduce the risk of tearing or damage that could occur from attempting to pull off the old, dried-out adhesive from the wall surface.
Do You Mud Over Rippled Drywall Tape?
Yes, applying a thin layer of joint compound or “mud” is necessary over rippled drywall tape. This helps seal the seams between drywall sheets and provides a smoother finished product.
When mudding, ensure each drywall seam fills properly, and the entire surface is even and free from bumps or ridges. Once the initial skim coat has dried, sand down any areas that need more attention before applying another layer of drywall mud if necessary.
Achieve Seamless Walls: Invest Time In Each Step
In terms of preventing ripple drywall tape, taking your time on each step above the process is key for ensuring a professional finish on any project. All the steps leading up to drywall taping must be completed exactly right to achieve the desired result.
Using caution while taping up your walls is also important to create an even surface without any bumps or ridges. Now you are aware of why drywall tape ripples and how to avoid it, you can get started on achieving a perfect finish.