Last Updated on March 28, 2023
Tired of dealing with peeling, torn, and cracked old drywall tape? If so, one question is whether you can tape over old drywall tape. If you’re wondering whether it’s okay to cover up old drywall tape rather than wasting time on removal, the answer is yes.
You can get straight back into taping without removing every inch of that annoying problem. The key is to equip yourself with some essential tools and techniques. Just grab some new fiberglass mesh drywall tape for your arsenal & take small but essential steps to restore even the trickiest spots.
It’s convenient to tape over old drywall tape, but there’s more to it than you might think. From weighing out the pros & cons and understanding the precautions that are necessary, we are here to help you achieve excellent results. Let’s dive in and explore re-taping techniques for existing drywall tape together.
How Can You Tape Over Old Drywall Tape?
Taping over old drywall tape can be tricky, but with the right supplies and preparation, it is possible to achieve a professional-looking result. Carefully follow these steps for a smooth, hassle-free taping job:
Step 1: Gather Supplies:
To successfully tape over old drywall tape, you must have all the necessary supplies before beginning the project. This includes:
- Utility knife
- Drop cloths
- Putty knife
- Dust mask
- Fine-grit sanding sponge
- Measuring tape
- Scissors
- Drywall compound
- Drywall mud pan
- Drywall taping knife
- Drywall tape
Step 2: Prepare Surface:
Once you have all your materials together, the next step is to remove as much of the existing loose drywall tape as possible. This can be done using a razor blade or putty knife and slowly peeling back each strip until they are all removed from the wall surface.
Avoid damaging any of the underlying wall material when doing this step, as it will affect your taping project’s success. If there’s any adhesive left after you’ve removed the old drywall, apply warm water and vinegar directly onto it with a cloth or sponge until it dissolves.
Step 3: Fill Any Holes:
Once all the peeling sections of drywall are removed, there’s a crucial step in prepping your walls for repainting. Fill any holes with joint compound and spread it evenly using a putty knife, but take care not to apply too much pressure so that you’ll have an even surface when dried overnight.
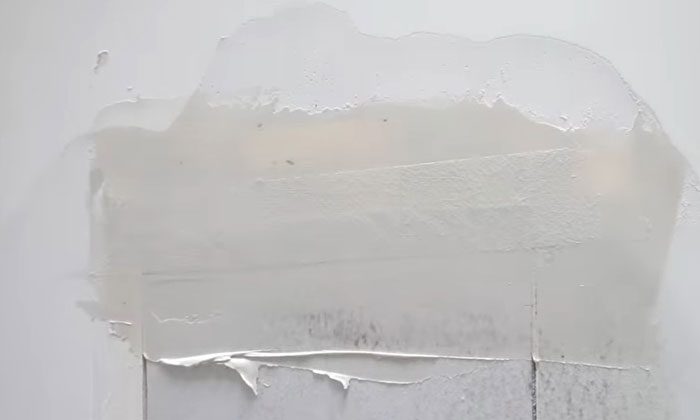
Once the area is dried and set, you may sand down the surface until it’s completely smooth.
Step 4: Sand Drywall Surface:
Before applying your new drywall tape, give your wall a makeover by sanding down any bumps and irregularities to create an ultra-smooth surface, using fine 120-grit sandpaper and light pressure.
Begin running it along each section of the wall until everything appears uniform in texture without any bumps or other imperfections visible anywhere else, either visually or when touched by hand. Sanding too harshly could damage underlying layers like paint, so ensure to press only a little hard while doing this task.
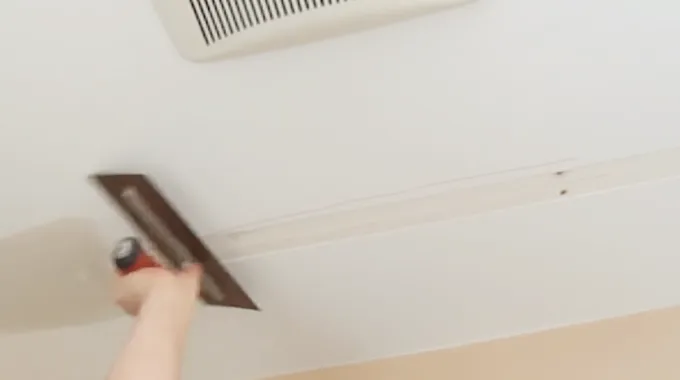
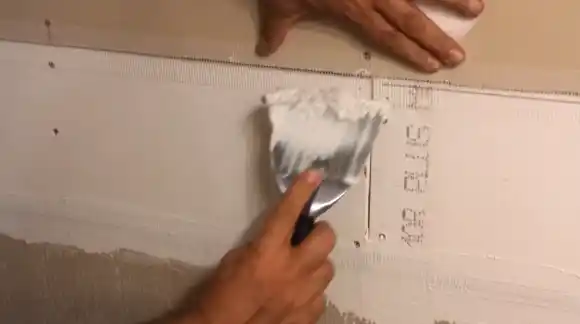
Step 5: Apply the First Layer of Compound
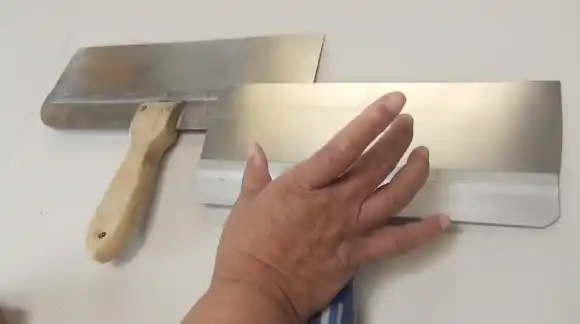
After that, apply the first compound layer using a 10-inch drywall taping knife. A smaller knife may not spread evenly across the surface, while a larger one could drag too much compound onto other areas.
Start in one corner of the room and lightly press the knife into the existing drywall tape. Push firmly but not too hard. You want enough compound to fill gaps or rough spots but not too much to seep through or break up seams.
After covering each section with compound, you’ll want to ensure no air pockets between the old drywall tape and the new layer. Use your taping knife to tap in any raised areas and smooth them out with light strokes.
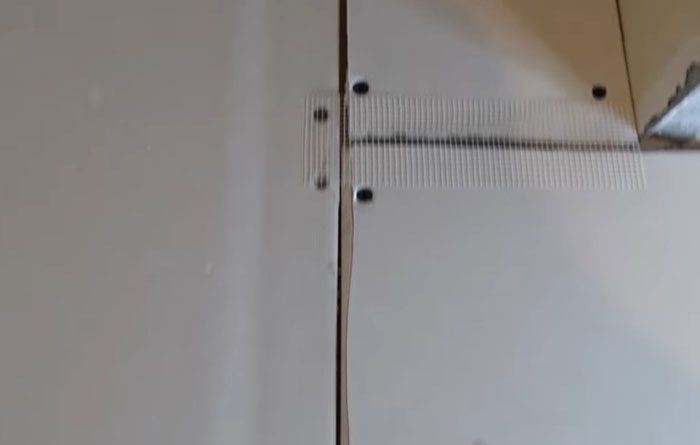
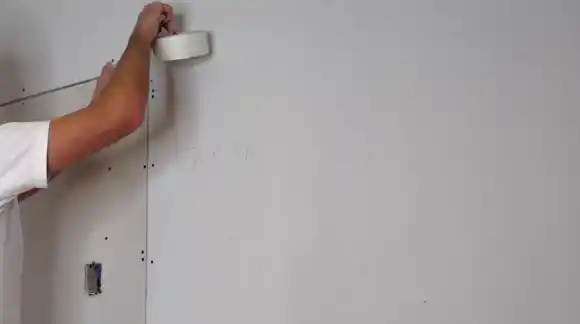
Step 6: Apply New Drywall Tape
Cut a new fiberglass mesh drywall paper tape length based on measurements taken from the area that needs repair. Unroll the length of paper tape along the wall where you applied your first layer of compound, and use your taping knife to press it down against the wall until it adheres securely.
Ensure all seams are sealed properly, so air doesn’t escape beneath them. Apply pressure as you go along to ensure that each section is appropriately secured against both surfaces. If necessary, use a lighter touch against more delicate or fragile sections of wall material such as thin plywood or plasterboard.
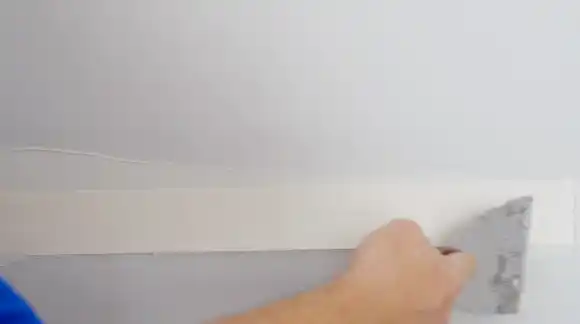
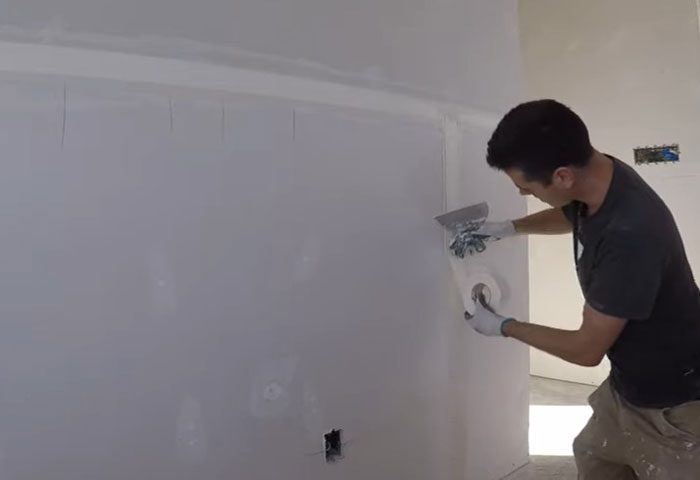
Step 7: Apply the Second Layer of the Compound
With your second compound layer ready for application, begin using a fresh 10-inch taping knife to spread it across the wall sections patched with new drywall tape in step 6 above.
When spreading this second layer around seams previously taped over, ensure they’re completely filled in with no air pockets between them and either surface.
Again, apply pressure as needed when spreading, especially along delicate sections such as those mentioned above. But don’t apply too much or risk breaking up any work done earlier with your first compound layer.
Step 8: Allow Time to Set & Complete Finishing Touches
Once all steps have been completed accordingly thus far, allow some time (at least 24 hours) for everything to set properly before proceeding further with any finishing touches or additional repairs needed elsewhere on the surface.
What are the Recommended Drywall Tapes for Taping Over Old Tape?
When it comes to taping over old drywall tape, there are a few different types of tape that can be used. Each type of tape has its unique features.
Paper Drywall Tape:
Paper drywall tape is widely available and inexpensive, making it an attractive option for those looking to save money when taping over old drywall tape. But it should be noted that paper drywall tape isn’t as strong as some of the other options on the market since it can be easily ripped or torn.
Also, paper drywall tape may not hold up against moisture or extreme temperatures like some other materials could due to its paper construction.
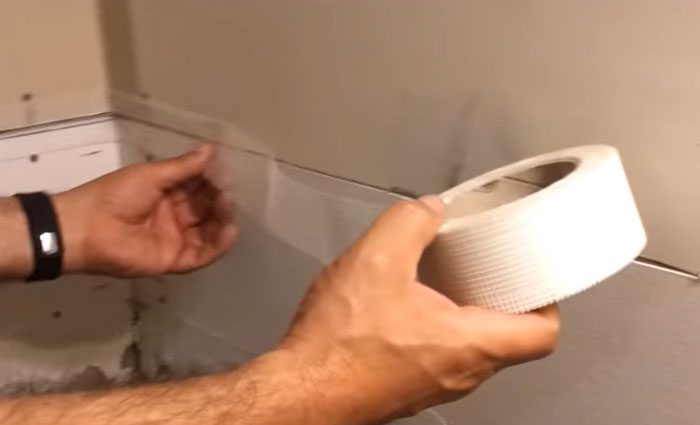
Fiberglass Mesh Drywall Tape:
Fiberglass mesh drywall tape is extremely strong and air bubble resistant, making it an excellent option for those looking for a long-lasting alternative to old drywall tape. It also has the added benefit of self-adhering, meaning it may not need additional pressure to adhere appropriately.
The only potential downside with this type of tape is that it may not stick as well to certain surfaces due to its mesh structure. Also, fiberglass mesh drywall tape may be more expensive than other alternatives on the market.
Metal Drywall Tape:
Metal drywall tapes are great for those looking to make corners clean and secure by taping over existing tape. They tend to be even stronger than fiberglass mesh tapes, making them an ideal choice for areas where extra strength and durability are required.
These tapes come in various shapes and sizes, so they can easily fit into odd areas. The only downside of metal tapes is that they can be hard to crease properly if you don’t have experience doing so. This can lead to unsightly lines along your taped area if done incorrectly.
Advantages & Disadvantages of Taping Over Old Drywall Tape

Taping over drywall is a simple and cost-effective way to ensure the stability of walls and ceilings. It also helps to protect against further damage, improve aesthetics, and reduce the risk of structural issues.
Advantages of Taping Over Old Drywall Tape
Using tape to repair old drywall is a cost-effective way to ensure that the wall remains structurally sound. Taping provides several advantages over replacing the existing drywall and is often chosen as the preferred method of repair:
A. More Protection Against Further Damage
Tapping over old drywall tape provides an additional layer of protection against any potential damage caused by water or other elements. This helps to prevent any future problems that could require costly repairs.
B. Easier to Paint or Wallpaper Over
Another advantage of taping over old drywall tape is that it makes the painting or wallpapering much easier than leaving the original taped area exposed.
C. Improved Aesthetic Look and Feel
Taping over old drywall tape not only improves the room’s appearance but also makes it feel more inviting by giving off an aura of cleanliness and tidiness. This is because newly-taped surfaces will appear much cleaner.
D. Reduced Risk of Leaks, Cracks, and Other Structural Issues
Taping over old drywall tapes can help repair minor cracks that have formed on your existing drywall surface, which would otherwise worsen when exposed to moisture from humidity.
E. Strengthened Structure of Wall with Additional Support
Using tape for repairs on old drywall tapes provides an additional layer of support to the existing structure of the wall, strengthening and stabilizing it.
F. Improved Durability and Resilience
Taping over old drywall also increases its durability and resilience against everyday wear and tear, which can cause cracks or holes in otherwise stable walls.
G. Lower Cost than Replacing the Entire Tape
The most significant advantage of taping over replacing entire sections of old drywall lies in the cost savings associated with this approach versus conventional methods such as demolition and rebuilding entire sections at once.
It’s also cheaper than full replacements, which would require scaffolding equipment and extra labor.
Disadvantages of Taping on Top of Existing Drywall Tape

Taping over old drywall tape is a common practice for patching and repairing walls, but it can also have some significant disadvantages.
A. Increased Difficulty in Identifying Existing Issues: One of the primary drawbacks to taping above old drywall tape can make it difficult to identify existing problems.
Any underlying issues, such as water damage or gaps in the wall, may not be immediately visible when taping over the old drywall tape. Also, if an incorrect type of tape is used, this may cause further damage or lead to a substandard repair job.
B. Difficult to Get a Smooth Finish for Thickness: Another disadvantage of taping on top of old drywall tape is that achieving a smooth finish for larger or thicker sections can take time and effort.
When laying down new strips of tape, the edges must be completely flush with each other to achieve a neat and even look once complete. Furthermore, if excessive force is applied during the application, this can stretch out the fibers making them harder to work with later on down the line.
Taping Over Old Drywall Tape: Are There Any Precautions?
Re-taping over existing drywall tape is a great way to ensure the repairing, patching, and sealing of your walls, yet there are many precautions and steps one needs to take to ensure that the taping process is successful and safe.
1. Select Quality Tape
Select quality joint or mesh tape for your project. This will ensure that the tape adheres securely and effectively seals any gaps between boards, preventing moisture from getting inside walls.
2. Clean the Surface
Carefully remove any dirt and dust from the wall with a vacuum cleaner before applying any new tape. This will help eliminate air bubbles and allow for a smooth application of the new drywall tape.
3. Prime Before Taping
Priming the wall before taping will also help reduce air bubbles when applying new drywall tape. Make sure you use an oil-based primer instead of a water-based one, as it provides better adherence of the joint or mesh tape to the wall surface.
4. Apply Even Pressure
When applying pressure onto the joint or mesh tape, make sure you do so evenly so that each part adheres wholly and securely seals off any gaps between boards. If too much pressure is applied on one side, it could cause an uneven seal leading to moisture seeping inside walls later.
5. Use Sandpaper If Necessary
After taping you notice any air bubbles, use a piece of sandpaper and gently rub it around them so they can disappear properly before painting over them with paint or plaster.
6. Let Dry
Always give your work plenty of time to dry fully before painting or plastering over it. This will help ensure that no moisture gets into walls resulting in potential problems down the line.
Save Time With Taping Over Old Drywall Tape
Taping over old drywall tape allows you to quickly fix minor problems without the time-consuming process of removing all the existing drywall tape. But, numerous factors are necessary for the repair job to succeed.
The type of drywall tape used must meet specific criteria for adhesion strength and durability, small gaps should be filled before taping, any peeling or deteriorated areas should be removed before re-taping, and sanding down old drywall may also be necessary (depending on its condition).
Considering these precautionary measures when taping over existing drywall tape, your repair job is sure to last for years.


