Last Updated on August 2, 2023
Have you noticed your walls looking less than perfect? Chances are, it’s due to an inadequate mud job.
This is when joint compound applications fill the gaps between sections of drywall for a smooth surface on walls and ceilings. Make sure you know how to fix a bad mud job on painted drywall if yours came out wonky or lumpy.
You can spruce up damaged painted drywall by following a few simple steps, and you’ll have walls looking new once again. Start off with surface preparation, add on some fresh mud for the layer of joint compound, then top it all off with paint. Your wall will be restored to its original beauty in a short time.
Let’s get into the details of fixing a mud job gone bad. From outlining steps to achieving success, we’ll try to cover everything you need to know.
How to Fix a Bad Mud Job On Painted Drywall: 3 Steps

If you’ve ever been frustrated with an uneven or bumpy drywall finish, you’re not alone. A bad mud job can ruin the look of any wall and make a room feel unfinished. Fortunately, fixing a lousy mud job on painted drywall is easy if you know the proper steps to take:
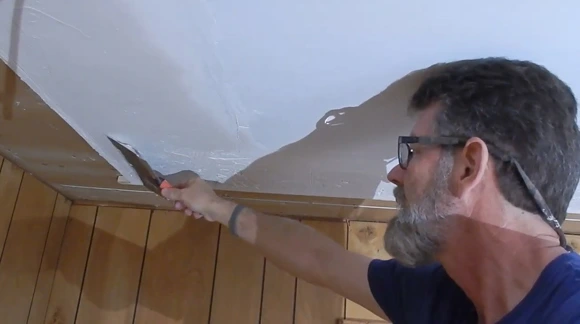
Step 1: Prepare the Surface
Removing Loose Pieces
It is essential to remove any loose pieces of drywall compound or paint when fixing a bad mud job on painted drywall. This can be done with a putty knife. Carefully scrape off any loose material, taking extra care not to damage the wall surface.
Once all the loose material is removed, use a vacuum cleaner to remove any dust particles that may have been produced during the scraping process.
Sanding Down Rough Patches
Once all the loose pieces are removed, you should sand down any rough patches with either sandpaper or an electric sander. When using an electric sander, make sure to use it at a low-speed setting and wear appropriate eye and hearing protection.
Also, ensure that your work area is well-ventilated, as sanding can produce hazardous dust particles in the air. Start by lightly sanding any rough areas until they are smooth. Pay extra attention to the edges of the wall where the bad mud was applied for more precision work.
Wiping Down Area
Once all the rough patches have been smoothed out, wipe down the area with a damp cloth to remove any remaining dust and debris particles.
If necessary, you can use a damp sponge or rag to clean the surface further and ensure it is free from dirt and grime before spackling or painting over it. Make sure not to oversaturate your cloth, as this could damage your drywall surface even more than it already is.
Applying Spackle
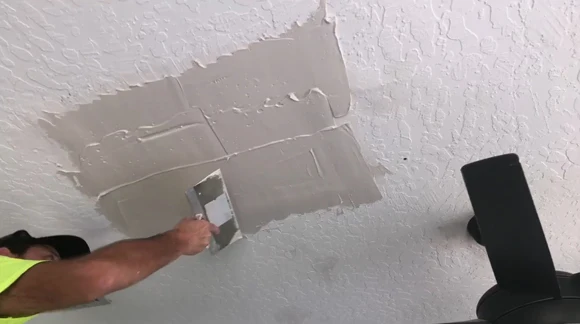
Once you have thoroughly cleaned and prepared your surface, it’s time to apply some spackle over any imperfections that may still be present on your wall. Begin by applying an even layer of spackle over all areas that need to be repaired or fixed up with a putty knife or trowel.
Allow this layer of spackle time to dry fully before proceeding to paint over it or adding another layer of the texture if desired. Make sure you give yourself enough time for each step to avoid rushing through them to get better results.
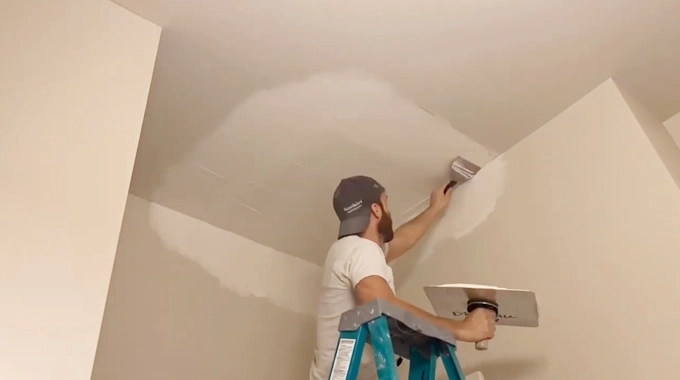
Step 2: Applying a New Layer of Joint Compound (Mud)
Choosing the Right Type of Joint Compound for Your Project
It is essential to avoid using any type of patching compound, as this can ultimately lead to further damage. When selecting a joint compound, it is best to determine the level of repair needed and then shop for a compound that meets those needs.
For example, if the area being repaired is small with minor surface cracks or holes in the drywall, lightweight spackling paste or setting-type joint compounds are ideal options. For heavier repairs, such as large holes that extend through multiple layers of drywall, heavier-bodied premixed all-purpose compounds work best.
Here are some examples:
Heavy Duty Wall Repair Spackling: This is a multi-purpose wall repair compound specifically designed for patching and repairing interior walls. It provides superior adhesion to drywall, plaster, wood, stucco, and masonry surfaces. This spackle is ideal for repairing large holes or cracks before drywall painting or wallpapering.
Interior/Exterior Drywall Mud: It is an all-purpose joint compound for all drywall applications. It provides excellent bonding strength on drywall substrates such as concrete, brick, block, and stone. This product also offers superior fire protection against smoke and flame spread when used in interior applications such as ceilings and walls.
All Purpose Joint Compound: This is an all-in-one solution for repairing interior and exterior drywalls before painting or wallpapering. This high-performance joint compound dries quickly with minimal shrinkage allowing you to complete projects faster with fewer touch-ups afterward.
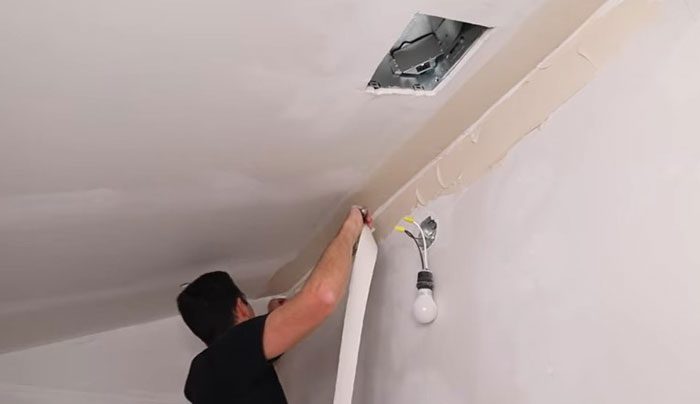
Cutting Pieces of Fiberglass Mesh Tape Sized for Your Patch Area
Once you have chosen an appropriate joint compound, you need to cut pieces of fiberglass mesh tape sized for your patch area. This will help reinforce the areas where you apply the mud and create a stronger bond between the original and new material.
To do so, measure out a piece of mesh tape large enough to fit over each section needing repair without overlapping onto other sections of the wall or ceiling. Cut these pieces with scissors or another sharp tool and set aside until needed.
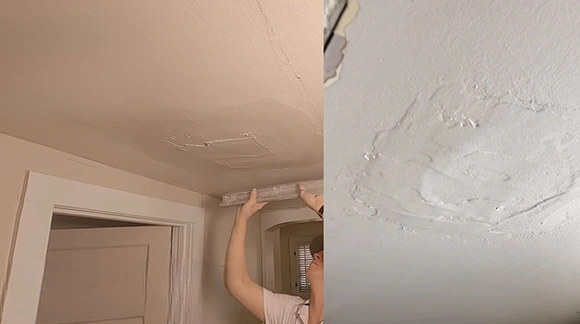
Applying a Layer of Joint Compound over the Mesh Tape and Allow it to Dry
Start by using a putty knife or other suitable tool to spread a thin layer of the joint compound across the mesh tape to cover every part completely without any gaps or air pockets beneath it.
Once applied evenly, use a damp cloth or sponge to smooth out any bumps or edges that may appear in your application. Lastly, allow this layer ample time (at least 8 hours) to dry completely before continuing with repairs.
Using an Electric Sander if Needed to Achieve a Smooth Surface
After allowing sufficient time for your first layer of joint compound to dry (ideally 2 hours), check its consistency by gently pressing down on it with your fingertip. If it feels hard enough, then move on with sanding away any excess material from around your patch repair area until there are no visible lumps or bumps remaining in its surface texture.
You can do this manually with fine-grit sandpaper attached to a sanding block, but electric sander tools offer faster results and are easier on your hands and wrists in comparison.
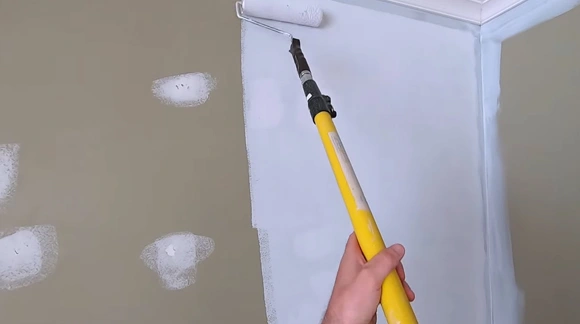
Step 3: Painting the Wall Surface and Finishing Up
Change the Color Or Add New Patches
It is essential to use a primer if the patch is unpainted or a different color than the existing wall color. Primer helps prepare the surface so that paint adheres better and lasts longer. And primer also seals in stains and creates an even base for the paint.
To apply primer, first, use a good quality brush or roller to spread an even coat of primer over the area that needs repair. Allow the first coat of primer to dry completely before applying a second coat if necessary. Make sure to let the primer dry thoroughly before moving on with painting.
Apply Even Layers Of Interior Wall Paint
Once the primer has been applied, it is time to choose a paint suitable for interior walls and begin painting over the area with even layers. For best results, start using a brush to cut in around all edges and corners of the area being repaired.
Then switch to a roller for larger flat surfaces such as walls or ceilings. When rolling on your paint, be sure that each roller stroke overlaps slightly with its preceding stroke to ensure even paint coverage throughout the entire area being repaired.
Allow each layer of paint to dry thoroughly before moving on to another layer to ensure that your finished job looks great.
Cure Paint Completely Before Cleaning
Once you have finished applying all layers of paint necessary for your repair job, ensure you allow adequate time for your painted area to cure fully before cleaning up your workspace and admiring your work.
Depending on environmental conditions like humidity levels or temperature, it may take anywhere from several hours up to a full day for paint applied indoors to cure entirely after application.
So be patient and ensure that your repair job looks good in appearance and longevity by allowing enough time for your freshly painted wall surface area to cure properly.
You Might Want to Check: Should paint be removed from dry wall prior to tiling?
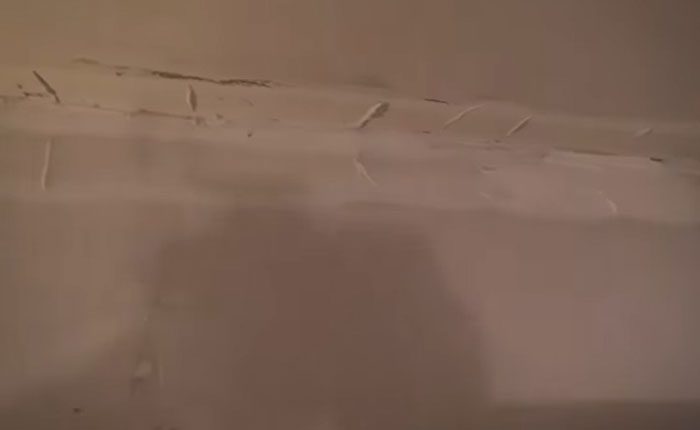
How Can You Tell If a Drywall Mud Is Bad?
Bad drywall mud can be identified by several signs.
First, if the texture is lumpy or uneven, this may be due to an uneven mud application or improper mixing. It can also be identified by its color. The color should be light gray with no streaks or discoloration.
And you can smell it to see if there is any musty or off odor which could mean that the material has gone bad. Finally, you could test the rigidity of the mud after it dries by pressing into it with your finger and seeing how easily it crumbles away.
Will Paint Hide Drywall Imperfections Cause By Mud?
Yes. But using matte finish paint will provide better coverage than glossier finishes as glossier paints will reflect more light and make flaws more visible. And applying multiple coats of paint can further help to camouflage any flaws in the drywall surface caused by poor application of mud.
Before diving into the painting process, addressing any issues with your drywall is essential. Trying to hide potential problems beneath a coat of paint may only lead to more significant headaches, so make sure you take care of them now.
Can You Paint Over Slightly Wet Mud on Drywall?
Painting over a slightly wet mud wall can create more problems than solutions. It could cause smudgy paint and uneven drying, but the adhesion between the wall texture and paint is also at risk of being compromised. It can make your projects unsafe in terms of finished quality.
When you’re putting finishing touches on your wall with texture, make sure to give it plenty of time to dry fully before adding any paint. A moisture meter can help test for optimal levels, or if that isn’t possible, try the water droplet method. Sprinkle a few drops and wait for up to thirty minutes. Unless they absorb into your texture, painting is safe.
How Safe and Reliable Is It to Fix Bad Mud on Drywall?
Make use of your DIY skills to salvage a botched mud job. With patience and attention to detail, you can safely transform rough walls into stunning surfaces. As long as you follow our tips outlined above, you will achieve attractive results that are safe and have lasting effects. You’re proving all your hard work was worth it.
Start preparing the surface by sanding it and cleaning up any messes or dirt. Then add a layer of joint compound (mud) over the surface, ensuring not to leave any gaps or holes. Finally, paint over the wall surface with a thin coat of paint and wait for it to dry fully before adding another coat.
With these steps in mind, you’re bound to have a smooth finish that looks great.


